Last updated November 18, 2026






Free written scope consultation - allowances, timeline, and change-order rules on paper before a single trade is scheduled
Home Additions & ADU Troubleshooting: Common Problems and How to Fix Them
The most expensive problems in a home addition or ADU are usually not the ones the building inspector catches. They’re the ones that pass inspection on the day the inspector shows up and then fail in service two summers later. A framing inspection that passes doesn’t mean the framing is correct. It means it met minimum code on the day it was looked at, which is a lower bar than most homeowners realize. We’ve walked through finished additions in Enterprise where the lateral bracing was signed off, the drywall was painted, and the homeowner was dealing with a sticky door on the second floor within eighteen months. This guide names the five construction phases where defects get buried, what to physically look for at each one, and how to fix what’s already gone wrong. It’s written from an Enterprise vantage point, but the checkpoints apply anywhere.
Quick Answer
Most home addition and ADU problems fall into five categories: foundation formwork errors caught before the pour, rough framing problems hidden before sheathing goes on, undersized MEP (mechanical, electrical, plumbing) before drywall, insulation gaps before the wall closes, and weatherproofing failures before exterior finish. The fix depends on how late you catch them. Anything still visible can be corrected with a written change order. Anything already sealed with drywall or stucco costs two to four times more to remedy, and often requires cutting back into a finished assembly. If the work is already done and failing, the sequence is document, notify in writing, and get a licensed third-party inspection before you pay anyone else to touch it.
Styles & brands we work with
- Kitchen remodeling
- Bathroom remodeling
- Home additions & ADU
- Roofing
- Windows & doors
- Driveway & pavers
- Fence
Table of Contents
- Phase 1: Foundation Formwork Before the Pour
- Phase 2: Rough Framing Before Sheathing
- Phase 3: Rough MEP Before Drywall
- Phase 4: Insulation Before Drywall
- Phase 5: Weatherproofing Before Exterior Finish
- Common ADU-Specific Structural Problems
- How to Read a Change Order for Red Flags
- The HVAC Sizing Problem Nobody Calculates
- Remediation Sequence When Something Goes Wrong
Phase 1: Foundation Formwork Before the Pour
The foundation is the one part of an addition you can never fix cheaply, because fixing it means demolishing the thing sitting on it. We’ve seen more foundation problems come out of formwork errors than out of concrete mixing. Before the pour, the forms should be square, the anchor bolts should be set to the correct spacing for the top plate, and the vapor barrier and reinforcing steel should be where the engineering says they belong.
What a homeowner can physically look for: ask the contractor to walk you through the formwork the day before the pour. Look at the corners. Are they square, or is one side off and the guys are planning to “flex it” with a template? Look at the anchor bolts. They should be centered in the wall thickness, not shoved to one side where they’ll miss the plate. Look at the elevation. If the formwork is sitting lower on one side, the slab will be uneven and the wall framing will start with a correction.
Enterprise sits on soils that shrink and swell with seasonal moisture. Foundation engineering here generally assumes expansive clay, which means the forms need to support a thickened perimeter footing, not a flat slab-on-grade. If the drawings call for a stem wall and you see a flat slab, ask why. That single question has saved Enterprise homeowners more money than any other. If you’re already committed and something looks off, call a licensed third-party inspector before the truck backs up. Once the concrete is placed, you’re living with it for the life of the building.
Phase 2: Rough Framing Before Sheathing
Framing is where a surprising number of additions go wrong in ways code inspection won’t flag. The three defects we find most often in Enterprise additions: undersized headers at new openings, missing blocking for future shelves, televisions, or handrails, and connecting a new attached addition to the existing house without a positive structural tie.
What to look for before the sheathing goes on:
- Headers over new doors and windows. A header over a sliding door needs to match the span table in the plans. If the opening is wider than the drawing shows, the header is undersized by definition.
- Blocking inside walls. If you know a TV, a medicine cabinet, or a grab bar will hang on a wall, ask for solid blocking between the studs. It takes ten minutes now and turns into a drywall cut later.
- Straps and ties. Look for metal connectors that tie the new framing to the existing structure. A new addition with no hardware tying it to the old house will move independently, and movement shows up as cracks in the drywall at the seams.
- Sill plate anchoring. The bottom plate of every wall should be bolted down or strapped. If you can see gaps between the plate and the concrete, ask about shims and epoxied anchors.
We use CertainTeed and Owens Corning sheathing products on the walls we frame, and both need a clean, plumb stud face to perform. Sheathing over wavy studs telegraphs through the siding and creates wind-driven water entry points. If you’re framing in Enterprise and the walls look proud when you sight down them, the sheathing will show it later.
Phase 3: Rough MEP Before Drywall
Mechanical, electrical, and plumbing rough-in is the phase with the most inspection stamps and the least homeowner understanding. The inspector is checking that the work matches code. Nobody is checking that the placement matches how you’ll actually use the space.
What a homeowner should physically inspect before the walls close:
- Plumbing slope. Every drain line should fall at a steady gradient. Stand at the low end and sight down the pipe. If it dips in the middle or flattens near the connection, you’ll have a slow drain in two years. In an attached ADU, the drain connection to the main house is the spot to scrutinize.
- Supply line routing. Ask where the shutoff valves are. Every addition and every ADU should have its own labeled shutoff for water and gas. If the plumber can’t point to it on the drawings, it’s an oversight.
- Electrical box depth and wire clearance. Boxes should sit flush with the finished drywall face, not recessed behind it. Look for wires stapled loosely and running diagonally through studs without nail plates where drywall screws will land.
- HVAC return air. Every new room needs a return path, not just a supply. A supply-only design will pressurize the room and pull humid outer air in through every crack. This is the single most common HVAC mistake in Enterprise additions.
- Photograph everything. Before drywall, take photos of every wall with a tape measure in frame. This is the record you’ll need if something fails later. Our crews document each visit with photos as standard practice; ask any contractor to do the same.
Phase 4: Insulation Before Drywall
Insulation is the cheapest phase to get right and the most expensive to fix, because fixing it means opening a finished wall. In the Enterprise climate, the mistake we see most often is a good R-value installed with poor air sealing, which performs like a worse R-value. Insulation stops conduction. Air sealing stops convection. You need both.
What to look for before the drywall crew shows up:
- Every gap sealed. Top plate penetrations, bottoms of stud bays, wire and pipe chases, and the seam between the new addition and the existing house. If you can see daylight from inside the framed wall, air is leaking.
- Batt coverage. Insulation batts should fill each cavity with no gaps and no compression. Compressed batts lose R-value. If you see batts stuffed in tight with the edges folded, ask the installer.
- Vapor barrier continuity. The barrier should lap and seal at every seam and turn cleanly into every electrical box. Torn barrier behind a finished wall creates a cold spot that will grow mold.
- Attic ventilation path. If the addition has an attic, insulation should not block the soffit vents. Baffles at the eaves keep the ventilation path open.
If you’re adding insulation to a detached ADU in Enterprise, note that summer attic temperatures get high enough to degrade any batt that touches the roof deck. The assembly needs a ridge vent and a clean path, not just insulation shoved into place.
Phase 5: Weatherproofing Before Exterior Finish
Weatherproofing is the phase where small omissions become structural damage, and it’s the one most homeowners skip because it’s happening outside the visible area of the job. Enterprise gets monsoon-driven rain in summer, wind-loaded rain in winter, and dry heat in between. Water entry in one season and rapid drying in the next can hide a leak for a full year before visible damage shows.
What to look for before the stucco or siding goes on:
- Flashings at every junction. Where the new roof meets the old wall, where the new wall meets the existing roof, where transoms and windows sit into the wall, and where the addition meets the ground.
- Kickout flashings. The little piece at the bottom of a roof-to-wall intersection sends water away from the wall. Missing kickouts are the most common water intrusion source we find on finished additions in Enterprise.
- Weep screed. Look at the bottom of the stucco. The weep screed should be above grade and should have visible drainage. Screening at the bottom of stucco that’s buried in the dirt is a slow-motion repair.
- House wrap seams. The wrap should lap in shingle fashion so water runs off, not into, each seam. If it looks like a patchwork of horizontals and verticals, ask the installer to redo the seams that lap the wrong way.
For most additions we build in Enterprise, we stage roofing materials from brands like CertainTeed and IKO; the shingles are only as good as the underlayment and flashing below them. If your roofer isn’t showing you the layers under the finish, you can’t verify the warranty will hold.
Common ADU-Specific Structural Problems
A detached accessory dwelling unit in Enterprise is a small building on its own foundation, which means it carries the same structural loads as a house with less room and less interior bracing. Three problems come up more often than any others.
Inadequate lateral bracing. A detached ADU has more open floor space relative to its footprint, which means fewer interior shear walls to resist wind and seismic forces. If the ADU’s walls run parallel to the long axis with no perpendicular shear walls, the structure relies on its sheathing alone. Look for plywood or OSB panels with structural nailing schedules at every corner and every opening. If the panels are installed with generic fastening and no panel schedule, the bracing is probably under-designed.
Undersized headers at new openings. In an attached ADU, the door between the main house and the ADU is a major structural opening. The header over that door should be sized to the span and the roof and floor loads above it. If the contractor suggests a “sistered” 2×8 when the drawing calls for an LVL, ask for the engineering letter.
Missing structural blocking for future connections. If you plan to add a pergola, an outdoor kitchen wall, or a shade structure later, put the blocking in the ADU framing now. Adding it to a finished wall means cutting drywall and re-flashing the exterior. Building it in takes an hour. Ask for it in writing during the design phase.
How to Read a Change Order for Red Flags
A change order is the single most important document in a construction contract, and it’s the one most homeowners skim. The good ones are specific and itemized. The bad ones hide cost, hide scope, or hide both. Here’s how to spot the difference.
Flag 1: Labor-only change orders. If the change order adds labor but doesn’t itemize materials, ask why. This usually means the materials cost is being absorbed into the labor line where you can’t compare it to the original quote. A clean change order lists the added materials, the quantity, the brand, and the unit price, then lists the labor separately.
Flag 2: Lump-sum additions not tied to a written scope change. If the change order says “Additional framing work – $4,200” with no attached written scope describing what is being framed and why the original scope didn’t cover it, you’re paying a number you can’t verify. Ask for the written scope change that triggers the cost.
Flag 3: Changes that appear after the work. A legitimate change order is signed before the work proceeds. If the crew has already installed the new window and the change order shows up next week, you have a billing problem, not a construction problem. At Rowan Construction Group we hold work to a signed change order before the change goes in, which is the discipline that’s kept our projects within a few percent of the agreed price across more than 4,000 jobs.
Flag 4: Time-and-materials language. If the change order says “T&M” without a not-to-exceed figure, you’re writing a blank check. Ask for a fixed number or a cap.
If you already have a written estimate in hand from another contractor, we’ll review it line by line at no charge as part of our Free Second Opinion. Bring the change orders too. That’s where cost surprises usually originate.
The HVAC Sizing Problem Nobody Calculates
If your addition or ADU was added to an existing HVAC system without a Manual J load calculation, it will be uncomfortable in summer and expensive to run year-round. This is the most common HVAC problem we find on finished additions in Enterprise, and the fix after drywall is closed costs multiples of what the calculation cost to run in the first place.
Manual J is the ACCA (Air Conditioning Contractors of America) standard method for estimating a building’s heat gain and heat loss. It factors in square footage, window orientation, insulation R-value, shading, air infiltration, internal gains from appliances and people, and local climate data. In Enterprise, where summer design temperatures push triple digits, a properly run Manual J almost always shows an existing system cannot absorb a 400 to 800 square foot addition without a system upgrade or a dedicated unit.
What happens without it:
- The addition runs hot in July because the supply duct was extended off the main trunk and the pressure drop kills the airflow.
- The main house runs cold because the thermostat sits in the older thermal zone and the addition is fighting it.
- The compressor runs continuously in August and fails early, usually inside the first four summers.
- The homeowner assumes the contractor “did it wrong” and calls an HVAC tech who discovers the design, not the installation, was the problem.
The fix once drywall is closed: a manual damper and a mini-split dedicated to the addition are the usual remedy, and the total cost typically runs more than the Manual J report would have. Ask for the load calculation before the HVAC rough-in is approved. If the contractor can’t produce one, that’s the moment to slow down.
Remediation Sequence When Something Goes Wrong
If you’re past the point of prevention and the addition or ADU has failed, what you do in the first two weeks determines how much of the cost you recover. Here’s the sequence we recommend.
- Document with timestamped photos. Photograph the condition from multiple angles, with a newspaper or phone showing the date, in every affected room. Take close-ups and wide shots. Keep the originals; don’t crop or filter.
- Send written notice to the contractor. Email first for speed, then a certified letter for the record. State the condition, the date you observed it, and what you want (inspection, repair, or written explanation). Keep the language factual; don’t editorialize.
- Reference the contract’s warranty and dispute clause. Most construction contracts in Enterprise include a written notice requirement and a cure period before the contractor’s warranty obligation triggers. The last page of a Rowan contract (and most written warranties) tells you exactly what the process is. Read it before you call a lawyer.
- Check your state’s contractor complaint process. Nevada’s contractor licensing board (the Nevada State Contractors Board) has a formal complaint process for licensed contractors. Timelines and required documentation are published on the board’s site. Filing is usually free and the process runs in parallel with your contractor correspondence.
- Hire a licensed third-party inspector if the defect is structural or hidden. A third-party inspection typically costs $300 to $500 in the Enterprise market and produces a written report you can attach to a complaint or use in a small-claims filing. For a $2,000 finish issue, it’s overkill. For a $20,000 framing or water intrusion problem, it pays for itself on the first conversation.
- Get a written repair estimate from a second licensed contractor. This is your measured cost, and it anchors any settlement conversation. If your contractor’s warranty claim offer is far below the second estimate, negotiate from the written number.
We handle each of these steps with a documented record on every visit, and we’ve walked Enterprise homeowners through the process on jobs we didn’t build. The Free Second Opinion on any written estimate covers this too. If a contractor’s repair quote looks off, we’ll line-by-line it with you at no charge.
Common Mistakes to Avoid
- Approving a change order over the phone. Verbal approvals turn into disputes. Under Clause 1 of the Haven Standard, the written price comes before the work starts, every time. If your contractor won’t put it in writing, that’s the signal.
- Assuming a passed inspection means the work is correct. Inspections check minimum code on the day of the visit. They don’t check the header span on the sliding door you widened later, and they don’t check Manual J sizing.
- Skipping air sealing because the insulation R-value looks right. In Enterprise, an R-19 wall with a two-inch gap at the top plate performs worse than an R-15 wall that’s sealed. Insulation and air sealing are two separate line items.
- Connecting the new addition’s HVAC to the existing system without a load calculation. This is the most expensive mistake on the list because fixing it after drywall means a new unit and a new duct run.
- Accepting a stucco finish without verifying the weep screed. Stucco buried into the grade traps water, and in Enterprise that water shows up as interior efflorescence within two summers.
- Filing a complaint before documenting. The state board and any mediation process both weigh written and photographic evidence. Documents sent after the fact look manufactured.
- Paying for a repair before the warranty period ends. Read the warranty terms. Paying out of pocket for something still under warranty can void the claim.
See the difference
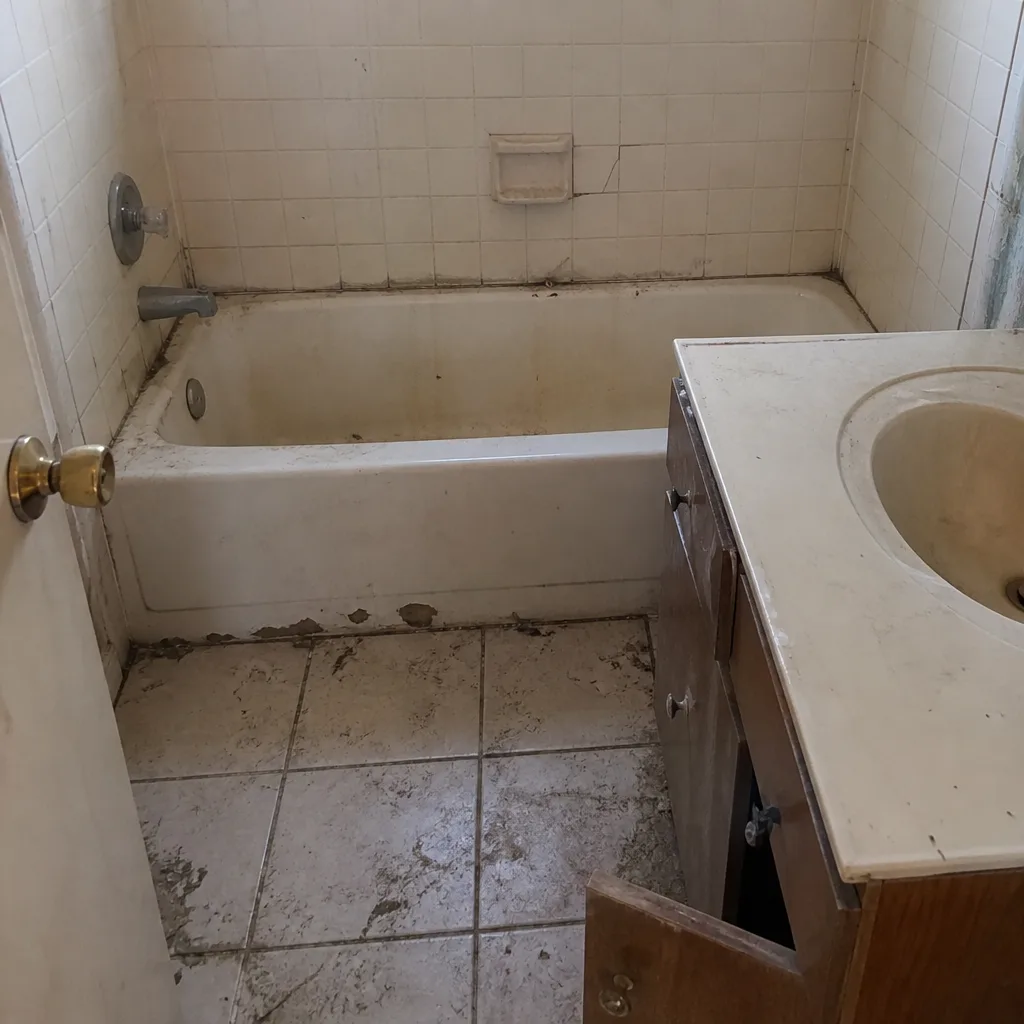 Before
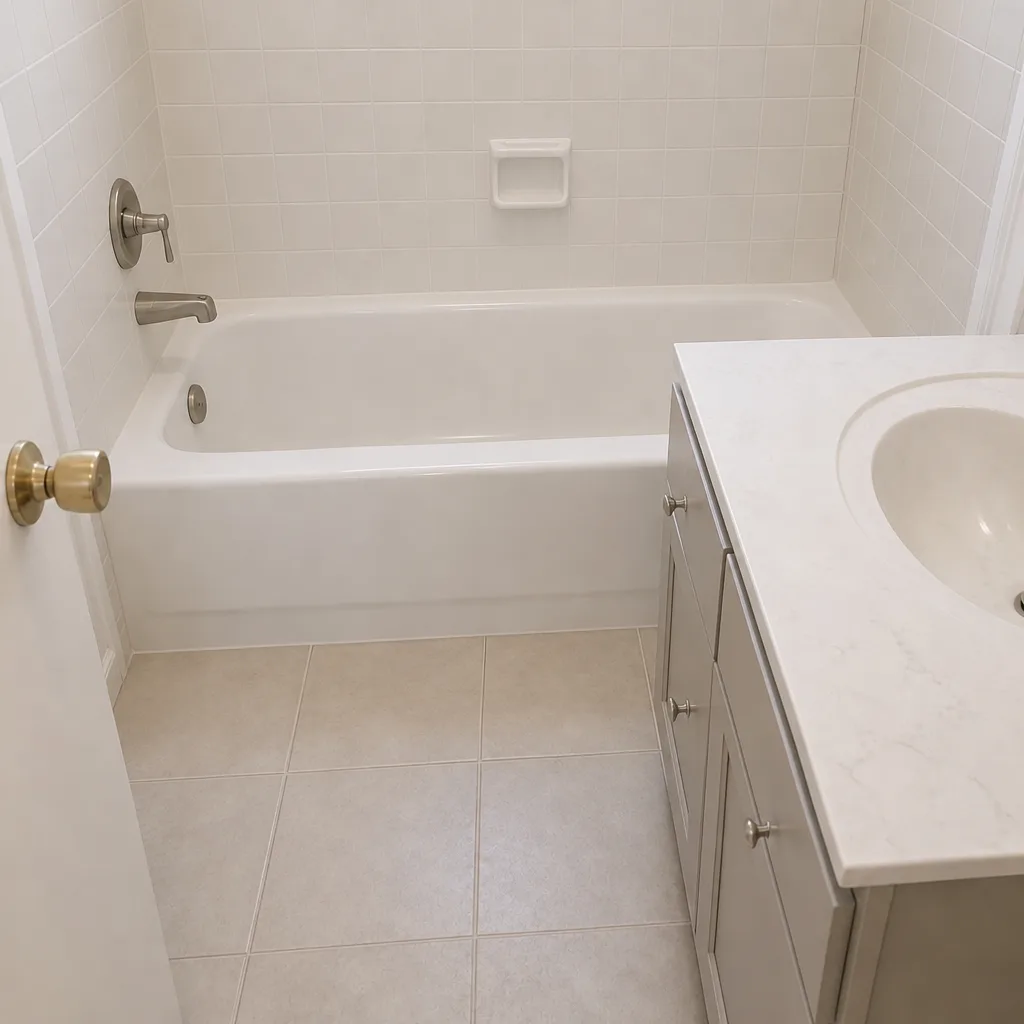 After
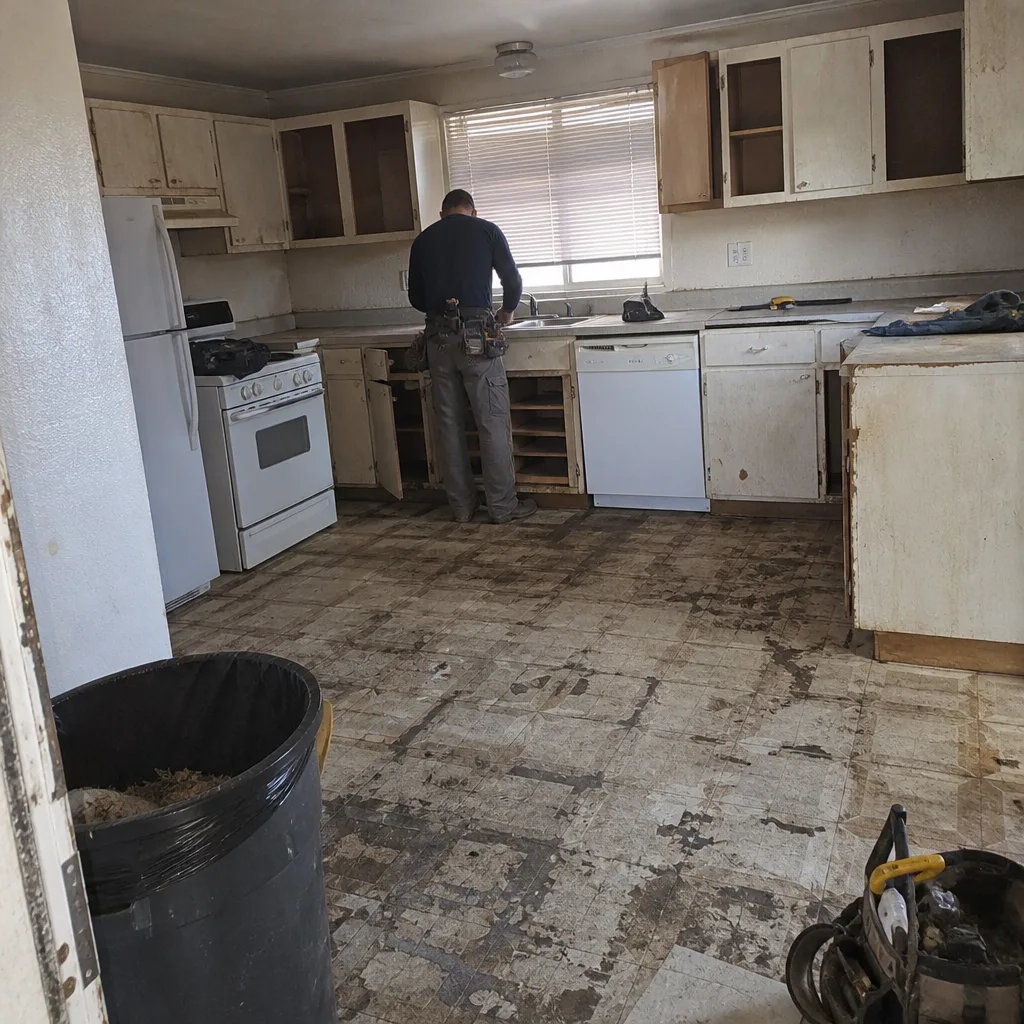 Before
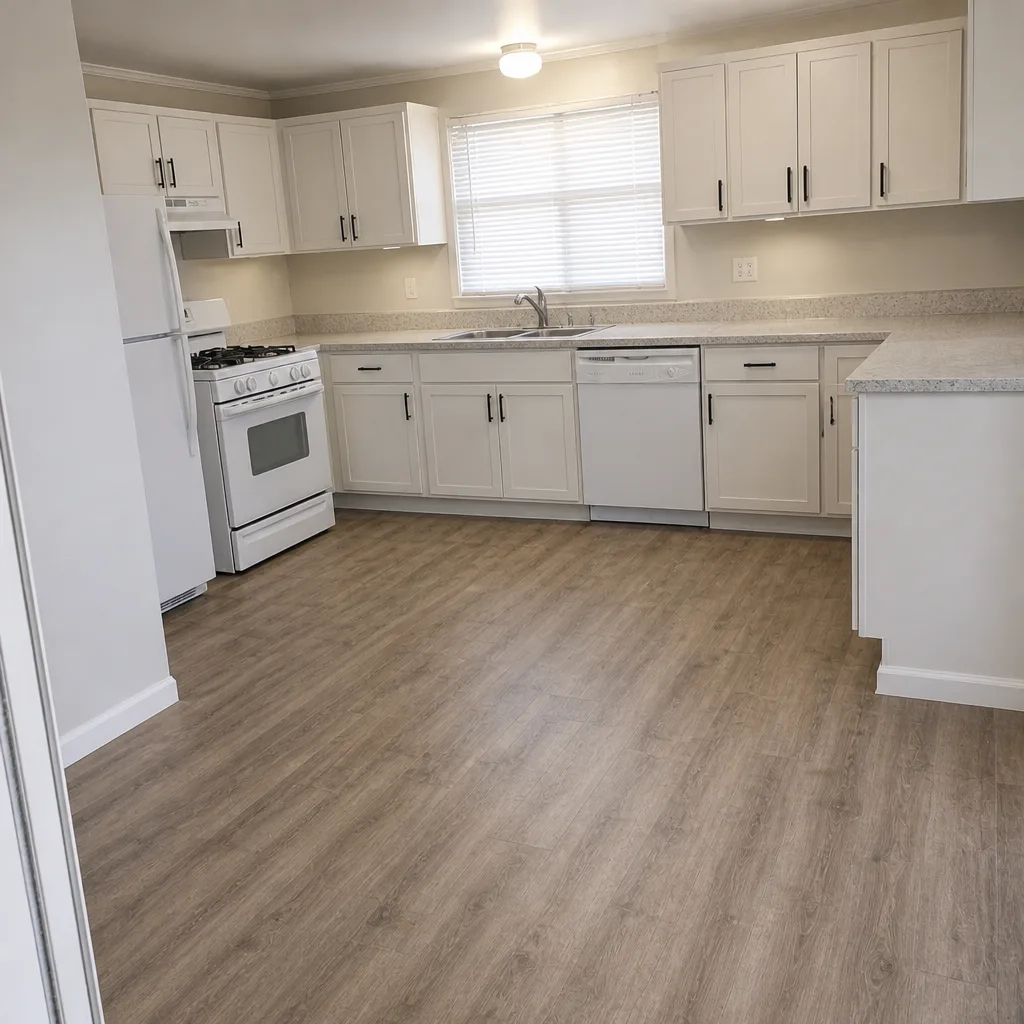 After
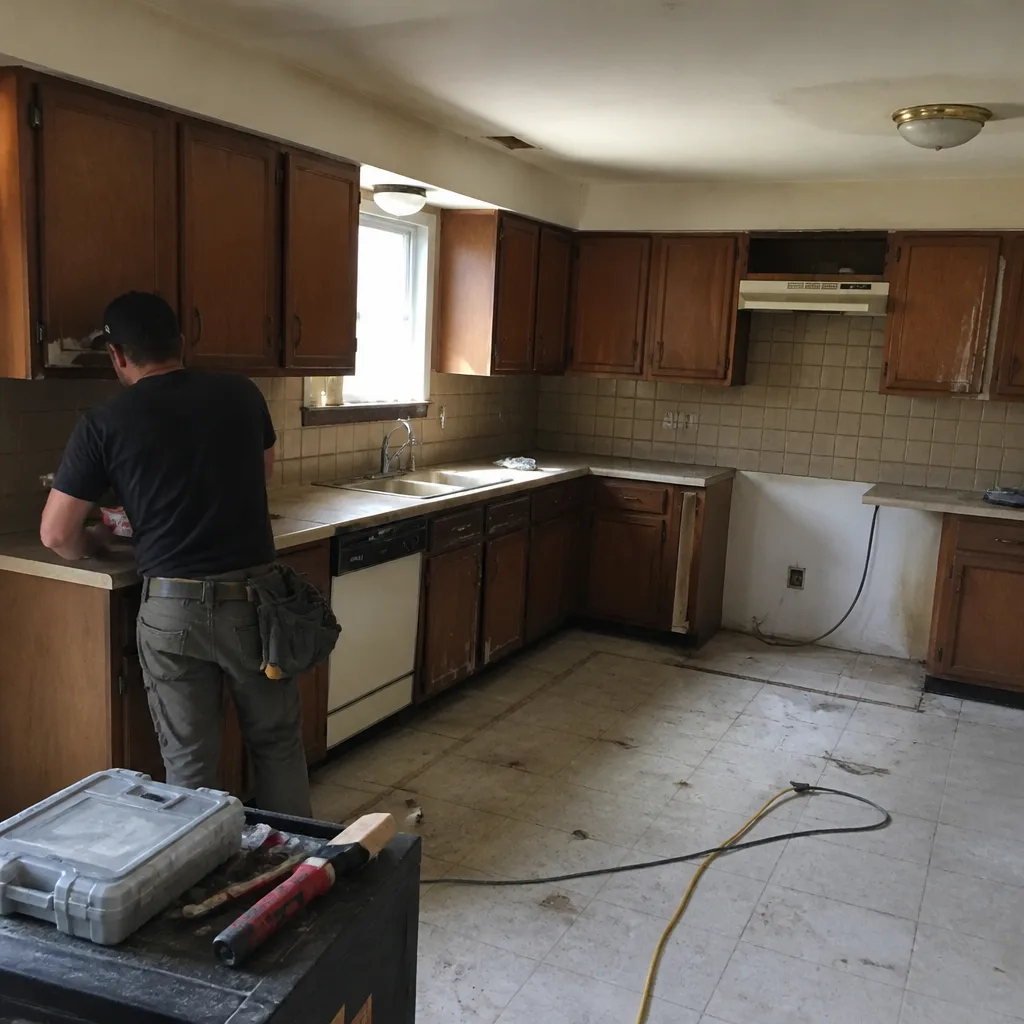 Before
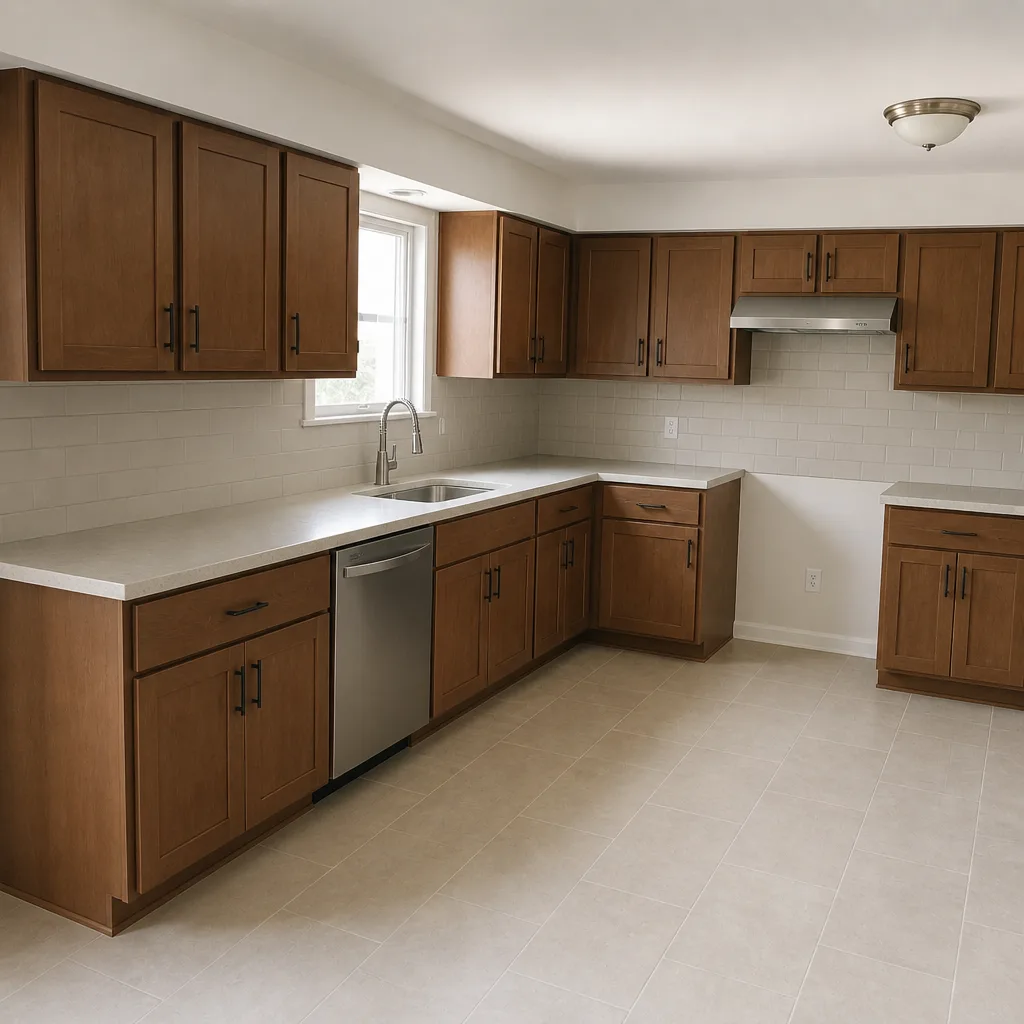 After
When to Call a Professional
Bring in a licensed contractor or inspector the moment work crosses any of these lines: the foundation is poured and the elevation looks wrong, the framing is sheathed and a header looks undersized, drywall is installed and one room is hot while another is cold, stucco is complete and there’s a wet spot on the interior wall below a roofline, or a change order shows up without a written scope. These are not DIY-diagnosable conditions. The cost of an inspection and a written repair plan is small next to the cost of guessing. We handle home additions and ADU work in Enterprise and the surrounding metro, and our written estimates come before work starts, not after. For a free estimate on an addition, ADU, or remediation review, call Rowan Construction Group Enterprise at (833) 630-4077.
Frequently Asked Questions
Common repair costs in the Enterprise market typically run from $1,500 for a single rough-in correction up to $20,000 or more for structural framing repairs that involve removing and re-framing a wall assembly. HVAC sizing corrections on a finished addition generally land between $4,000 and $9,000 depending on whether a dedicated mini-split is needed. Call (833) 630-4077 for an exact quote on your repair; estimates are free.
Yes. Inspections verify minimum code compliance on the day of the visit. An ADU can pass framing inspection and still have undersized headers at a new opening if the opening dimensions on site differ from the plans, or missing structural blocking for future connections if the drawings assumed a different use. The structural problems that generate callbacks are usually the ones code minimums don’t address.
Sometimes. A Manual J load calculation will tell you. In Enterprise, most existing residential systems can’t absorb an additional 400 to 800 square feet without a system upgrade, a dedicated mini-split, or a ducted zoning system. Running the Manual J before drywall costs a fraction of the fix after drywall. Call (833) 630-4077 to schedule a site review before work begins.
Only with a signed change order. Under Rowan’s written scope and pricing, no work proceeds on any change until the change order is signed. The written price you receive before work starts reflects the scope as drawn. If the scope changes, the change order itemizes materials and labor separately. Call (833) 630-4077 to schedule a free estimate with a written price and written scope.
Yes. Every permitted addition and ADU in Enterprise goes through the local building department for foundation, framing, MEP rough-in, insulation, and final inspection. The written scope in our estimate lists which inspections we schedule and which permits we pull, and the documented photo record at each visit is the record of what was inspected. Call (833) 630-4077 for a permit review on your project.
Small corrections to exposed framing or rough-in usually close in three to seven working days. Structural repairs that require removing and re-installing a finished wall take two to four weeks. HVAC corrections after drywall typically take four to six weeks because of equipment lead times. If you have a written estimate for the repair, we’ll review it line by line at no charge under our Free Second Opinion. Call (833) 630-4077.
The Bottom Line
The defects that cost the most in a home addition or ADU are the ones that pass inspection and fail in service. That pattern is predictable. Watch five specific phase checkpoints – foundation formwork, rough framing, rough MEP, insulation, and weatherproofing – and you catch about 80 percent of what goes wrong before it gets buried. If you’re past prevention and into remediation, the sequence that protects your money is document, notify in writing, read the warranty, and get a licensed third-party inspection when the defect is structural or hidden. If a change order shows up without an itemized scope or materials, don’t sign it. Call (833) 630-4077 to schedule your free estimate on a new addition, ADU, or remediation review with Rowan Construction Group Enterprise.
Written by the team at Rowan Construction Group Enterprise.