Last updated November 18, 2026



Free written scope consultation - allowances, timeline, and change-order rules on paper before a single trade is scheduled
Bathroom Remodeling Troubleshooting: Common Problems and How to Fix Them
Grout cracking at the corners of a shower within twelve months of a remodel isn’t a grout problem. It’s a movement joint problem, and it means the installer didn’t follow the TCNA (Tile Council of North America) requirement for a caulked soft joint at every change of plane. The corner of a shower is two walls meeting, and walls move independently. Rigid grout in that joint fails every time. The fix during installation costs $0 extra. The fix after the fact, once water has been finding that joint for a year, runs $400 – $900 and often climbs higher. We’ve opened showers in Enterprise where the entire membrane beneath the tile had been compromised by a single missed soft joint. This guide covers the five defects that drive most bathroom remodel callbacks in order of what they cost to fix, how to test for each before damage spreads, and what to do when a contractor won’t make it right.
Quick Answer
Most bathroom remodel problems trace back to three systems: waterproofing, tile installation, and ventilation. Failed shower waterproofing is the most expensive to correct at $2,500 – $8,000 once tile is down. A shower floor that pools water because it was pitched wrong costs $800 – $2,500 to redo. Inadequate exhaust ventilation leading to mold runs $500 – $3,000 depending on how far the moisture has spread. All three are detectable during construction – a 24-hour flood test catches membrane failures before tile covers them, and a $20 hygrometer and a CFM calculation catch ventilation problems before mold sets in.
Styles & brands we work with
- Kitchen remodeling
- Bathroom remodeling
- Home additions & ADU
- Roofing
- Windows & doors
- Driveway & pavers
- Fence
Table of Contents
- Failed Shower Waterproofing: The Most Expensive Defect
- Improperly Sloped Shower Floors and Standing Water
- Inadequate Exhaust Ventilation and Mold
- Hollow or Loose Tile from Insufficient Mortar Coverage
- Trim and Fixture Installation Over Unpainted Surfaces
- Large-Format Tile and the Lippage Problem
- How to Flood Test a Shower Before Grouting
- The Homeowner’s Remediation Checklist
Failed Shower Waterproofing: The Most Expensive Defect
Waterproofing fails more often than any other part of a bathroom remodel, and it costs the most to fix. A failed shower membrane runs $2,500 – $8,000 to open and redo, because the tile has to come out, the substrate underneath has to be evaluated for damage, and everything goes back together in the correct sequence. In Enterprise, where our water is hard and our showers get used twice a day in households of four, a compromised membrane announces itself within eighteen months. You’ll see efflorescence – that white powdery mineral bloom – at the base of the tile. You’ll see grout darkening that never dries. You’ll see a soft spot in the drywall on the opposite side of the wall. Any one of those means the membrane is no longer doing its job.
The failure modes are consistent. A pre-sloped pan wasn’t installed under the liner, so water pools on the flat membrane instead of draining. The liner was punctured during substrate installation and nobody noticed. The seams where membrane sheets overlap weren’t sealed with the correct membrane banding. In a curbless or walk-in shower, the waterproofing wasn’t carried far enough up the wall past the showerhead height. Liquid-applied membranes were thinned or applied in one coat instead of the two the manufacturer specifies. The materials are not the problem in most cases. The schedule and the sequence are. A membrane that gets walked on, punctured, or covered before it cures has the same failure rate as no membrane at all.
If your remodel is still in progress, ask whether a flood test was performed and whether the result was documented with photographs. A contractor who skipped it usually skipped more. If you’re evaluating multiple bids on a bathroom remodel through Rowan Construction Group Enterprise, the bid that includes a flood test and a documented photo record is the one you want to compare against the cheaper bid. The cheaper bid is cheaper because the test isn’t in it.
Improperly Sloped Shower Floors and Standing Water
A shower floor that holds water in the corners isn’t a drainage quirk. It’s a slope defect, and the slope should have been set in mortar before the tile went down. The correct pitch is 1/4 inch of fall per foot of run toward the drain. On a 4-foot shower floor, that’s a full inch of drop from the far wall to the drain. An installer who eyeballs it without a level and a screed will miss by a quarter inch or less, and that quarter inch is exactly where the pooling happens. The repair, once the tile is set and grouted, costs $800 – $2,500 because the pan tile comes out, the mortar bed is corrected, and the pan is retiled and regrouted.
Enterprise homes built in the 1990s and early 2000s often have original shower pans that were set with a shallow slope even when new, and by the time a homeowner starts thinking about a remodel the pan has settled or the original deck mud has eroded under the drain. The pooling starts in one corner and slowly extends. Here’s how to check for it without pulling anything out:
- The 24-hour standing water test. After the shower has been used, dry the floor and wait 24 hours. Turn on the shower for 60 seconds, then turn it off. If water is still beaded in the corners four hours later, the slope is deficient.
- The level check on the finished floor. Lay a 24-inch spirit level from the far wall to the drain. The bubble should sit roughly 1/2 inch off center toward the drain side. A level that reads flat, or bubbles the wrong way, indicates the slope is too shallow or reversed.
- Grout line darkening pattern. If the grout near the drain dries faster than the grout at the walls, the floor is draining correctly. If the grout at one corner stays dark while everything else dries, that’s a low spot.
The fix during construction is free. The fix after the shower is set into the tile schedule is where the $800 – $2,500 comes from. When you get a written quote, confirm it specifies the slope in inches per foot and names the method (mortar bed vs. pre-sloped foam pan, as with Schluter or Wedi systems) so you can hold the installer to the spec.
Inadequate Exhaust Ventilation and Mold
Bathroom exhaust ventilation is the most commonly undersized component in a renovation, and it’s the one you can verify with arithmetic before a single dollar of remediation is spent. The rule the International Residential Code applies is 1 CFM (cubic foot per minute) per square foot of bathroom floor area, with a floor of 50 CFM. A 70-square-foot bathroom needs a 70 CFM fan. A 110-square-foot bathroom needs a 110 CFM fan. A builder-grade fan rated at 50 CFM is inadequate in any bathroom over 50 square feet, and the fan installed in a lot of Enterprise production homes is right at that number. Undersized fans run, but they don’t clear the moisture. That’s where the mold remediation budget starts, at $500 – $3,000 depending on how far the mold has spread and whether it has reached framing.
The fan is only half the calculation. The duct has to discharge to the exterior of the building. In Clark County, venting a bathroom exhaust fan to the attic or to a soffit cavity is a code violation, because the moisture it moves has to go somewhere and the attic is not a legal destination. We find fans on remodels in Enterprise that have been ducted to the attic for fifteen years, and the sheathing above the bathroom tells the story. The other half: the duct run needs to fall inside the manufacturer’s maximum equivalent length or the fan needs to be upsized, because every elbow and length of flexible duct adds back pressure and cuts the fan’s actual CFM.
The homeowner’s test is a bathroom door holding a piece of toilet paper against the fan grille. If a single ply gets sucked and held, the fan is drawing something. If it drops, the fan is spinning without moving air, which usually means a crushed flex duct or a bird’s nest in the discharge. The $8 hardware-store fix is not the answer here; the fan and duct need to be sized correctly together. For remodels that touch the roof or exterior wall for a new duct discharge, we treat that as part of the scope and document the penetration, which is the same discipline we describe on our Home Additions & ADU in Enterprise page.
Hollow or Loose Tile from Insufficient Mortar Coverage
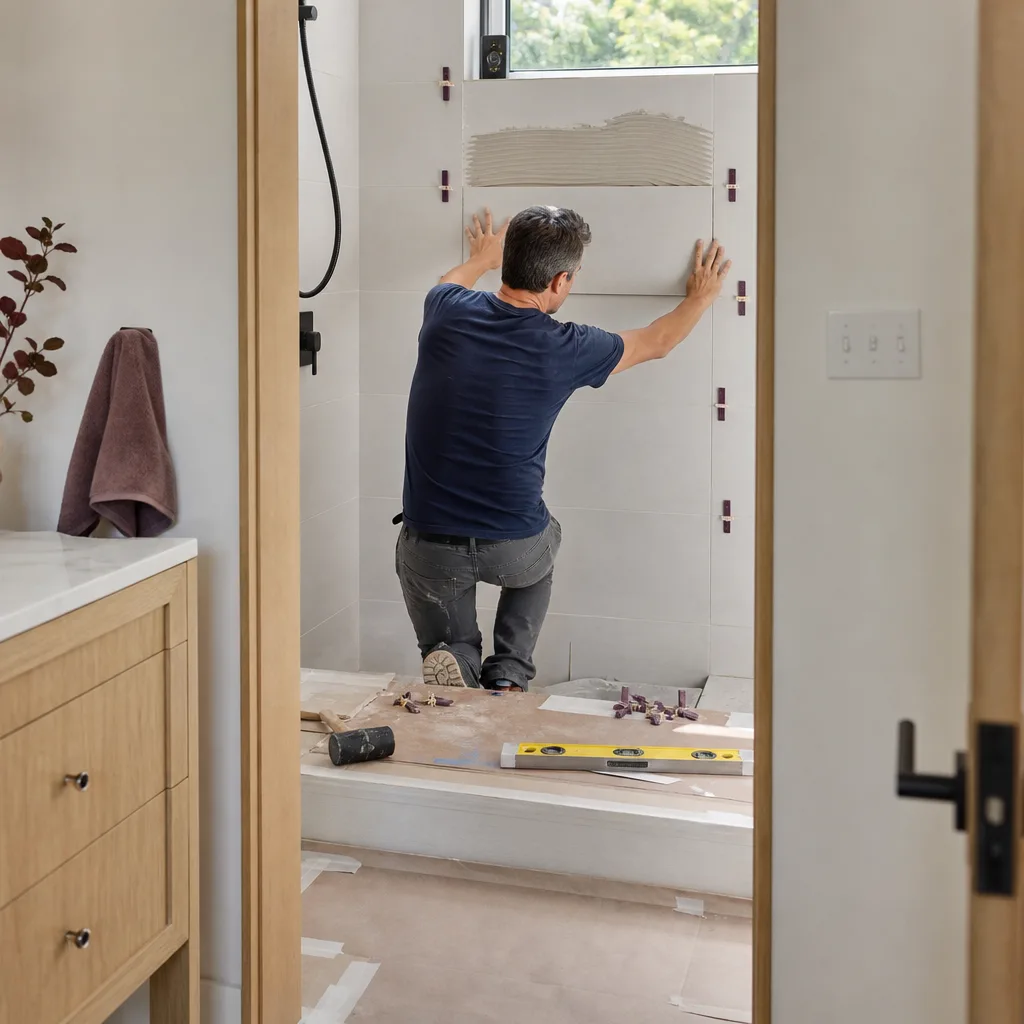
Hollow tile, where a fingertip tap produces a dead thud instead of the sharp tap of well-bonded tile, is a coverage problem. The TCNA standard requires 95% mortar coverage in wet areas and 80% in dry areas on the back of every tile. An installer who spots four or five dollops of thinset on the back of each tile, rather than back-buttering to full coverage or using the correct trowel notch, produces tile that holds for two years and then starts to move. Loose tile in a shower also breaks the waterproofing layer above it, so the fix is $600 – $2,000 per 50 square feet for the tile alone and climbs higher if the substrate is wet underneath. Our technicians, who have up to 19 years of experience, do a tap test on every finished tile wall before the job closes out.
You can do the same test yourself. Use the handle end of a screwdriver and tap each tile in a grid – nine taps across a large tile is about right. Consistent sharp tap is good. A dead thud at a corner is a hollow spot, and a hollow spot at the corner of a shower bench or curb is a hollow spot that will let water in.
Substrate prep is where the coverage is actually decided. The backer board or foam board has to be flat, the correct trowel has to be used, and back-buttering on large-format tile isn’t optional. When our crews quote a bathroom remodel, the written scope specifies mortar coverage and the trowel size. If the tile the homeowner chose is large-format, that’s a line item because the trowel and the technique change. A bid that doesn’t name any of this is a bid that’s pricing the labor without the method.
Trim and Fixture Installation Over Unpainted Surfaces
The fifth most common defect is the cheapest to fix and the most frequently missed. Baseboard, casing, and door trim installed over an unpainted wall, or fixtures set against raw drywall with caulk but no primer, trap moisture against the substrate and give mold a surface to grow on. In an Enterprise bathroom that sees a hundred percent humidity after every shower, an unprimed drywall edge behind a vanity backsplash is a wick. The remediation is small – $150 – $400 in most cases to remove trim, prime, repaint, and reset – but the underlying moisture problem may already have damaged the drywall paper. Our painters prime the wall and back-prime the trim before installation on every bathroom, and that’s the kind of item that shows up in the documented photo record we hand the homeowner at closeout.
The other version of this problem is the fixture installed without a sealing gasket or a bead of mold-resistant silicone where it meets the shower wall, the tile, or the floor. A $40 towel bar mounted to unprimed drywall through a gap in the membrane is a leak waiting to happen. When you walk a finished bathroom during the final punch list, take a flashlight and look behind the vanity, behind the toilet, and along the top edge of the wainscoting. Bare gypsum board or unfinished drywall in those spots is a defect you can see before it becomes mold.
Large-Format Tile and the Lippage Problem
Lippage is edge height variation between adjacent tiles – one tile sits proud, the next sits low, and your toe catches on the difference. TCNA defines lippage over 1/32 inch as a defect on a finished floor. Large-format tile, anything 15 inches or bigger, is where lippage shows up because the tile is too rigid to bend to a bad substrate and the difference between a flat floor and a floor with a 3/16-inch hump over 10 feet is an unacceptably lipped tile line. The remedy is substrate correction before installation. No amount of back-buttering fixes a floor that varies more than 1/8 inch over 10 feet. It has to be leveled with self-leveling compound or a mortar bed before any tile is set, and on a 12×24 tile floor that’s a $900 – $1,800 line item that must appear in the written scope.
The best defense is a straightedge. Before tile goes down, lay a 10-foot straightedge across the floor and slide a 1/8-inch feeler gauge under it. If the gauge slides through anywhere, the substrate gets corrected before installation. On the finished floor, run a coin across the tile joints at a diagonal; if it catches, ask your installer to check the tile against the 1/32-inch standard with a lippage gauge. A tile installer who doesn’t own a lippage gauge is telling you something.
How to Flood Test a Shower Before Grouting
The flood test is the single most useful quality control step in a bathroom remodel, and it costs nothing but 24 hours of schedule. It catches membrane failures before tile covers them, and if your contractor won’t do it, ask why in writing. Here’s the sequence a trained installer should follow:
- Complete the waterproofing. Membrane installed per manufacturer’s written instructions, seams banded, corners and penetrations sealed, and the membrane cured.
- Plug the drain. A test plug or an inflatable drain bladder at the drain opening, sealed tightly.
- Fill with water to the top of the curb. The water should rise to a level just below the curb height, high enough to challenge the entire shower pan membrane.
- Mark the water level. A piece of tape on the wall at the water line, or a pencil mark, gives you a reference point.
- Wait 24 hours. The water level should not drop. Some evaporation is normal in dry air, but a drop of more than 1/8 inch over 24 hours means either a drain plug leak or a membrane failure, and the next step tells you which.
- Look for seepage from below. Inspect the framing and drywall below and beside the shower, including the ceiling below if there’s a floor below, for water staining. Any water at all is a membrane failure.
- Document it. Photograph the water line at the beginning and the end and the state of the framing below. That photo record goes in the customer file.
The flood test is standard professional practice. It is also the single place where an installer can cut a corner without anyone noticing, which is why it needs to be on the schedule in writing and documented. Under Clause 1 of The Haven Standard, every Rowan quote is a written price and a written scope before work starts, and the flood test appears in the scope.
The Homeowner’s Remediation Checklist
If a defect has surfaced after the job closed, document it first and call second. The record you build in the first week determines what a contractor and eventually the Nevada State Contractors Board can do for you.
- Photograph the defect with a date. A close-up with a ruler in the frame for lippage, a photo of the water line on the flood test if you have one from the remodel, and a wide shot showing location in the room. Send the photos to the contractor by email or text so the timestamp is independent.
- Write a dated notice. Under NRS 40.600, Nevada’s right-to-repair statute, a homeowner must give the contractor a written description of the defect and an opportunity to inspect and repair before pursuing a claim of defective construction. The notice should describe the condition in plain language (“water standing in the northwest corner of the shower floor, drywall soft on the east wall of the bathroom”) and request inspection within a reasonable time.
- Allow a reasonable cure period. The statute gives the contractor an opportunity to make it right. Two to four weeks is the range most contractors will respond within; if the defect is causing active damage (water intruding on adjacent rooms), say so in the notice and ask for an expedited inspection.
- Hire an independent inspector if the contractor won’t inspect or won’t agree there’s a defect. A licensed inspector’s written report – moisture meter readings, a tap-test summary, a slope measurement, a CFM measurement if ventilation is at issue – is the evidence that carries.
- Escalate to the NSCB if the cure period passes without action. The Nevada State Contractors Board complaint process is the next step. File the complaint, attach your dated photos, the written notice, the cure period dates, and the inspector’s report.
- Keep the written warranty. The 365-Day Done Right Promise is printed in writing and backed by a terms page. The Havens Standard exists to make this step rare, but if a Rowan defect surfaces within a year, the repair is our obligation.
Common Mistakes to Avoid
- Hiring on price alone. The cheapest bid in Enterprise often excludes the flood test, the substrate correction, and the back-buttering. Those line items are the difference between a bathroom that lasts 20 years and one that needs reopening in 18 months.
- Assuming a cracked grout line is a grout problem. It’s usually a movement joint problem. Forcing new grout into a corner that needs caulk fails again within a year.
- Venting the exhaust fan to the attic. It’s a code violation in Clark County and it turns your attic insulation into a mold farm. The fan must discharge to the exterior.
- Skipping the flood test to save 24 hours. The schedule savings are nothing compared to the cost of opening a finished shower. If a contractor won’t flood test, don’t sign the contract.
- Laying large-format tile over an unprepared substrate. A tile that lippage-checks at 3/16 inch over 10 feet is a tile that will catch your toe forever. Substrate correction has to happen first.
- Never documenting anything. Every defect that becomes a complaint lives or dies on dated photographs and a written notice. A one-minute text message per week during the job prevents months of argument later.
- Assuming the problem is cosmetic. A soft spot near a shower wall or a spongy drywall patch in Enterprise is almost never cosmetic. Open a small inspection hole and find the moisture source before you patch the paint.
See the difference
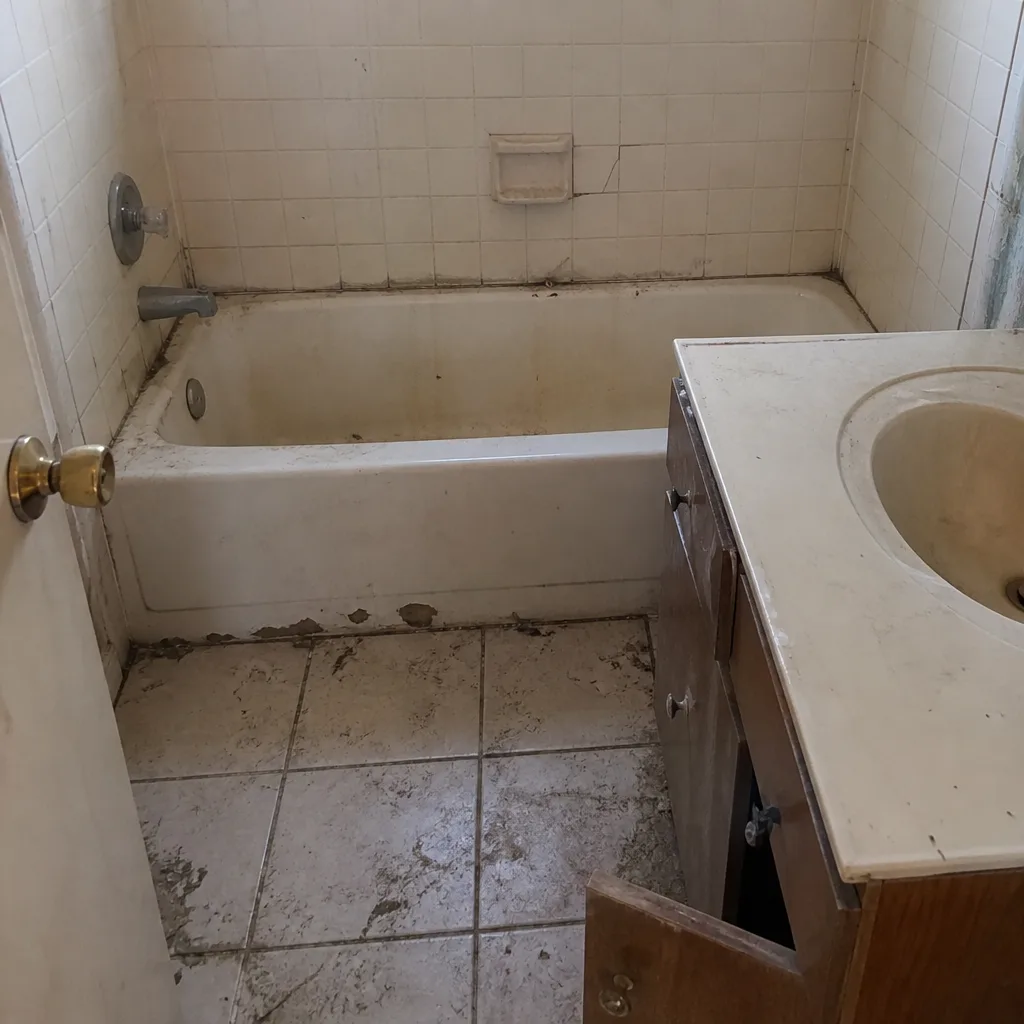 Before
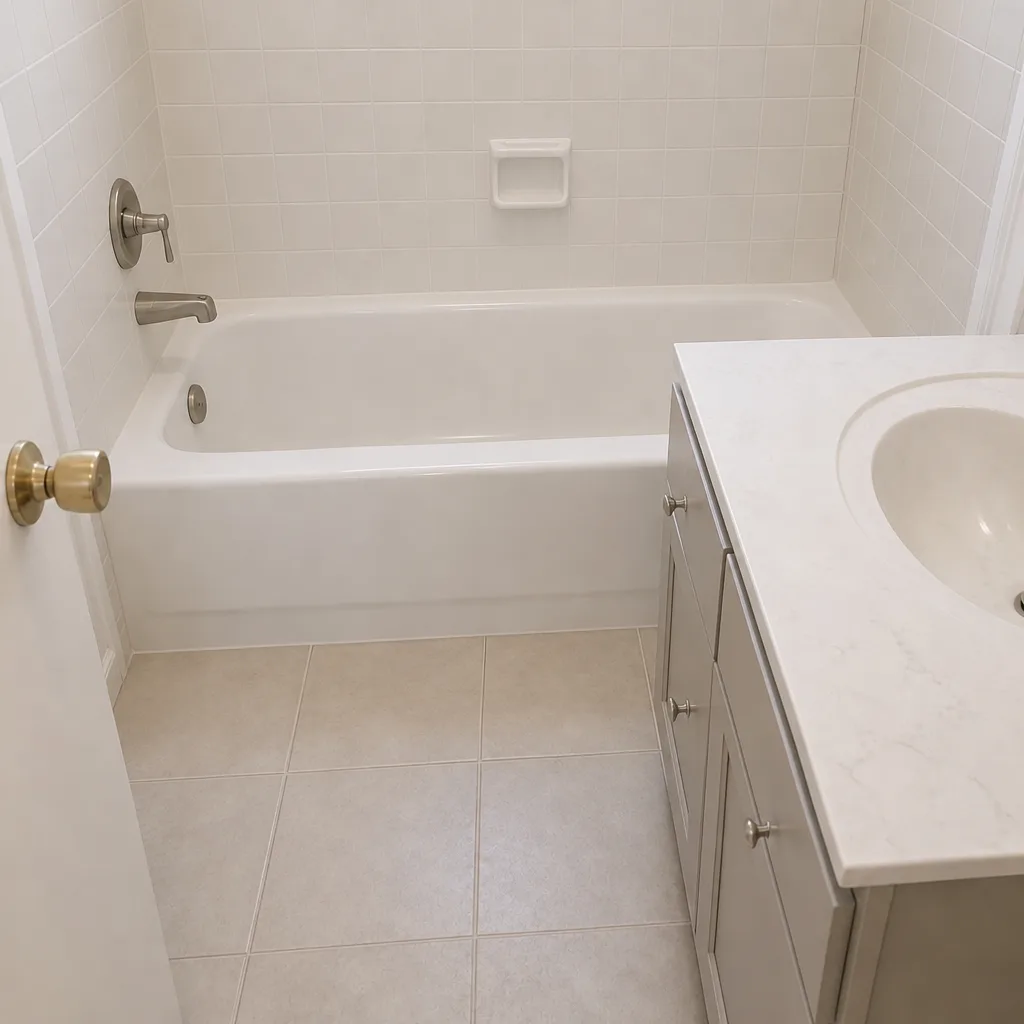 After
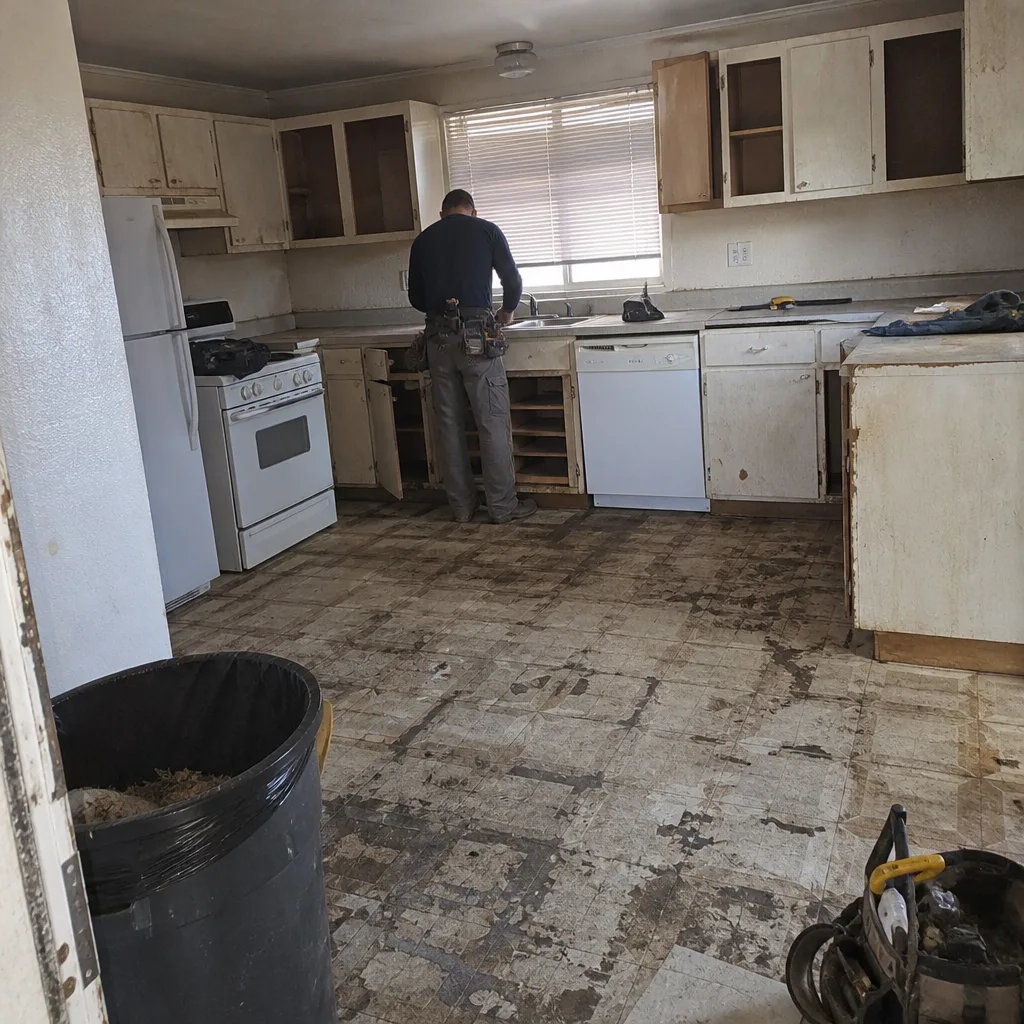 Before
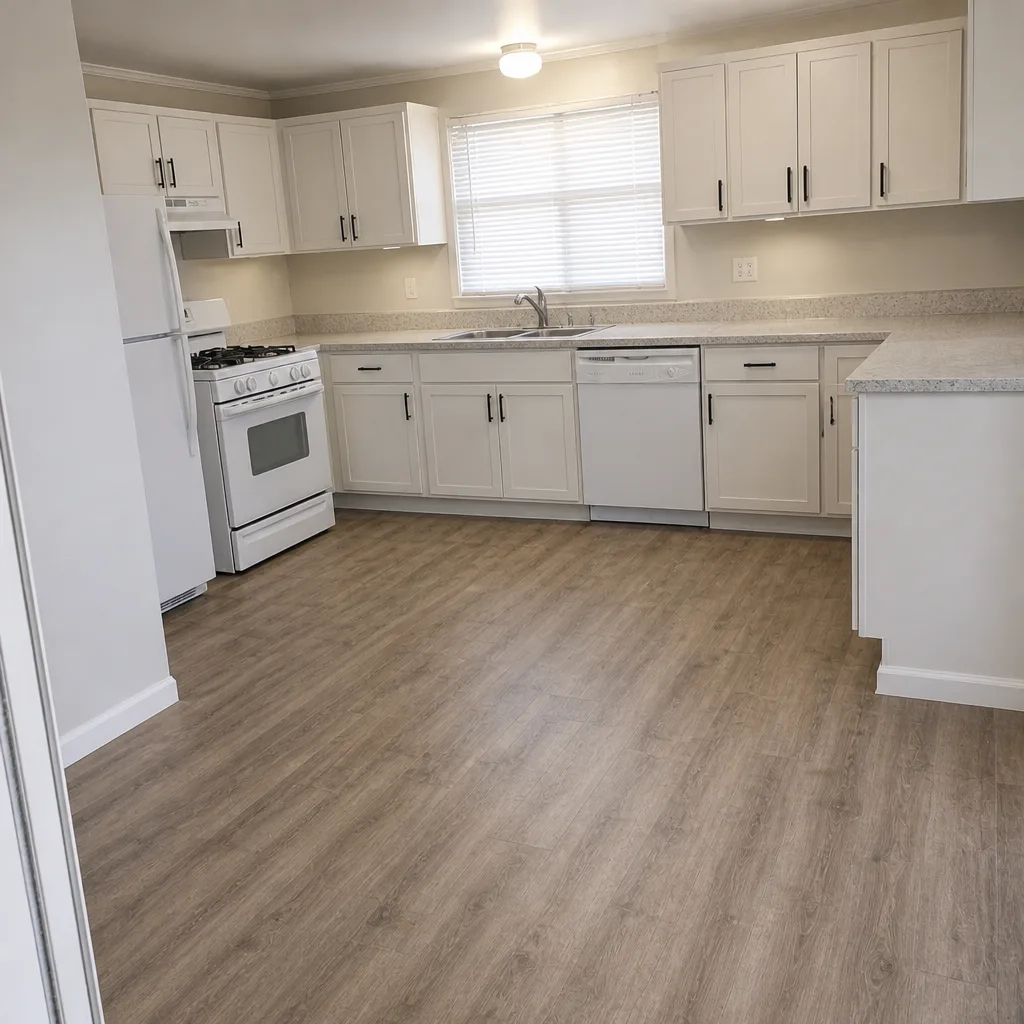 After
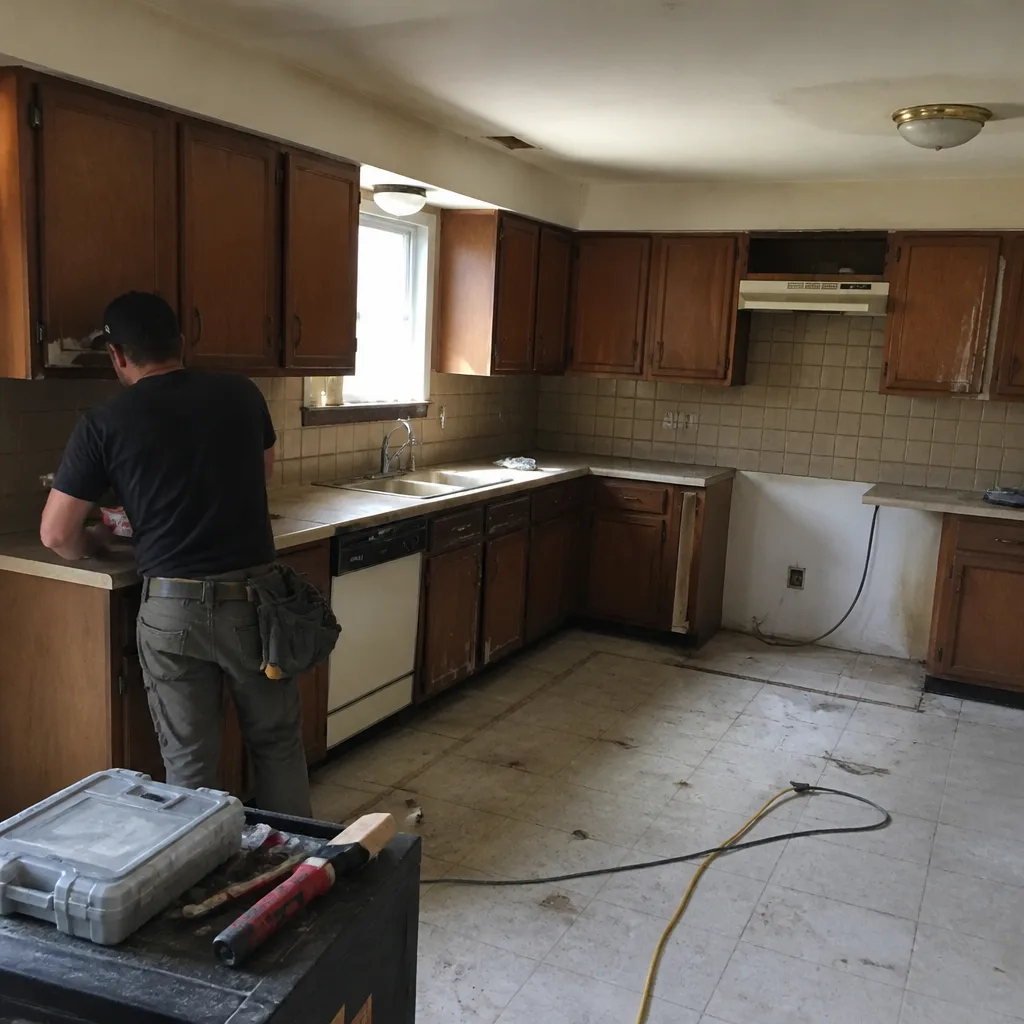 Before
 After
When to Call a Professional
Call a professional before you start opening anything. The scenarios that need a trained eye: water staining on the ceiling or wall next to a shower, any soft or spongy drywall within three feet of tile or a fixture, standing water in a shower floor after 24 hours, mold visible on the backside of the drywall or at a baseboard, a hollow thud or loose tap anywhere on a shower wall, and a fan that doesn’t move toilet paper. The high-tension and moisture-related work – membrane replacement, substrate repair, electrical work for the fan – is not a weekend task, and the wrong repair can push the damage further into the wall cavity. Rowan Construction Group Enterprise offers free estimates in Enterprise. Call (833) 630-4077 to schedule yours. We’ll bring a moisture meter, a level, and a tap test to the visit, and we’ll leave you with a documented photo record of what we found whether or not you hire us. A written price and a written scope come before any work starts, and the 365-Day Done Right Promise backs the work once it does.
Frequently Asked Questions
Opening and redoing a failed shower waterproofing membrane in Enterprise typically runs $2,500 – $8,000. The range depends on whether the substrate underneath is salvageable, whether the framing shows water damage, and how much tile has to come out. A membrane that failed with no structural moisture damage is at the low end. A shower that has been leaking into an adjacent interior wall for a year, where the sheathing and framing need repair, is at the high end. Call (833) 630-4077 for an exact quote on your bathroom; estimates are free, and we’ll give you a written price and scope before anything is opened.
A flood test is a 24-hour water test of a finished shower waterproofing membrane before tile covers it. The drain is plugged, water is filled to just below the curb, the level is marked, and the installer checks for any drop and for seepage on the framing below after 24 hours. It’s standard professional practice and it’s the single best way to catch membrane failures before they cost five figures. Nevada doesn’t require a flood test as a line item on every permit, but a contractor who skips it is skipping a step that costs nothing but a day of schedule.
Pooling water in the corners of a shower floor means the slope is too shallow, or reversed, in that direction. The standard is 1/4 inch of fall per foot of run toward the drain. When the pan was set, it should have been pitched from the far wall to the drain and checked with a level. A quarter inch of missed slope is enough to hold water. Redoing the pan slope costs $800 – $2,500 because the pan tile comes out, the mortar bed is corrected, and the pan is retiled. Call (833) 630-4077 for a free inspection.
The fan needs to move 1 CFM (cubic foot per minute) per square foot of bathroom floor area, with a 50 CFM minimum. A 70-square-foot bathroom needs 70 CFM; a 110-square-foot bathroom needs 110 CFM. The quick field check is a single ply of toilet paper held up to the grille: if it stays, the fan is drawing. If it drops, the fan is spinning without moving air, which usually points to a crushed or blocked duct. The duct also has to discharge to the exterior – venting to the attic is a code violation in Clark County, and it’s a common cause of mold in Enterprise homes.
No – not without a signed change order. Under The Haven Standard, the written price is a flat price against a written scope, and no work proceeds on a change until the change order is signed. If opening the wall reveals a hidden condition (rotted framing, an unexpected drain problem), we show you the photo record, quote the remedy as a change order, and you decide to sign or not sign. That’s the discipline that has kept our projects within a few percent of the agreed price. Call (833) 630-4077 for a free estimate.
Start with a dated written notice describing the defect in plain language and requesting inspection. Under NRS 40.600, Nevada’s right-to-repair statute, the contractor gets an opportunity to inspect and repair before you can pursue a defective-construction claim. Give a reasonable cure period – two to four weeks is the range for a non-emergency defect – and if the contractor doesn’t inspect or doesn’t agree there’s a defect, hire a licensed independent inspector for a written report with moisture readings, slope measurements, or a tap test. If the cure period passes without action, escalate to the Nevada State Contractors Board. Call (833) 630-4077 if you want a free second opinion on a competing contractor’s written estimate – we’ll review it line by line at no charge.
The Bottom Line
The five bathroom remodel defects that drive callbacks in Enterprise are all detectable before they cause damage: failed waterproofing, improperly sloped shower floors, inadequate ventilation, hollow tile from thin mortar coverage, and trim installed over unpainted surfaces. The flood test costs nothing but 24 hours and catches the most expensive defect before the tile covers it. The ventilation calculation is simple arithmetic – 1 CFM per square foot, minimum 50, ducted to the exterior. Substrate correction before tile goes down prevents lippage no amount of back-buttering can fix afterward. If a problem surfaces after the job, your dated photographs, your written notice under NRS 40.600, a reasonable cure period, and – if needed – an NSCB complaint are the record that decides the outcome. A written price, a written scope, and a documented photo record before anyone touches a tile are the discipline that prevents most of this list in the first place. Rowan Construction Group Enterprise offers free estimates and a free second opinion on any competing quote. Call (833) 630-4077 to schedule yours.
Written by the team at Rowan Construction Group Enterprise.