Last updated November 18, 2026



Free written scope consultation - allowances, timeline, and change-order rules on paper before a single trade is scheduled
Driveway & Pavers Maintenance Schedule: What to Do and When
Polymeric joint sand in an Enterprise driveway exposed to monsoon sheet-flow without a May edge-restraint check can wash out in a single storm event, turning a $40 sand-refresh into a $600 re-lay of a 20-square-foot section. That is not a worst-case scenario. We’ve seen it happen in neighborhoods like Silverado Ranch and Mountain’s Edge, where a hairline gap at the apron lets water slip under the field and lift the sand from below. The fix is not more sand. It’s a calendar. This guide lays out three maintenance windows a year – February, May, and October – built around how the Mojave actually behaves, not a four-season template borrowed from a wetter climate. You’ll get the specific tasks for each window, the products that hold up here, and the one inspection most guides skip.
Quick Answer
A paver driveway in Enterprise needs three scheduled maintenance passes per year: a post-winter inspection and sand top-off in February, a pre-monsoon edge-restraint and joint check in May before the summer rains arrive, and a post-monsoon cleanup and re-sand in October. Skipping the May pass is the single most common reason monsoon runoff undermines joint sand, because that is the window when a small gap at the edge restraint is still cheap to close. Sealers run on a separate cycle: every 3 to 5 years for concrete pavers, every 2 to 3 years for travertine.
Styles & brands we work with
- Kitchen remodeling
- Bathroom remodeling
- Home additions & ADU
- Roofing
- Windows & doors
- Driveway & pavers
- Fence
Table of Contents
- Why an Enterprise Driveway Needs Its Own Schedule
- February: The Post-Winter Inspection
- May: The Pre-Monsoon Window That Protects Everything Else
- October: Post-Monsoon Recovery and Re-Sand
- Polymeric Sand: How to Inspect and Re-Apply Without Wasting a Bag
- Sealer Intervals by Paver Material and What They Cost
- The Apron Edge Compaction Check Nobody Talks About
- What to Photograph to Support a Warranty Claim
Why an Enterprise Driveway Needs Its Own Schedule
Enterprise sits in a desert that does most of its damage in about eight weeks. Annual rainfall here runs roughly 4 inches, but a single July storm can drop an inch of it in under an hour, and that water moves fast across a hardpan surface because the soil underneath doesn’t absorb much. Property in Enterprise developed between 2000 and 2020 often sits on graded lots where the drainage plan assumes a paved surface shedding water toward a swale or a curb break. When the joints between pavers open up, that plan stops working.
The second factor is heat. Asphalt pavement surfaces in Enterprise summers can push toward 150°F, and concrete pavers sit a shade cooler but not by much. That cycle of expansion in the day and contraction at night, repeated over a hundred straight days above 100°F, works on every joint and every sealer film. Polymeric sand that was installed correctly in a cooler region can still develop fines migration here (the fine particles washing down through the joint, leaving a hollow channel) because the thermal movement is larger.
The third factor is what we find in specific parts of town. In the older tracts off Windmill and Sunset, we routinely see failed edge restraints where original construction used spike-and-plate restraint on a curb that has since settled. In newer communities north of the 215, the failure mode is usually joint sand loss without visible settling – the pavers look flat but the joints are 3/8-inch deep and open. Two different problems, two different fixes, and both are cheaper to catch in February or May than in September.
The schedule below assumes a paver driveway of typical residential size, roughly 400 to 800 square feet, installed over a compacted aggregate base with edge restraint on both sides. If your drive is concrete instead, the timing windows still apply; the tasks change. When the base itself has failed – visible rutting, rocking pavers, or water pooling where it never used to – that’s a repair conversation, not a maintenance one, and it’s worth reading how we handle Driveway & Pavers in Enterprise before deciding which you’re facing.
February: The Post-Winter Inspection
February in Enterprise is cool enough to work outside comfortably and dry enough that problems are visible rather than hidden under water. This is the inspection window, not the repair window. You’re looking for what the mild winter did and what spring roots and weeds are about to do.
- Walk the entire perimeter with a notepad. Note every paver that rocks underfoot, every joint wider than 1/4 inch, and every spot where sand sits on top of the field instead of between pavers. That last one usually means the sand is migrating out of the joints, not that someone spilled it.
- Check the apron edge where the driveway meets the street. Push on the pavers along the first two rows with your heel. Any movement means the edge restraint or the base under it has loosened. Flag it; do not ignore it until May.
- Look for weeds in the joints. In Enterprise, bristly oxtongue and cheeseweed establish in January and February. Pull them now. A joint with a weed in it has a gap big enough to take sand.
- Inspect the drainage path. If your drive drains toward a swale, walk that swale in February while it’s dry and confirm the low point is where the original plan puts it. If the low point has shifted, the pavement has settled somewhere.
- Photograph everything. Wide shots, close-ups, a coin or tape measure against anything you’re flagging. The documentation habit pays off later, and we’ll explain why in the warranty section.
February is also the right month to top off joint sand before spring, since the material cures better in the 60s and 70s than it does at 110°F. If the base is sound and the edge restraint is intact, a sand top-off now buys you a cleaner May inspection.
May: The Pre-Monsoon Window That Protects Everything Else
If you only do one maintenance pass a year on an Enterprise driveway, do it in May. The monsoon season runs roughly July through early September, and the rain arrives as short, intense bursts that run off a paved surface in sheets. An edge restraint that’s 1/8-inch loose in early May will be visibly failed by early August. A joint that’s 1/4-inch deep in May will be a void by September.
May is the last reasonable moment to close those gaps while the weather is still dry and workable. Here’s the pass, in order:
- Edge restraint re-set. Check every spike, plate, and curb joint along both sides and the apron. Re-spike anything loose; reset any paver at the restraint that has tilted. This is the highest-value task on the calendar and the one most homeowners skip because the edge “looks fine.”
- Joint depth audit. Walk the drive with a screwdriver and check depth every ten feet. Joints that are 1/4 inch deep or deeper need re-sanding before monsoon. Shallow joints with intact sand are fine.
- Drainage re-check. Confirm that surface water still has a clear path to the swale or curb break. Debris, mulch migration from adjacent beds, and settled pavers all redirect water.
- Sealer touch-up on high-wear zones. The two center wheel tracks and the apron get the most traffic and lose sealer first. A localized touch-up in May prevents a full re-seal in October.
- Clear the swale inlet if you have one. In neighborhoods like Rhodes Ranch where stormwater swales run along the side of the drive, a clogged inlet turns a minor storm into a sheet of water across the pavement.
Our technicians have up to 19 years of experience with this exact cycle, and the pattern is consistent: the driveways that come through monsoon season without a re-lay are the ones that got a real May inspection. The ones that don’t are the calls we get in August.
October: Post-Monsoon Recovery and Re-Sand
October in Enterprise is when you find out what the summer took. The monsoon is over, temperatures are dropping into working range, and any joint that lost sand is now visible as a dark, deep channel rather than a filled joint. This is the re-sand month.
- Do a full sand assessment. Compare the joint depths you recorded in May with what you find now. Anything that went from 1/8 inch to 1/4 inch or more in one season lost sand to runoff or wind.
- Clean the joints. Blow out debris with a leaf blower on high, or a shop vac on the joints the blower misses. Do not re-sand over dirt; the new sand won’t bond.
- Re-sand with polymeric sand. Use a product rated for the joint width you have. We recommend Techniseal HP Pro for typical 1/8 to 1/4-inch joints and Alliance Gator Maxx G2 for wider or more irregular joints. Both are engineered for the temperature swings you get here. Sweep the sand in, then compact with a plate compactor fitted with a rubber mat. Never skip the compaction step.
- Activate the polymer. Mist the surface with a fine spray until the sand darkens, then leave it. Do not flood it. A heavy spray washes the polymer out and you’re back to square one. Two light passes 10 minutes apart beats one heavy pass every time.
- Let it cure 24 hours before traffic. No cars, no bikes, no hoses. Curing in October’s moderate temperatures is the cleanest window in the Enterprise calendar.
Budget for a full re-sand of a 20-square-foot section to cost in the range of $40 to $80 in materials if you’re doing it yourself, or $150 to $300 for a small section professionally, depending on access and prep. A 500-square-foot drive takes two to three bags of polymeric sand, so materials run $80 to $130 for the year when you buy at a supply house in Enterprise.
Polymeric Sand: How to Inspect and Re-Apply Without Wasting a Bag
Polymeric sand is not regular sand with glue in it. It’s a graded aggregate with a polymer binder that activates on contact with water and cures into a semi-flexible joint filler. That flexibility is what lets an Enterprise driveway take thermal movement without cracking the joints open – regular sand or mortar both fail here eventually. The two products worth knowing are Techniseal HP Pro, which has a finer aggregate and works in tight joints, and Alliance Gator Maxx G2, which performs well in wider or more irregular joints and has a longer open time before it skins over.
The mistakes that waste a bag:
- Sanding over a damp joint. If the joint is wet, the polymer activates in the wrong place, clumps on the surface, and doesn’t fill the depth. Wait for a dry morning, which in Enterprise is easy to find.
- Skipping the compaction pass. Polymeric sand that isn’t compacted sits loose and washes out on the first sheet-flow. A plate compactor with a rubber pad is the tool; a hand tamper is a distant second.
- Flooding instead of misting. A hose on full power turns the joint into a trench. A spray bottle or a hose nozzle set to the finest mist pass is what the instructions actually mean.
- Applying in wind. Enterprise has spring and fall wind days. Polymeric sand blowing across the street in a gust wastes the bag and stains the neighbors’ pavers.
One more note specific to this climate: fine dust from the desert settles into joints faster than in wetter regions. That dust holds moisture and breaks the polymer bond over time. A quick blow-out before re-sanding, and once or twice a year in between, extends the life of every joint.
Sealer Intervals by Paver Material and What They Cost
Sealer is not a yearly task. Over-sealing is as much a problem as not sealing, because sealer film that’s built up beyond the product’s recommended coat count can yellow, craze, or trap moisture. Here’s the schedule by material:
- Concrete pavers: every 3 to 5 years. Look for a penetrating sealer on new or unsealed pavers, or a film-forming acrylic on already-sealed surfaces. Products worth naming: Techniseal Paver Protector for a matte, natural look; Eagle Stoneseal for a glossier finish. Material cost for 500 square feet runs $120 to $250; a typical professional application runs $400 to $800 depending on square footage and prep.
- Travertine: every 2 to 3 years. Travertine is more porous than concrete pavers and more sensitive to the sun. Use a penetrating, solvent-based sealer rated for natural stone – Miracle Sealants 511 Impregnator is one we see hold up. Cost for 500 square feet runs $250 to $450 in materials; professional application $600 to $1,100 for a drive of that size. Travertine in Enterprise also benefits from a sealer refresher on the sun-exposed side of the drive, which loses film faster than the shaded side.
- Clay and natural stone pavers: every 3 to 4 years. Use a breathable, penetrating sealer. Never use a film-former on clay; trapped moisture spalls it in winter.
Sealer cost per 100 square feet, roughly:
| Paver material | Interval | Materials per 100 sq ft | Professional per 100 sq ft |
|---|---|---|---|
| Concrete pavers | 3-5 years | $25-$50 | $80-$160 |
| Travertine | 2-3 years | $50-$90 | $120-$220 |
| Clay / natural stone | 3-4 years | $40-$80 | $100-$200 |
Seal in October, not May. You want the film curing in moderate temperatures with no monsoon on the way. A May-sealed drive can lose film to the first major storm if the surface wasn’t fully clean and dry at application.
The Apron Edge Compaction Check Nobody Talks About
Every paver maintenance guide mentions joint sand and sealer. Almost none mentions the single task that catches the most expensive failure early: an annual compaction spot-check along the apron edge, where the driveway meets the street and the city right-of-way.
The apron is a transition zone. The pavers here sit against a concrete gutter, a curb, or a driveway cut, and that junction takes the full force of every vehicle turning in and the full force of every sheet of monsoon runoff leaving the drive. The base material underneath is compacted on install, but over years of loading and thermal cycling, a void can develop two to six inches back from the edge. That void is invisible until a paver cracks or the field starts to rut.
How to check it:
- Stand at the apron edge and put your weight on the heel of your hand on a paver in the second row back. You’re checking for deflection – anything more than a hair’s movement is a flag.
- Tap the pavers across the first three rows with a small rubber mallet. A hollow sound versus a solid one tells you if the base has voided. A hollow paver with no visible settling is a paver about to crack.
- Pour a cup of water on the apron. If the water drains straight down through the joint in under a minute, the joint is the issue. If it pools and sits, the edge restraint is holding water against the field – the most damaging condition of all.
- Photograph anything you find and date it. If the base fails within the workmanship warranty, that dated photo is the difference between a covered repair and an argument.
Done once a year in May, this five-minute check catches edge-restraint failure before the field starts moving. Caught early, it’s a re-spike and a re-sand. Caught late, it’s a re-lay of whatever section the failure took with it.
What to Photograph to Support a Warranty Claim
If a contractor’s base work or edge restraint fails within their workmanship warranty, the claim lives or dies on documentation. This is the part of maintenance nobody plans for, and it’s the part that matters most when something goes wrong. We include a documented photo record on every visit as standard, and if you’re maintaining your own drive between professional visits, here’s the file to build.
- Baseline shots at installation, or at the start of your maintenance. Wide shot of the whole drive, then a walking series down each edge and the apron. Date every file. A phone camera timestamps for you; leave the date in the filename.
- A scale reference in every close-up. Lay a coin or a tape measure against any joint or crack you photograph. “The joint was wide” means nothing. “The joint was 5/16 inch on this date” is evidence.
- Seasonal before-and-after pairs. February, May, and October photos of the same spot, shot from the same angle. A time-lapse set of the same corner shows whether a joint has been losing sand for two years or opened last month.
- The apron edge in close-up. Because edge failure is the costliest, keep the apron in your photo set every season.
- Drainage path shots after a storm. During and after a July or August storm, photograph where water pooled and where it drained. This is the evidence that shows whether the design failed or the maintenance did.
- The written scope and warranty, photographed. The photograph of the original scope, the change orders, and the warranty page protects the whole claim. If you’re considering a contractor and want to see how that documentation works in practice, our Rowan Construction Group Enterprise home page lays out the standard.
A claim without a photo set is a conversation. A claim with a dated photo set is a repair under warranty. Build the file.
Common Mistakes to Avoid
- Skipping the May inspection because the drive “looks fine.” It looks fine because it’s dry. The gaps that matter are the ones water will find in July, and they’re invisible from standing height. Get down at the apron and check.
- Re-sanding without compacting. Loose polymeric sand washes out on the first meaningful storm – the bag is wasted and the joint is worse for having been disturbed. Compact, then mist, in that order every time.
- Over-sealing on a yearly schedule. A film-forming sealer applied every year builds up to a yellow, brittle coat that traps moisture and peels in the first hard freeze. Follow the 3-to-5-year or 2-to-3-year interval for your material.
- Using regular sand in the joints. Standard sand in an Enterprise drive is a weed habitat and a runoff channel. It’s not cheaper once you re-do it every season.
- Ignoring weeds in joints in February. The plant is small; the gap it grew through is not. Pull it and fill the joint before spring.
- Spraying the sealer on a windy spring day. Enterprise wind plus sealer equals overspray on the house, the fence, and the neighbor’s car. Seal in October’s calmer air.
- Treating a rocking paver as cosmetic. Movement means the base under that paver has voided. Left alone, it spreads to the surrounding field and turns a $40 fix into a section re-lay.
See the difference
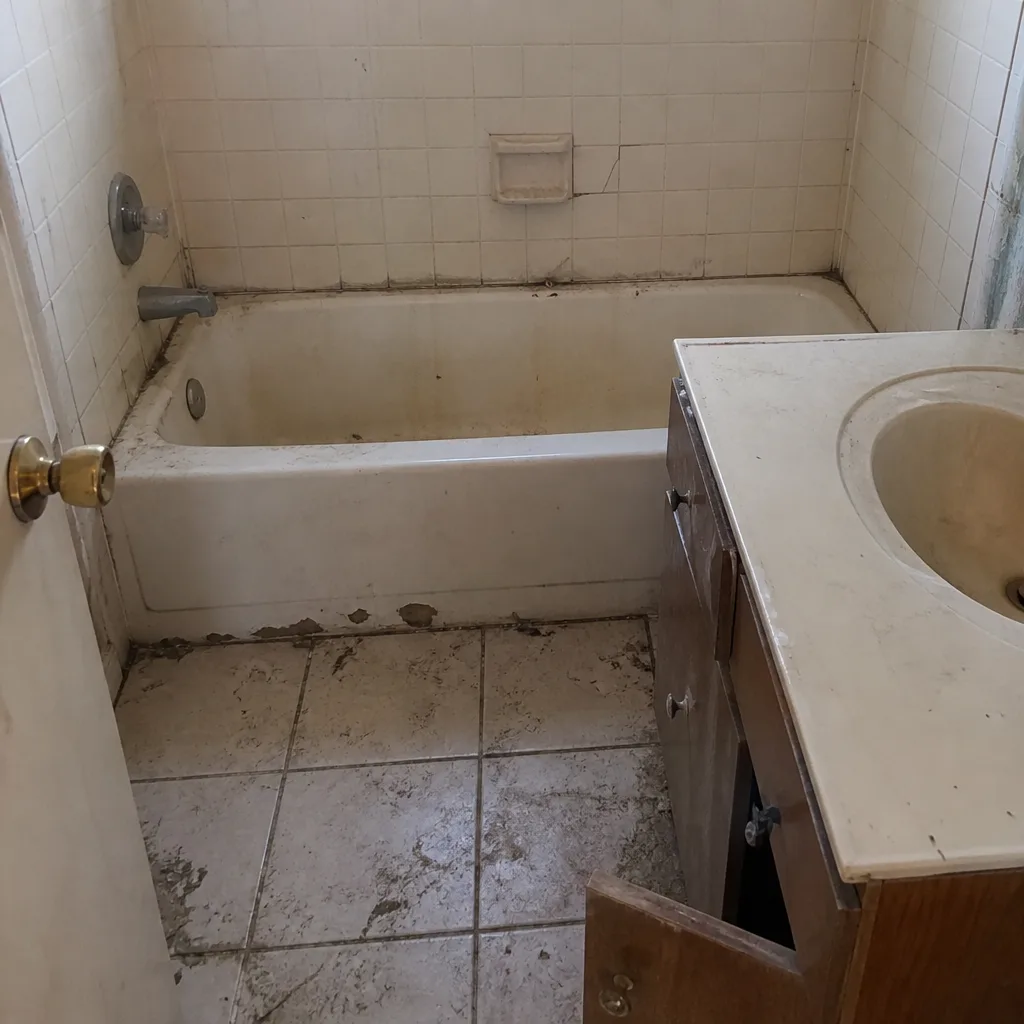 Before
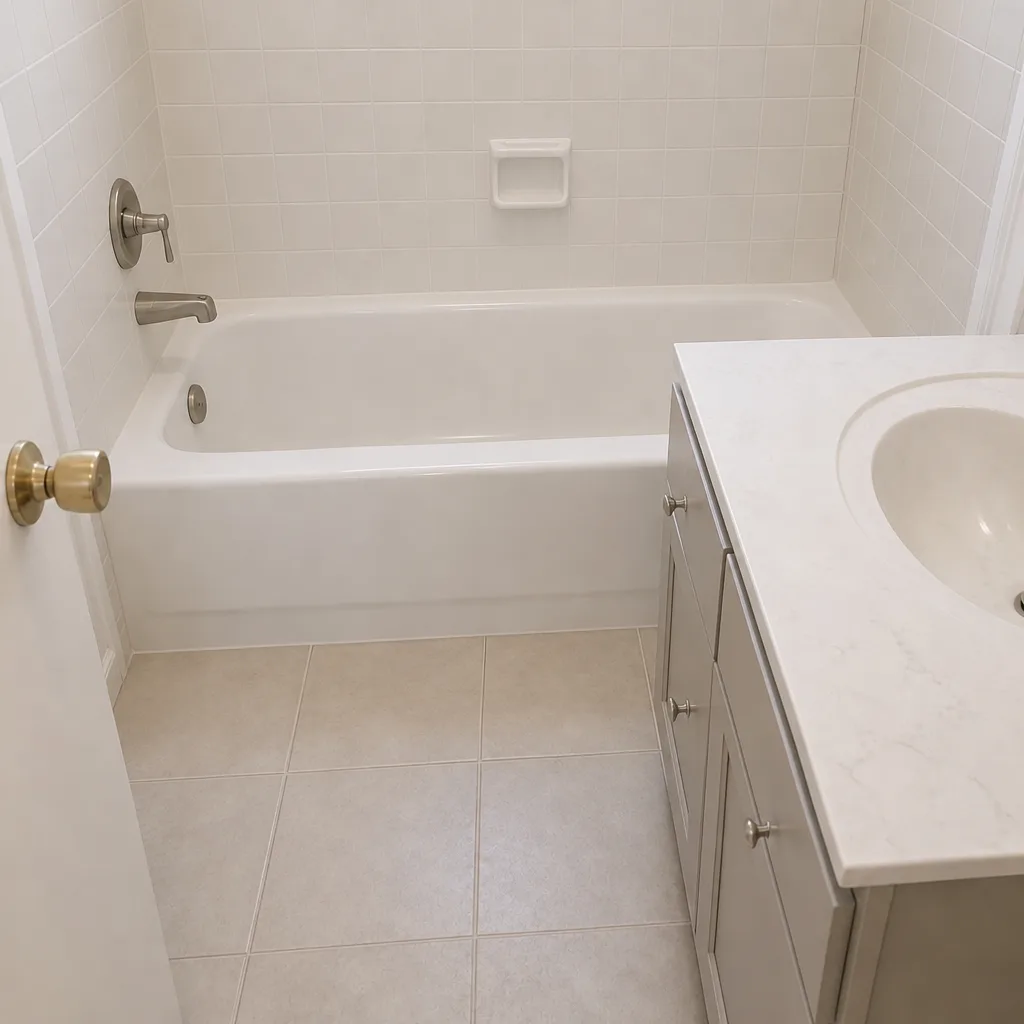 After
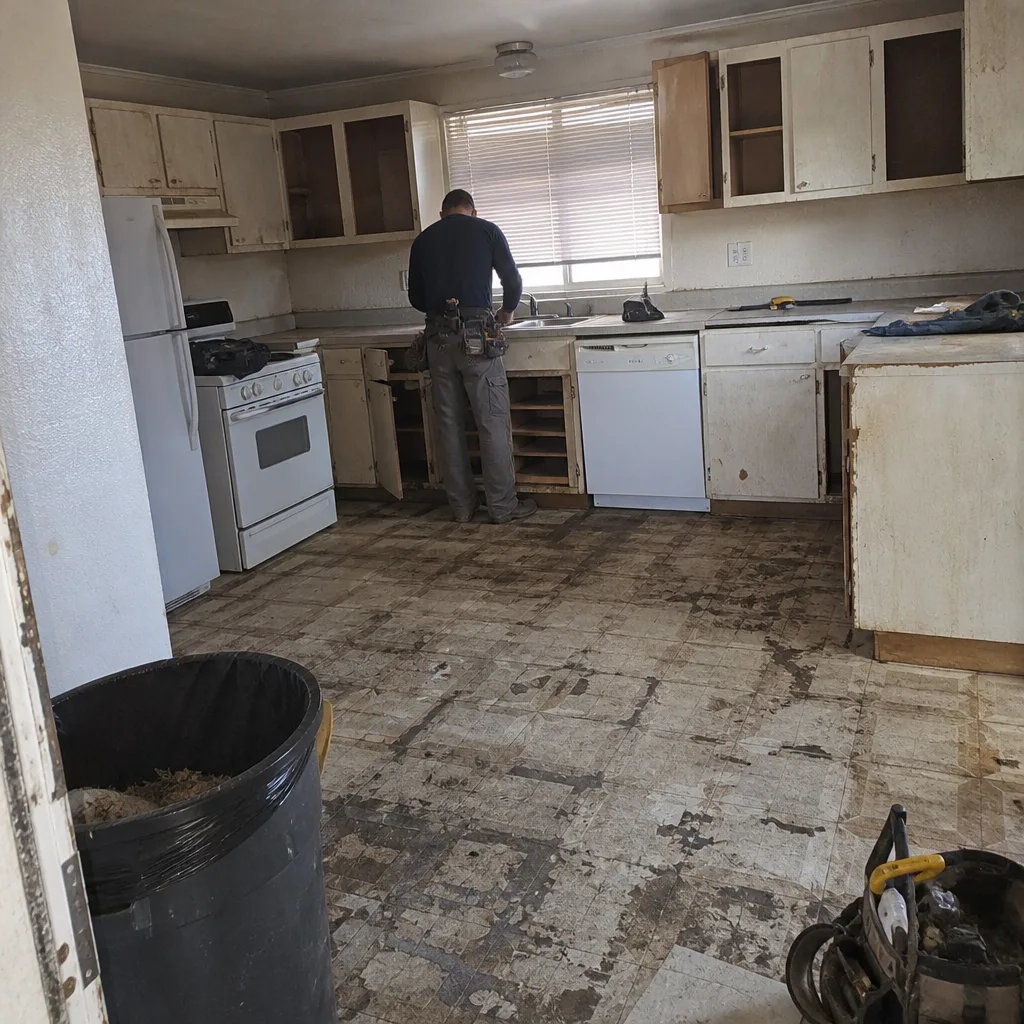 Before
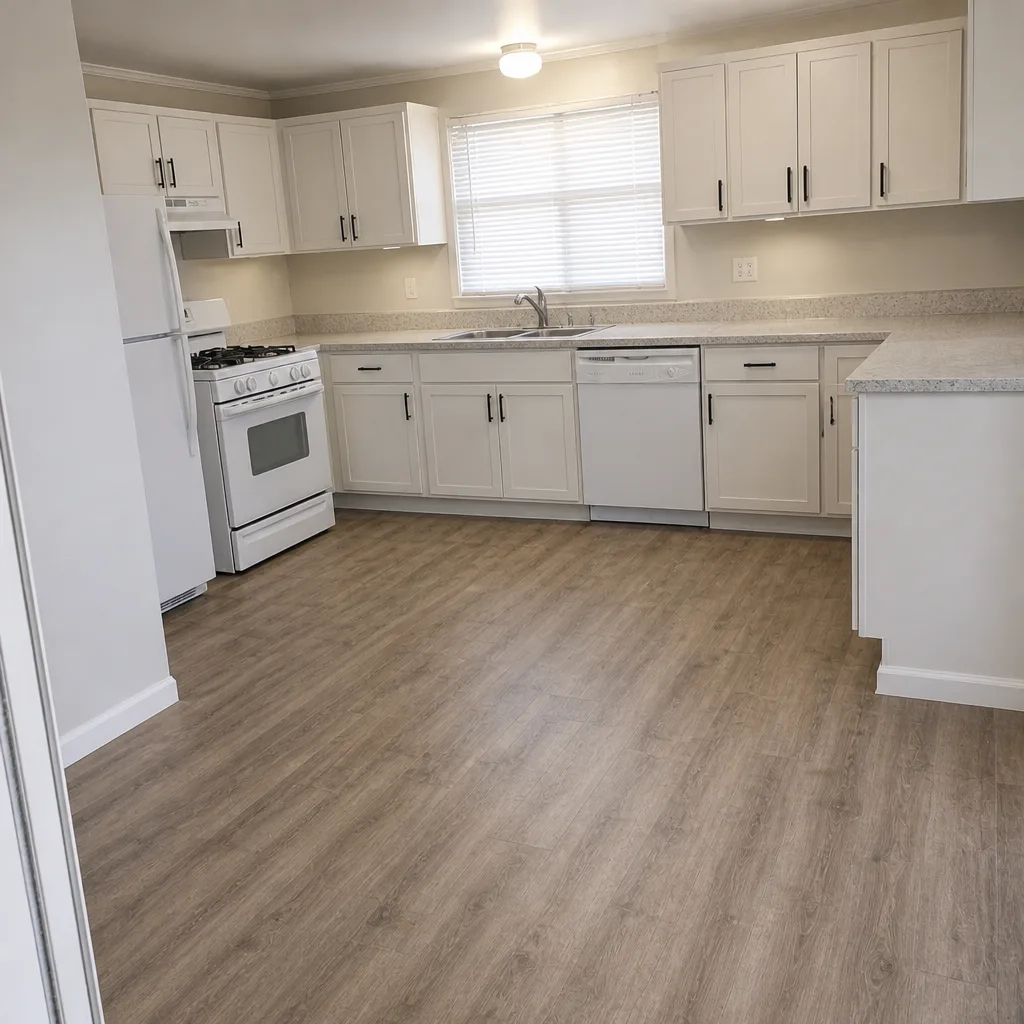 After
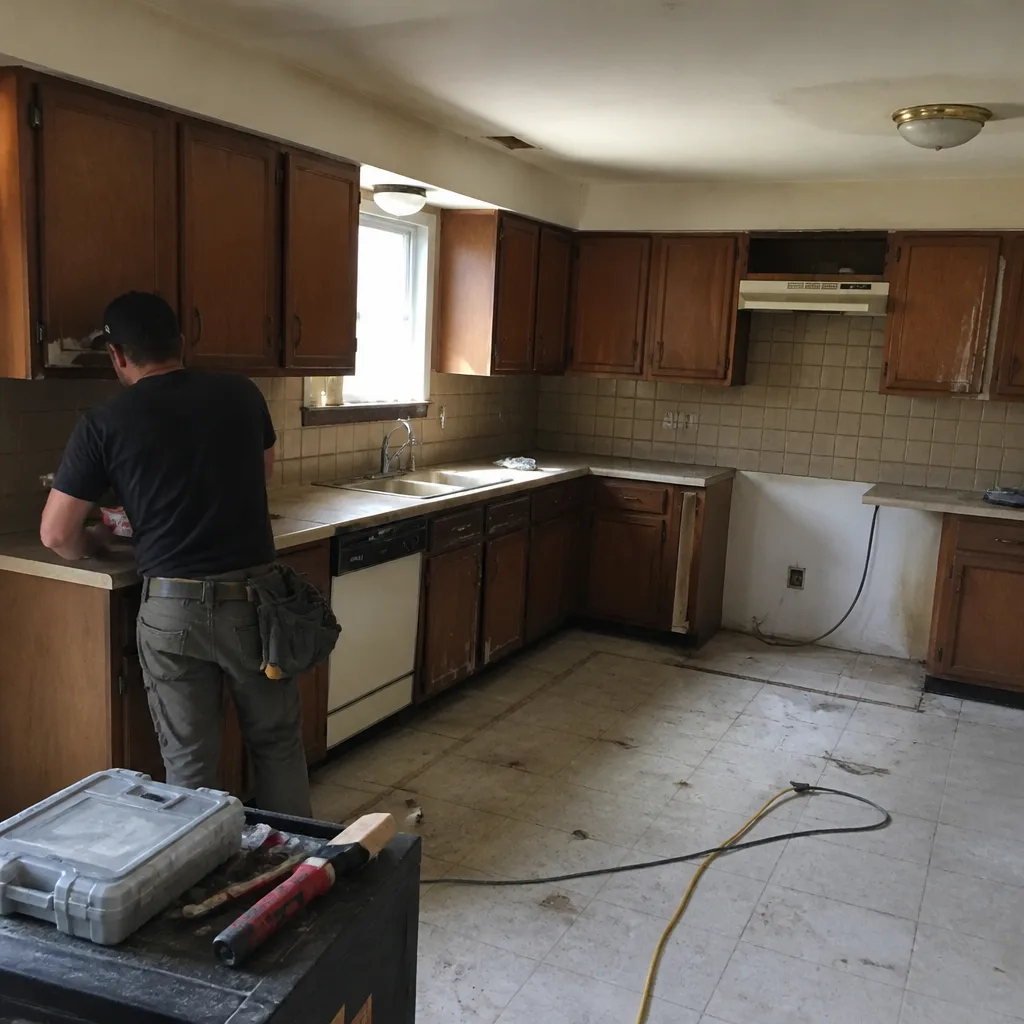 Before
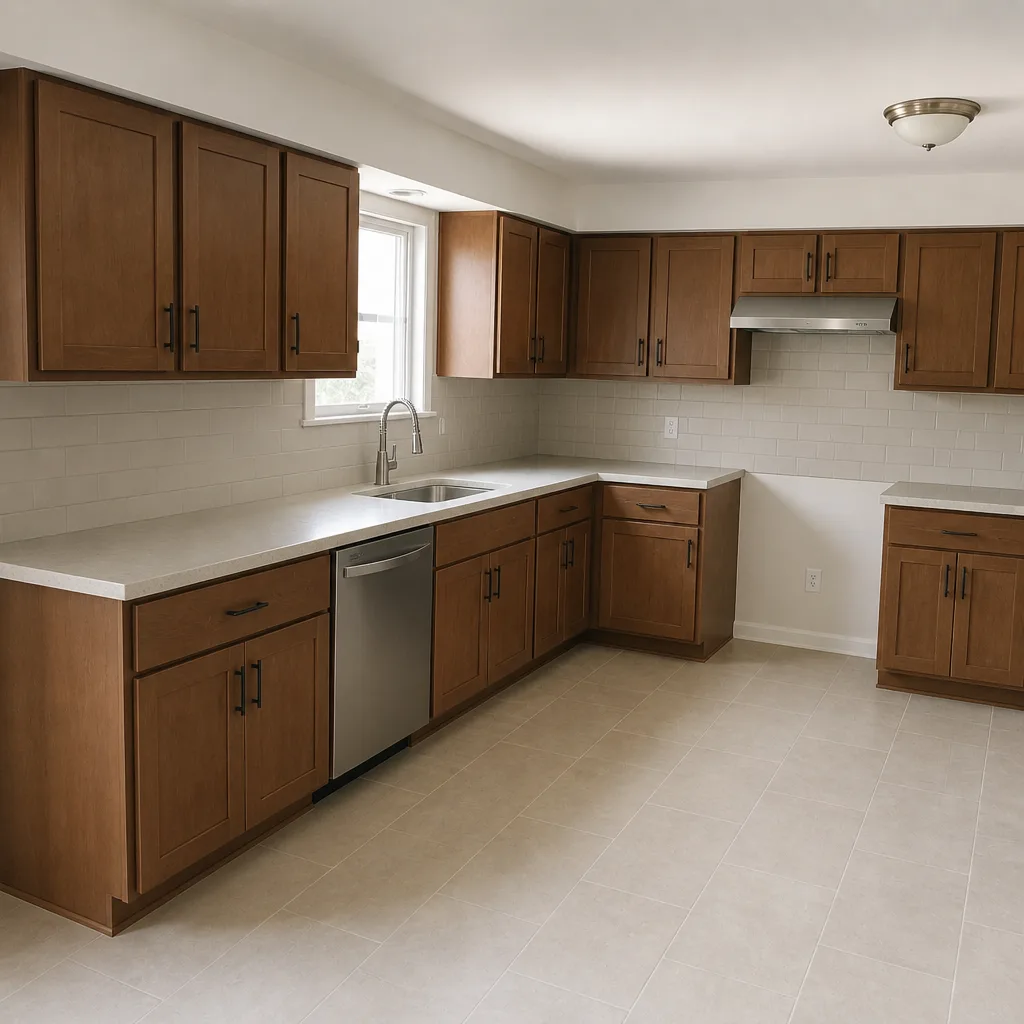 After
When to Call a Professional
Switch from maintenance to a professional call in five situations: water pooling on the drive where it never used to; more than a handful of rocking pavers; visible settling along an edge or at the apron; a re-lay of a section larger than about 20 square feet; or a sealer application on travertine, which is easy to ruin with the wrong product and hard to reverse. Those are the situations where a homeowner’s Saturday project can make the problem more expensive. For routine re-sanding, joint inspection, and the May edge check, most Enterprise homeowners handle it fine themselves. If your base work is the issue and it’s time for a repair rather than maintenance, it’s worth a second opinion on any written estimate before you commit – we offer that review free, line by line, and our technicians have up to 19 years of experience with the pavers and soils in this valley. Call (833) 630-4077 for a free estimate in Enterprise.
Frequently Asked Questions
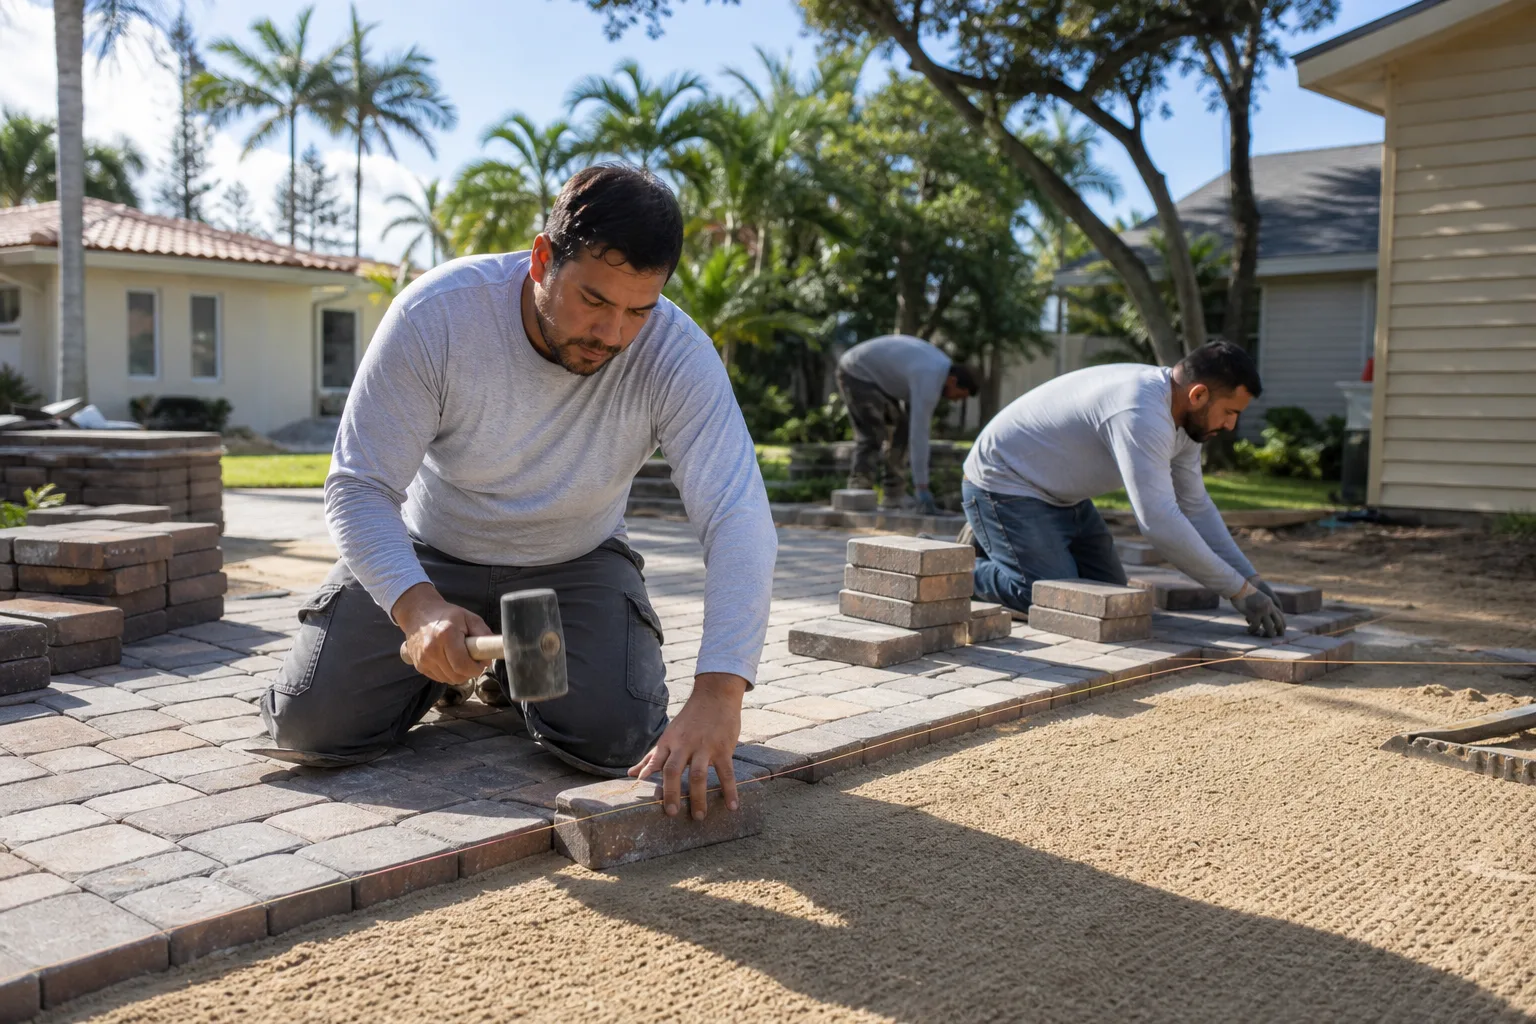
Re-sand once a year in October, with a joint top-off in February if needed, and inspect joint depth every May before monsoon. Polymeric sand in the desert climate degrades faster than in wetter regions because thermal movement is larger and fine dust fills the joints more quickly, so an annual re-sand is the realistic schedule here rather than the every-other-year schedule you’ll see in national guides. Call (833) 630-4077 for an exact quote on a professional re-sand – estimates are free.
Yes, but on the right schedule, not every year. Concrete pavers need sealing every 3 to 5 years, travertine every 2 to 3, and clay or natural stone every 3 to 4. The desert sun and thermal cycling wear sealer film faster than in cooler climates, so the short end of the range is more realistic here. Over-sealing builds up a film that cracks and peels. Call (833) 630-4077 if you want a sealer assessment on your specific driveway.
Because the rain here falls in short, intense bursts that sheet across a hard, dry surface and find every open joint and loose edge restraint. Enterprise gets roughly 4 inches of rain a year, but a single July storm can drop an inch in an hour, and that water moves fast rather than soaking in. A pre-monsoon inspection in May closes the gaps before the water finds them. Call (833) 630-4077 to schedule a May check.
No. Regular sand washes out on the first monsoon storm, harbors weeds, and does not flex with thermal movement. Polymeric sand with a polymer binder cures into a semi-flexible joint that holds up to both the heat and the sheet-flow. Techniseal HP Pro and Alliance Gator Maxx G2 are the two products we recommend for Enterprise drives. Call (833) 630-4077 for a quote on a professional re-sand.
For a 500-square-foot drive, expect roughly $80 to $130 in polymeric sand materials and $120 to $250 in sealer materials if you’re doing it yourself, or $400 to $800 for a professional seal and $250 to $500 for a professional re-sand, depending on prep and access. Travertine runs higher. Call (833) 630-4077 for a written, line-item quote – estimates are free.
Not without a signed change order. Under Clause 1 of the Haven Standard, the price is written before anyone starts, and no work proceeds on a change until that change order is signed. That discipline is how we’ve kept projects within a few percent of the agreed cost across 4,000-plus jobs, and it applies to pavers the same as it does to a Home Additions & ADU in Enterprise.
The Bottom Line
An Enterprise paver driveway needs three maintenance passes a year, and only one of them is genuinely urgent: the May pre-monsoon edge check. February is inspection and weed control. May is edge restraint, joint depth, and drainage – the pass that decides whether your summer is quiet or expensive. October is cleanup and re-sand, with sealer on a 3-to-5-year cycle for concrete pavers and 2-to-3-year for travertine. The apron compaction check is the omission that costs the most. Do the photo documentation every season; it’s free and it protects the warranty. If the base has failed, that’s a repair, and it’s worth a written quote before anyone starts. If your schedule calls for fence or exterior work alongside the driveway, the same maintenance logic applies to Fence Installation in Enterprise. Every year you stay on the calendar, the driveway gets cheaper to keep.
Call (833) 630-4077 for a free estimate. We’ll walk the drive, tell you what we find, and put the price in writing before any work starts – backed by the 365-Day Done Right Promise, with background-checked, uniformed technicians, a live person answering calls 24/7, and a free second opinion on any written estimate you bring us.
Written by the team at Rowan Construction Group Enterprise.