Last updated November 18, 2026



Free written scope consultation - allowances, timeline, and change-order rules on paper before a single trade is scheduled
Driveway & Pavers Troubleshooting: Common Problems and How to Fix Them
Resetting a sunken paver cluster costs $150 – $400. Ignoring that same cluster until the base erodes under three adjacent sections costs $1,200 – $2,800. Same slope, same drainage problem, two very different invoices. That gap is the whole reason this guide exists. Most paver failures in Enterprise trace back to four root causes: base failure, edge restraint pull-out, joint sand washout, and improper slope. Each one looks different on the surface, each one has its own repair cost, and each one has a different level of urgency. We’re going to work backward from the symptom you can see to the cause you can’t, so you stop paying for surface fixes that re-fail after a single monsoon season in Enterprise.
Quick Answer
Most driveway paver problems fall into four categories: base failure (sunken or heaved sections), edge restraint pull-out (pavers spreading at the borders), joint sand washout (loose or missing sand between pavers), and improper slope (water pooling or running toward the house). A surface fix only works when the problem is joint sand or a shallow reset; anything involving the base, the edge, or the slope requires excavation and correction. Diagnosing the cause correctly before any repair is what separates a $300 fix from a $2,500 rebuild.
Styles & brands we work with
- Kitchen remodeling
- Bathroom remodeling
- Home additions & ADU
- Roofing
- Windows & doors
- Driveway & pavers
- Fence
Table of Contents
- Symptom-to-Cause Diagnostic Table
- How to Tell If a Sunken Section Is Base Failure or Just Sand Loss
- Edge Restraint Pull-Out: Why Desert Heat Destroys Plastic Spike Systems
- Improper Slope and Drainage: The Cause Behind Most Repeat Failures
- Cracked and Chipped Pavers: What They Actually Tell You
- When DIY Repairs Void a Workmanship Warranty
- Repair Cost Benchmarks by Category
- Prevention: What a Correct Installation Looks Like
Symptom-to-Cause Diagnostic Table
Before you call anyone or pick up a shovel, match what you’re seeing to what’s likely happening underneath. This table is the fastest way to understand whether you’re looking at a $200 problem or a $2,000 problem.
- Sunken section (dip or bowl): Usually base failure from inadequate compaction or subgrade settling. If the dip is shallow and localized (one or two pavers), it may be sand loss under the joint. If it’s broader than a single paver, assume base failure until excavation proves otherwise.
- Raised or heaved section: Often frost heave in cold climates, but in Enterprise it’s typically root intrusion, a swelling subgrade, or pavers installed too tight with no room for thermal movement. Heaving in a hot climate is a strong signal that the installation skipped joint spacing.
- Cracked pavers: Point loads from a base that has lost support, or pavers laid over an uneven subgrade. Cracks concentrated along a driveway’s center path usually mean vehicle weight is bridging an unsupported void.
- Widening joints (gaps between pavers): Edge restraint failure or joint sand washing out. If the gaps are widest at the driveway’s outer edges, the edge restraint has lost its grip and the field is spreading.
- Loose or rocking pavers: Sand loss under the paver combined with a shallow base. Each rock is a small void forming.
- Water pooling or running toward the garage: Improper slope. This is the highest-priority problem because it damages the base and the structure behind it.
- Weeds or moss in joints: Sand washout that has left voids for seed to settle and moisture to collect.
- Efflorescence (white chalky film): Moisture migrating through the paver. Sometimes cosmetic, sometimes a sign of poor drainage underneath. Worth diagnosing rather than sealing over.
If more than one row applies, the problems are likely linked. Widening joints and a sunken section usually mean the edge restraint failed first, the field spread, and the base lost support under the loosened area. That sequence matters because fixing the sunken pavers without correcting the edge restraint guarantees a repeat.
How to Tell If a Sunken Section Is Base Failure or Just Sand Loss
This is the single most important diagnostic question in paver repair, and it’s the one most homeowners get wrong. The visible symptom is identical: a dip in the driveway. The cause and the repair are not.
Joint sand loss is a surface problem. The base is intact, the pavers are stable, and the sand between them has washed out or settled, letting the pavers rock slightly and settle into the void. This is repairable from the top. You lift the affected pavers, re-level the bedding sand, reset the pavers, and re-sand the joints with polymeric sand. In our experience, a single-paver sand loss repair in Enterprise runs $150 – $400 depending on how many units are involved and whether the joints need full re-sanding.
Base failure is a structural problem. The compacted aggregate base beneath the pavers has lost its density, either because it was never compacted to spec, because water has been infiltrating it for years, or because the subgrade soil under the base has settled. You cannot fix base failure from the surface. It requires excavation.
Here’s how to tell them apart before you commit to a repair:
- Rock test: Step firmly on the sunken pavers. A soft, spongy give that returns is usually sand loss. A hollow, dead thud with no return is usually base failure.
- Width test: If the dip spans one or two pavers, suspect sand loss. If it spans three or more pavers or forms a bowl, suspect base failure.
- Water test: Pour a bucket of water on the dip and watch where it goes. If it sits for more than a few minutes, the slope is wrong and the base is soaking. That’s a base problem, not a sand problem.
- Excavation test: The only definitive answer. Lift the affected pavers and probe the base with a screwdriver or hand trowel. If the base is firm and the void is only in the sand bed, you have sand loss. If the base is loose, wet, or gives way more than an inch, you have base failure and the repair is excavation and re-compaction.
This is the exact diagnostic we run on every callout. If you’re in a development where the base was placed during a builder’s original construction and the drainage has been marginal since day one, base failure is more likely than a homeowner expects. Understanding the difference is the first step in knowing whether you’re looking at $300 or $2,500. For a fuller picture of how a correct install is built from the subgrade up, our driveway and paver work in Enterprise walks through the layers.
Edge Restraint Pull-Out: Why Desert Heat Destroys Plastic Spike Systems
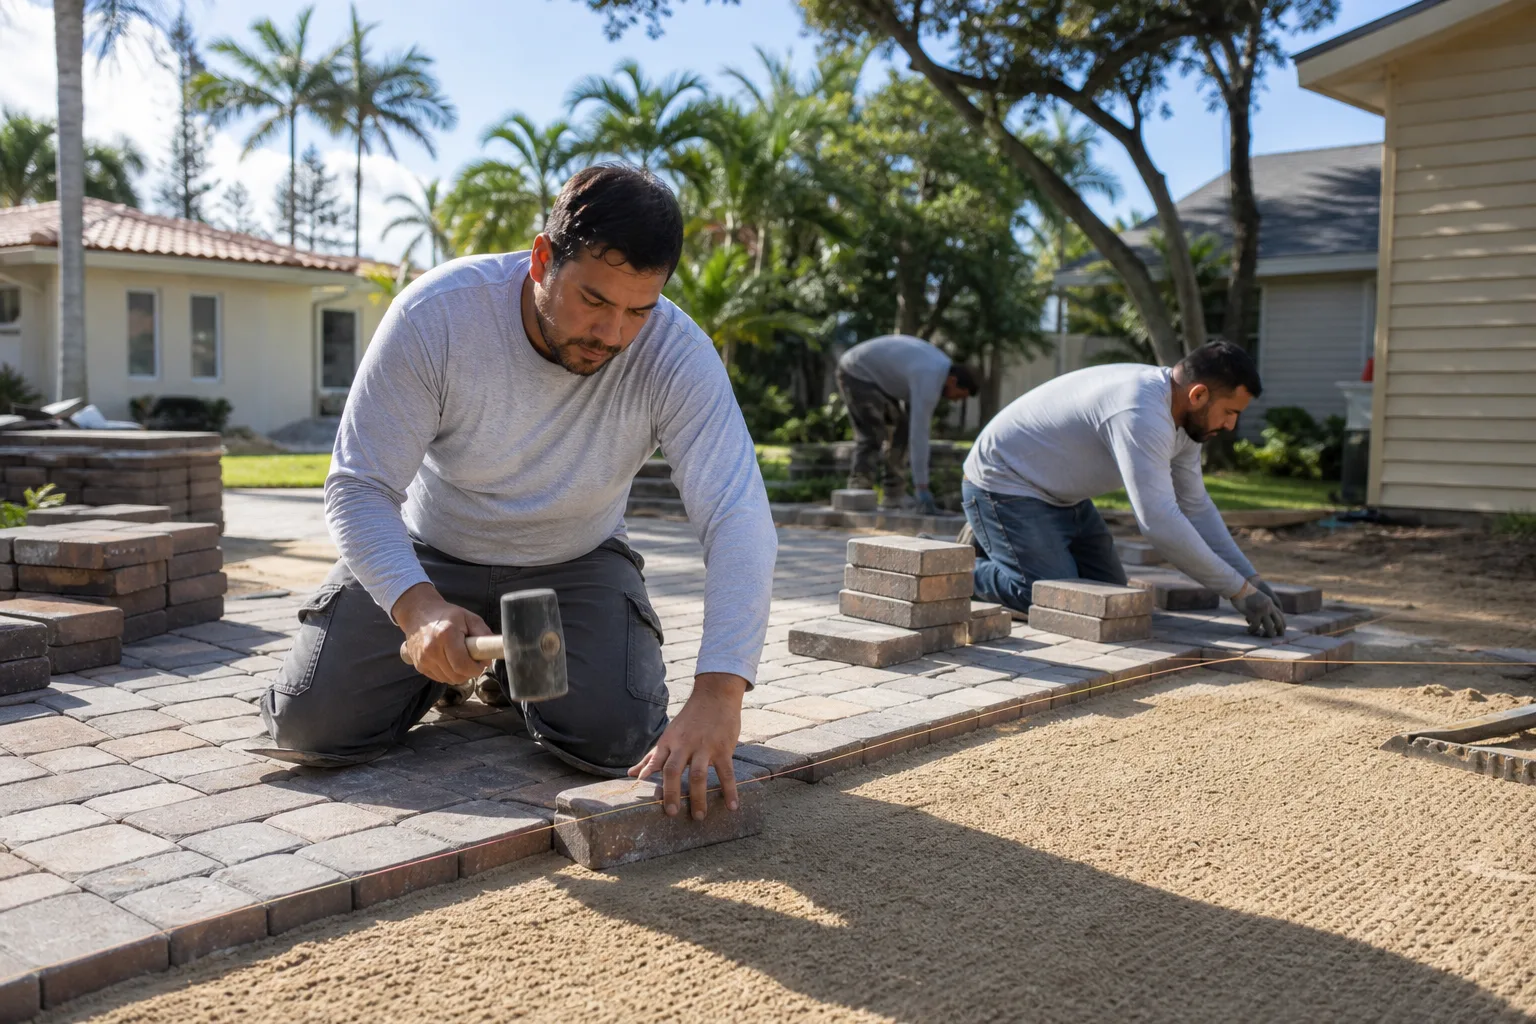
Edge restraint is the strip that holds the outer row of pavers in place. Without it, the field spreads outward under load and water finds its way into the joints. The most common restraint failure in Enterprise is a plastic spike-and-flange system that has worked its way out of the ground.
Here’s the specific mechanism. Plastic spikes are driven through the restraint flange into the soil at the driveway’s edge. In a hot, dry climate, the soil at the surface dries and shrinks seasonally, and the spike loses its friction grip. Add the thermal expansion of the pavers themselves during 110°F-plus summer days, and the outward pressure on the edge restraint increases exactly when the soil is holding it least firmly. The spike works up, the flange lifts, the pavers spread, and the joints widen.
What actually prevents this is metal spikes driven deep enough and spaced closely enough. In our experience, edge restraint built for a desert climate uses galvanized metal spikes at least 10 to 12 inches long, spaced no more than 12 inches on center, with the restraint anchored into a compacted aggregate base rather than bare soil. Many older installations use 6-inch plastic spikes at 18-inch spacing. That’s the failure waiting to happen.
If your pavers are spreading at the border and the joint gaps get wider every year, you have edge restraint pull-out. The repair is to remove the outer row, pull the failed restraint, recompact the edge, install metal spike restraint at correct spacing, and reset the pavers. If the spread has already loosened the adjacent field, the repair may need to extend two or three rows inward. On a typical Enterprise residential driveway, edge restraint replacement on one side runs $600 – $1,400. Left alone, it becomes a full field reset.
When we install or repair pavers, the edge restraint is the part we never shortcut. It’s also one of the items a written scope should spell out explicitly, because a quote that doesn’t name the spike type and spacing is a quote that may be installing the same plastic system that already failed. Materials matter too. Brands like Belgard and Techo-Bloc have specific restraint and installation specs, and we hold crews to them.
Improper Slope and Drainage: The Cause Behind Most Repeat Failures
If we had to name the cause responsible for the most repeat paver repairs, it wouldn’t be the pavers. It would be the water sitting underneath them. Improper slope, poor drainage, or a driveway graded toward the garage will undermine any repair you make, no matter how good the work.
Driveway pavers need a minimum slope of about 1% away from structures, and most residential driveways are built at 2% to shed water efficiently. Water that can’t shed finds the base. Once the base is saturated, it loses density, the pavers settle unevenly, and the same sunken sections appear after every repair. In Enterprise, the failure has an extra edge. Our rainfall comes in short, intense bursts during monsoon season, and a driveway with a marginal slope takes a season’s worth of water in an afternoon.
Signs you have a slope or drainage problem rather than a paver problem:
- Water pools in the same spot after rain, or you see a water mark line on the pavers.
- Water runs toward the garage door or foundation rather than away.
- Efflorescence appears in the same zone repeatedly after you clean it off.
- Pavers settle in low areas after every summer and rise back slightly in cooler months.
- A repaired section re-fails within a year or two, even when the base was rebuilt correctly.
The fix requires checking the finished grade, the base drainage, and whether any downspout or hardscape is discharging water onto the driveway. Sometimes the solution is regrading the driveway at the edges. Sometimes it’s a channel drain at the low point. Sometimes it’s rerouting a downspout a few feet. Diagnosing which one before repairing the pavers is what prevents the third repair on the same $400 dip. If your driveway trouble is part of a wider drainage issue that extends to a fence line or adjacent structure, that work is often handled together, and our fence installation in Enterprise explains how grading and drainage interact with a fence line.
Cracked and Chipped Pavers: What They Actually Tell You
A single cracked paver is a nuisance. A pattern of cracked pavers is diagnostic. Cracks concentrate where the base has lost support, where vehicle weight bridges a void, or where a paver was installed without the correct joint spacing.
The patterns are worth reading before you replace anything:
- Cracks along a wheel path: Vehicle load over a base void. Replacing the paver alone will crack the new one.
- Cracks across a field of pavers in a line: Often a settlement joint or a change in subgrade. The base was patched or placed in two lifts that didn’t compact together.
- Chipped or spalled edges: Too-tight joints and thermal movement. In Enterprise, this is common on older installations with sand joints that have filled with grime and stopped allowing expansion.
- A crack radiating from a corner: Improper cutting at installation or a paver bearing on a high spot in the base.
- Random single cracks: Genuine paver defect or impact damage. This is the only case where replacing the paver is the correct fix.
When cracks cluster, replacing the fractured pavers without correcting the base or joint spacing is a fix that fails in a year. The right process is: lift the affected pavers and two rows beyond the visible crack pattern, check the base, recompact or rebuild it, reset the pavers with correct joint spacing, and re-sand. ViewLux and similar manufacturers specify that replacement pavers come from the same production lot when color match matters, which is why a photo record of the original install is useful.
When DIY Repairs Void a Workmanship Warranty
If your driveway was installed or repaired by a contractor and is still inside a workmanship warranty, doing your own repair can void the coverage. That’s not a scare tactic. It’s a real clause in most paver workmanship warranties: work performed by someone other than the original installer lifts the warranty on the affected area, and sometimes on the entire driveway.
Before you start any repair, pull these documents:
- The original contract or written scope, specifically the section describing the base, sand, and edge restraint.
- The written workmanship warranty, with its length and its exclusions. Note whether it covers materials, labor, or both.
- The photo record or documentation from the original install, if one exists. A documented photo record of what’s under the pavers is the difference between a warranty claim that’s easy to process and one that becomes a debate.
- The maintenance requirements. Most warranties require periodic joint sand replenishment, and a claim on a washout can be denied if the required maintenance wasn’t done.
If the failure falls inside the warranty and matches the covered scope, call the installer first. If it doesn’t, or the warranty has expired, the decision is yours. Rowan’s 365-Day Done Right Promise exists precisely to make this straightforward: if it isn’t done right, we make it right, and every visit carries a documented photo record so there’s no dispute about what was found or what was done. Call (833) 630-4077 to check what a repair visit includes.
Repair Cost Benchmarks by Category
Knowing the range before you compare quotes keeps the conversation grounded. These are typical residential benchmarks for the categories this guide covers. Actual pricing depends on square footage, access, and how much of the underlying base is compromised.
- Joint sand replenishment (polymeric sand, full driveway): $350 – $800.
- Single sunken paver reset with sand leveling: $150 – $400.
- Sunken cluster reset involving base rebuild, three or more pavers: $1,200 – $2,800.
- Edge restraint replacement, one side of a driveway: $600 – $1,400.
- Cracked paver replacement, isolated: $150 – $450.
- Cracked paver pattern repair with base correction: $900 – $2,200.
- Slope correction or drainage installation (channel drain, regrading): $1,500 – $4,500.
- Partial field rebuild (an entire failed zone): $6 – $14 per square foot.
Two things stand out when you read those numbers together. First, the smallest problem is almost always cheaper to fix than the larger problem it becomes. Second, a quote that seems unusually low for a base repair is worth asking about: if it isn’t covering excavation and recompaction, the number reflects a surface fix that will likely re-fail. Every Rowan quote is a flat written price with a written scope before any work starts. If you’ve received a competitor’s estimate and want it reviewed line by line, our free second opinion on any written estimate exists for exactly this situation.
Prevention: What a Correct Installation Looks Like
Most of the problems this guide covers are preventable at the installation stage, and understanding what a correct install looks like is the best protection against future repair bills. When you review a quote, this is what to look for.
- Excavation and subgrade preparation. The soil under the base should be graded, compacted, and free of organics. If the subgrade is native soil, it should be assessed for drainage before the base goes in.
- Base thickness and compaction. Residential driveways use 4 to 6 inches of compacted aggregate base, often in two lifts of 2 to 3 inches each, compacted to density, not simply dumped and patted. A base installed in one thick sweep almost always settles.
- Bedding sand layer. About 1 inch of bedding sand, screeded to a consistent depth. Too much sand under pavers causes shifting.
- Edge restraint. Metal spike restraint driven into the compacted base at 12-inch spacing or closer. This is the item that most deserves a written spec.
- Joint spacing and polymeric sand. Consistent joints filled with polymeric sand, not plain sand. Polymeric sand binds and resists washout.
- Compaction and final grade. The finished driveway drained away from structures at a slope of about 2%, with a plate compactor pass after sanding.
When you hire for a repair, the same principles apply at a smaller scale. The repair should include excavation to the base, recompaction, and a proper reset. If your driveway is part of a larger exterior project and you’re considering an addition, ADU, or new structure that changes surface drainage, our home additions and ADU work in Enterprise explains how to sequence hardscape and structural work. And for a broader view of how all seven of our trades coordinate on the same property, the Rowan Construction Group Enterprise home page lays it out.
Common Mistakes to Avoid
- Fixing the dip without testing the base. Surface-level smoothing over a failed base re-fails within a season. Always probe before committing to a repair method.
- Using plain sand in the joints instead of polymeric sand. Plain sand washes out faster, especially in an area with intense summer storms. Every washout resets the failure clock.
- Ignoring edge restraint because it’s hidden. The edge is the first failure point in a desert climate. If you’re already pulling the outer row, check the spike system and upgrade to metal at correct spacing.
- Replacing cracked pavers without addressing the pattern. If cracks cluster, the base underneath is the cause. The new paver cracks too if the cause isn’t corrected.
- Repairing a section while a drainage problem is still active. Correct the slope or reroute the downspout first, or the repair will fail the next time it rains.
- Starting a DIY fix while a workmanship warranty is active. Read the warranty and pull the documentation first. A DIY repair can void the coverage on the entire affected area.
- Accepting a repair quote that doesn’t specify the base work. A written scope should name what’s being excavated, recompacted, and reset. If it only names the visible symptom, ask what’s being done underneath.
See the difference
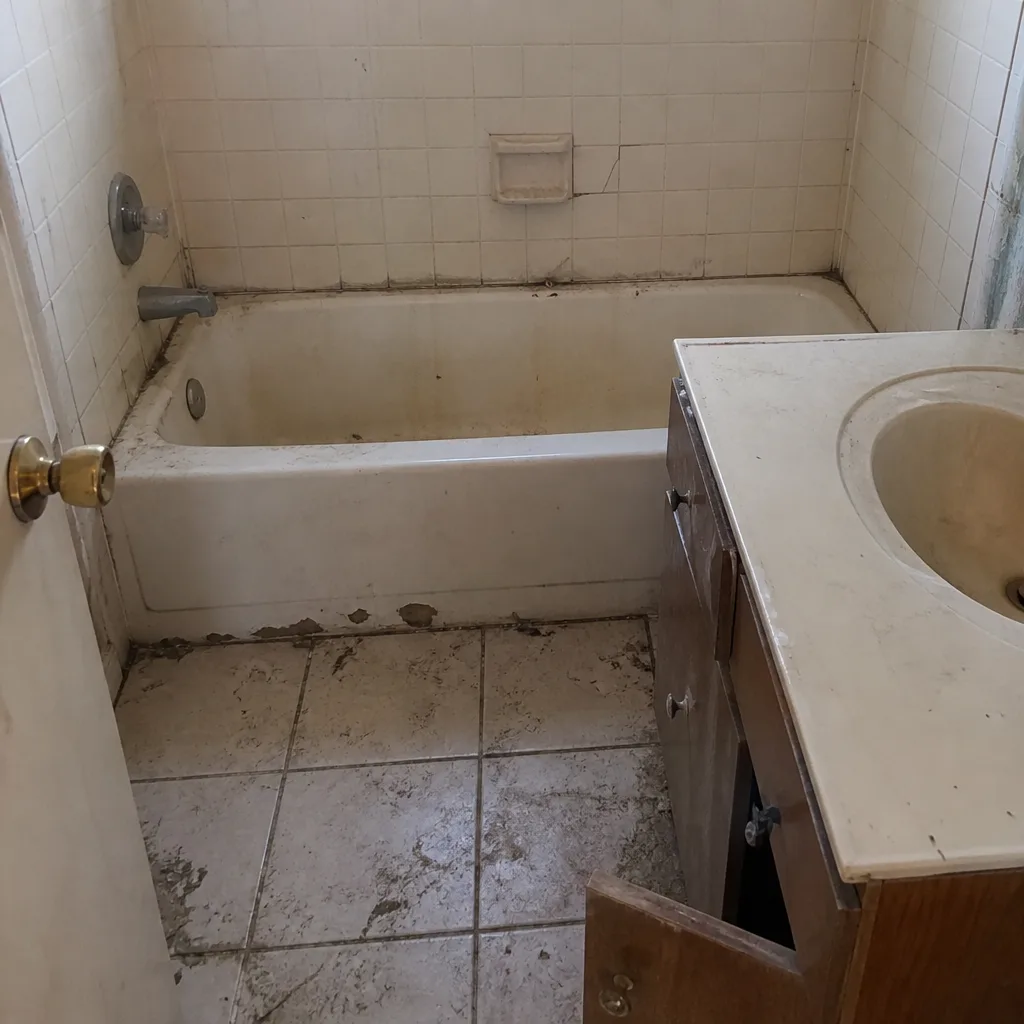 Before
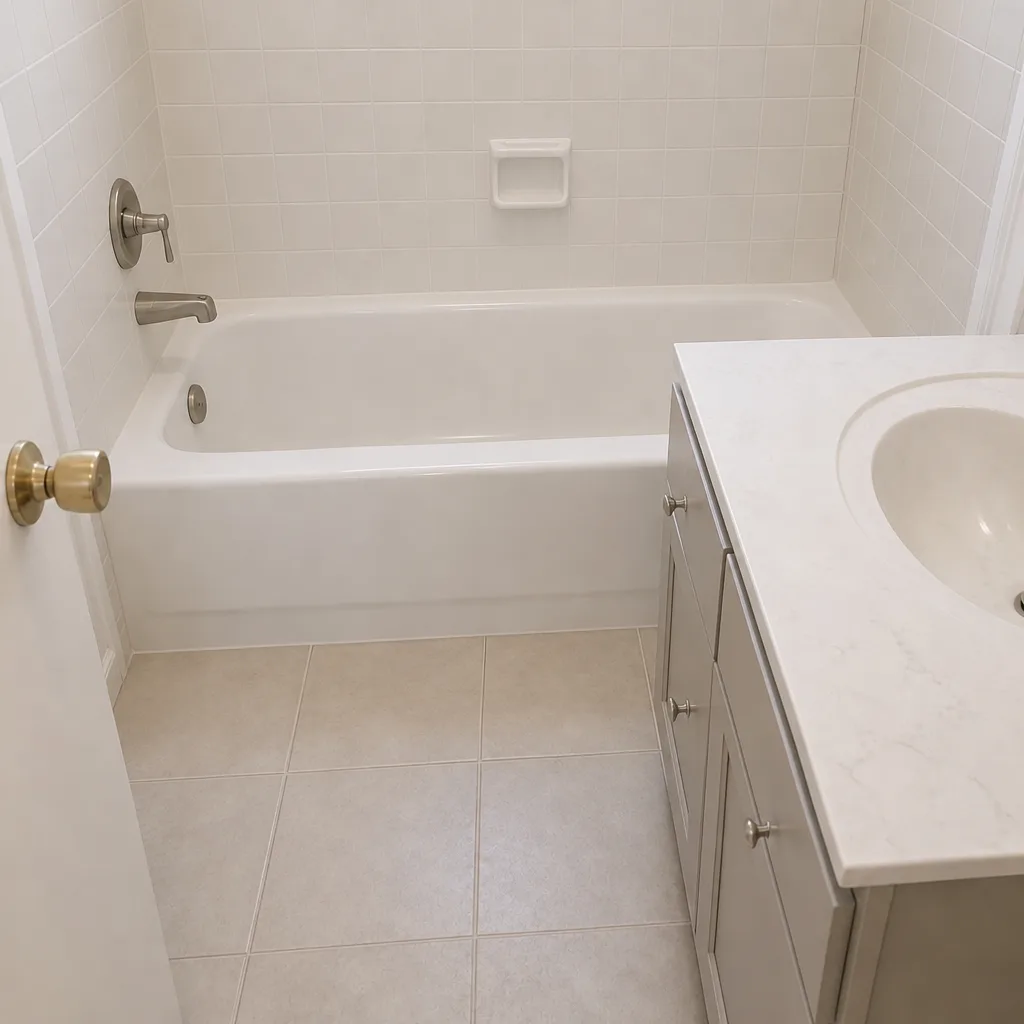 After
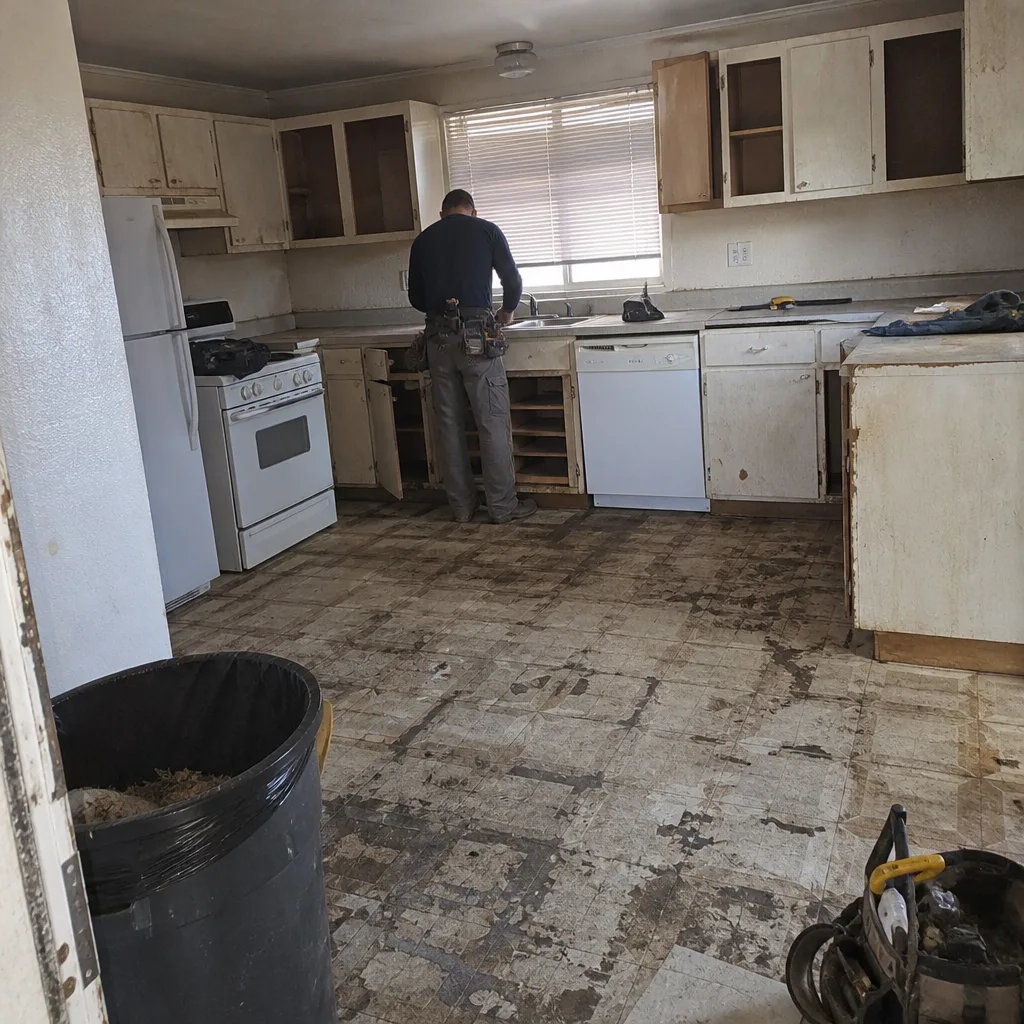 Before
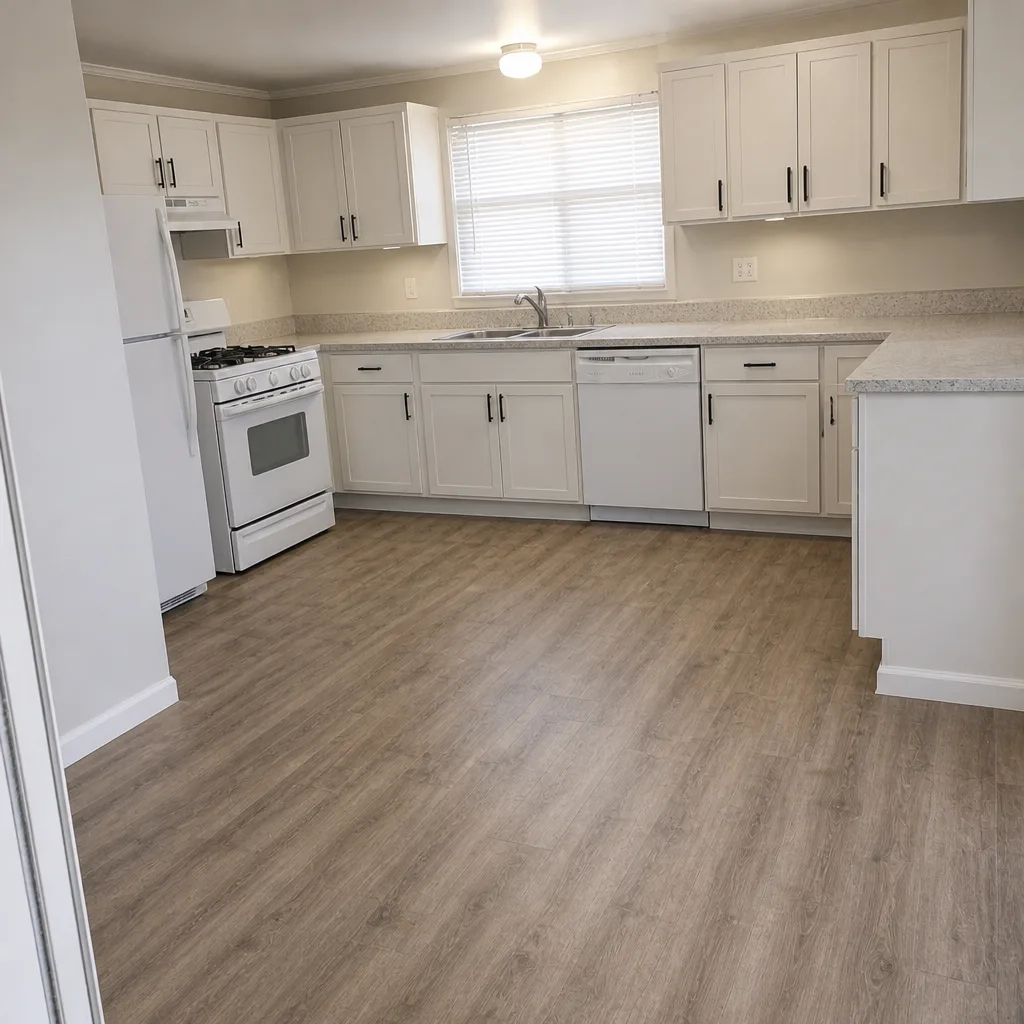 After
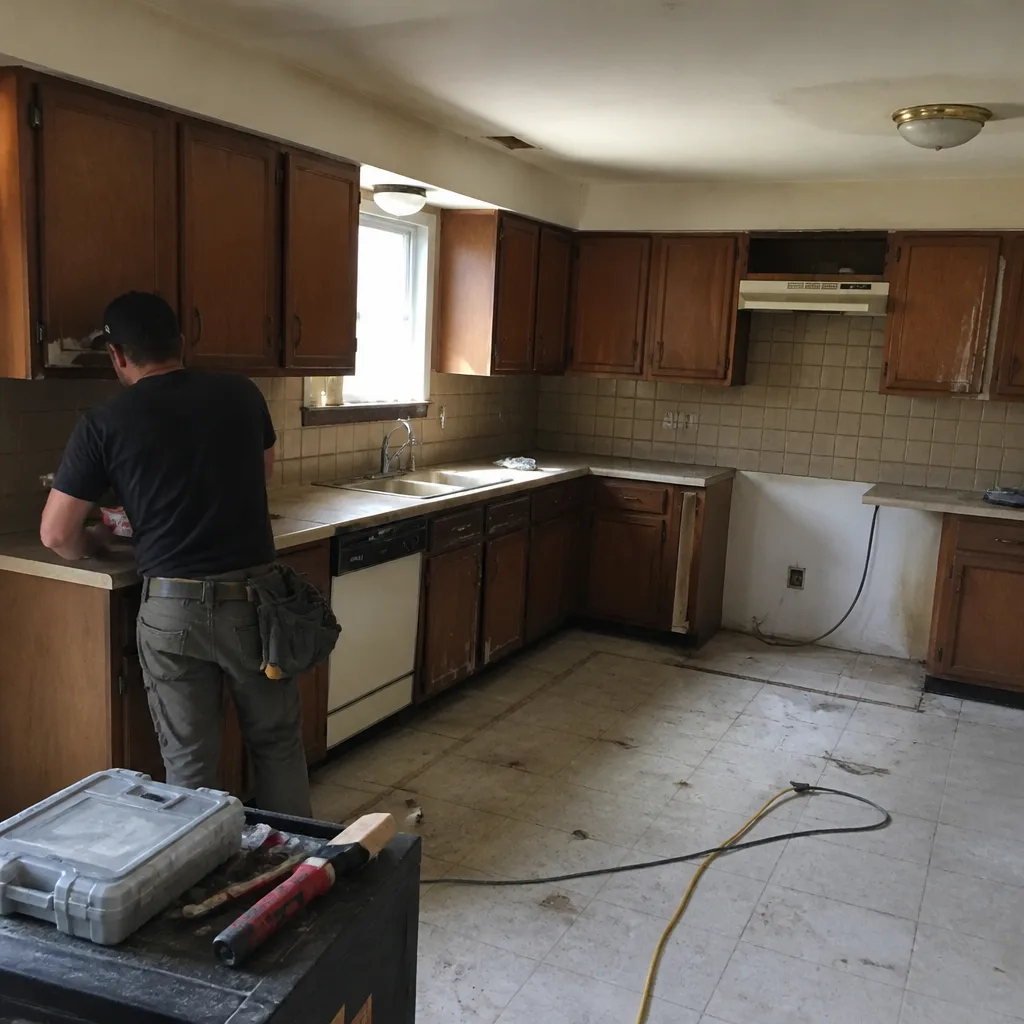 Before
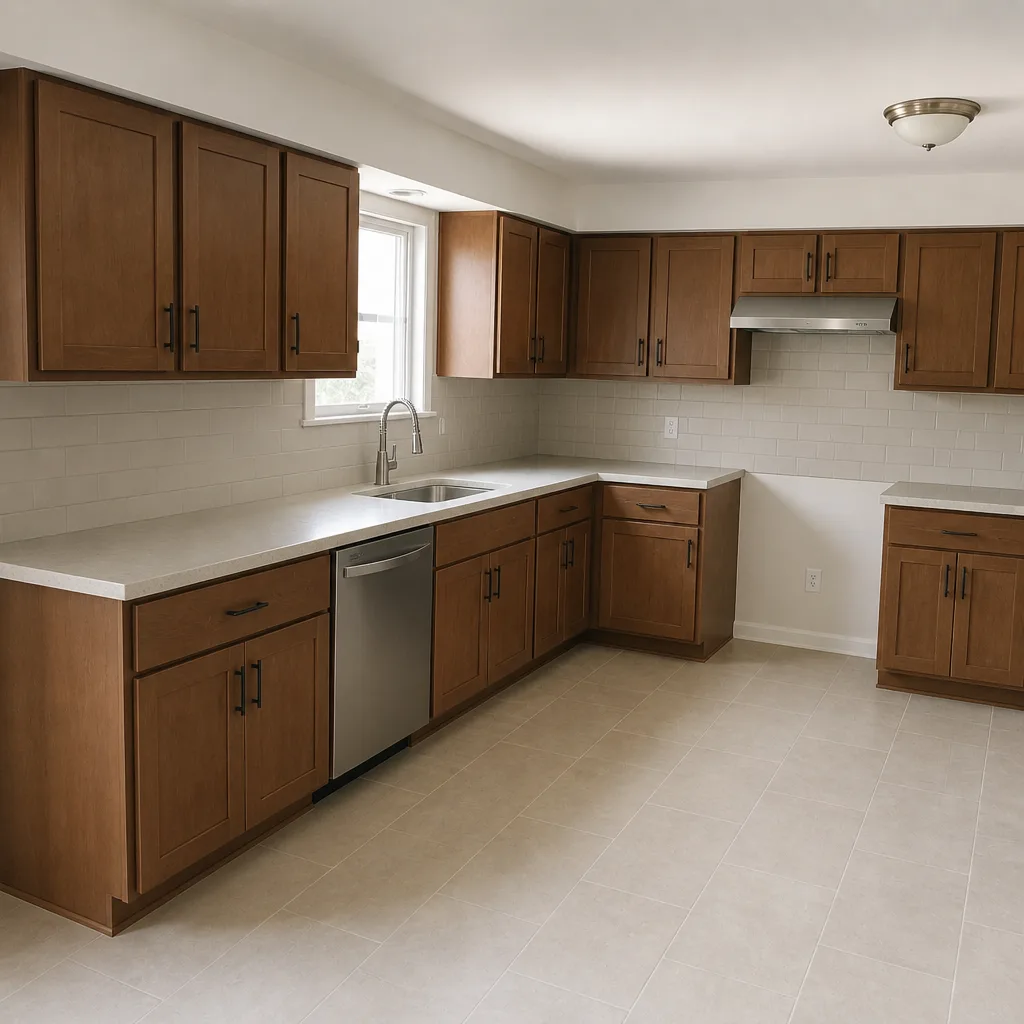 After
When to Call a Professional
Some paver problems are genuinely small, and we’d rather tell you that than sell a rebuild. Single-paver resets and cosmetic joint issues often don’t need a full crew. But there are cases where time spent on a DIY approach costs more than the repair, and those are worth recognizing quickly.
Call a professional if any of the following apply. The dip spans three or more pavers, or the edge of your driveway is spreading more than a quarter inch per season. Water pools or runs toward the structure rather than away from it. You see a repeating failure in the same zone after a prior repair. Your pavers show cracking in a pattern, not randomly. Or you are inside a workmanship warranty and want a repair that keeps the coverage intact. For any of these, the risk is a larger structural repair later, and the diagnostic step is the one that saves the money.
Rowan Construction Group Enterprise offers free estimates in Enterprise. Call (833) 630-4077 and we’ll walk the driveway with you, describe what we find, and hand you a written price with the scope before anyone starts.
Frequently Asked Questions
The fastest way is the width test and the step test. If the dip spans one or two pavers and gives a soft, springy response when you step on it, it’s likely joint sand loss. If it spans three or more pavers, feels hollow and dead, or water sits in the dip, assume base failure until an excavation proves otherwise. Call (833) 630-4077 for a free estimate if you want the diagnostic run properly.
Widening joints at the outer edges almost always mean edge restraint failure. In Enterprise’s heat, plastic spike systems work their way out of dry sandy soil as the pavers expand and the soil shrinks. The fix is to remove the failed restraint, install metal spikes at 12-inch spacing or closer, and reset the affected rows. Call (833) 630-4077 for a free estimate on the repair scope.
A base-failure repair involving excavation, recompaction, and reset of a cluster of pavers typically runs $1,200 – $2,800 in Enterprise. Broader field rebuilds price at $6 – $14 per square foot. The range depends on how much of the base is compromised and how easily the crew can access the section. Call (833) 630-4077 for an exact written price.
With Rowan, no change order proceeds without a signature, and the price you receive is a flat written price with a written scope. If excavation reveals more base damage than the initial scope covered, the change is put in writing and priced before any additional work proceeds. That’s the Haven Standard’s Clause 1 discipline, and it’s the same across every trade we run. Call (833) 630-4077 to schedule a free estimate.
Generally no. Most workmanship warranties on paver installations state that work performed by anyone other than the original installer lifts the warranty on the affected area. Pull the written warranty and the original scope before you start. If the failure falls inside the coverage, call the installer first. If you’d rather use Rowan, we offer a free second opinion on any written estimate and can review the warranty terms with you at no charge. Call (833) 630-4077.
Most repairs fall into a predictable timeline. A single sunken paver reset is usually an hour or less. A base-failure cluster reset with recompaction is typically half a day. Edge restraint replacement on one side of a driveway takes most of a day. Field rebuilds run two to four days depending on square footage. Every visit includes a documented photo record of what was found and what was replaced, so the record matches the timeline. Call (833) 630-4077 for a written scope and timeline.
The Bottom Line
Paver problems are rarely about the pavers themselves. Base failure, edge restraint pull-out, joint sand washout, and improper slope account for the overwhelming majority of driveway failures in Enterprise, and each one has a distinct repair cost and urgency level. The work is in the diagnosis, not the fix. Get the diagnosis right, and you spend a few hundred dollars on a repair that holds. Skip the diagnosis and pay for a surface fix that re-fails every summer. Rowan quotes every repair with a flat written price and a written scope before work starts, backed by the 365-Day Done Right Promise. Call (833) 630-4077 to schedule a free estimate and a free second opinion on any written quote you already have.
Written by the team at Rowan Construction Group Enterprise.