Last updated November 18, 2026





Free written scope consultation - allowances, timeline, and change-order rules on paper before a single trade is scheduled
Windows & Doors Troubleshooting: Common Problems and How to Fix Them
A drafty window is not always a failed seal. It is sometimes a gap in the rough opening foam, a missing interior stop, or a sill that wasn’t flashed – none of which the window manufacturer will pay to fix. That distinction is the whole game. Most window and door problems Enterprise homeowners call about turn out to be installation failures rather than product defects, and the difference decides who pays for the repair. This guide walks through the symptoms, the tests that isolate each cause, the warranty math on a failed unit, and the point at which repair stops making economic sense. You’ll finish knowing what to check, what to document, and when to call.
Quick Answer
Diagnose any window or door problem by separating the symptom from the cause: a draft can come from the rough opening, the weatherstrip, or the sash itself; condensation between panes is a failed insulating glass (IG) unit and generally a product defect, while condensation on the interior surface is a humidity problem in your house. Sticking operation and water infiltration each have three or four distinct causes that require different repairs. The right fix, and who pays for it, follows from identifying the actual cause before anyone touches the unit.
Styles & brands we work with
- Kitchen remodeling
- Bathroom remodeling
- Home additions & ADU
- Roofing
- Windows & doors
- Driveway & pavers
- Fence
Table of Contents
- Confirming the Signal: The Two-Minute Diagnostic
- Drafts: Four Possible Causes and How to Isolate Each
- Condensation: Failed Glass vs. a Humidity Problem
- Sticking Windows and Doors: Frame Racking, Hardware, or Paint
- Water Infiltration: Flashing Failure vs. Glazing Seal Failure
- Is It Still Under Warranty? What Manufacturers Require
- Door-Specific Troubleshooting: Latches, Weatherstrip, and Thresholds
- Repair or Replace? The Cost-Per-Year Calculation
Confirming the Signal: The Two-Minute Diagnostic
Before you diagnose anything, establish what the unit is actually doing. A draft, a draft you can feel on your face, and cold glass are three different things. Glass feels cold because glass conducts heat; that is physics, not failure. A draft you can feel moving at a specific line of the frame is a gap. Condensation is a moisture story; it needs a moisture cause. Getting this first step right saves you from paying for repairs that treat the wrong unit.
Run this quick sequence in any room that feels cold near a window or door:
- Feel for moving air with the back of your hand, starting at the sill and working up the jambs and across the meeting rail. Note the exact location.
- Check the contact line where the sash meets the frame. If your hand finds air there, the failure is at the weatherstrip or the sash, not the glass.
- Look for light along the same line with the room dark. Light leaking through a closed unit points to the weatherstrip or a missed lock adjustment.
- Inspect the interior trim for gaps, cracks, or cold spots at the perimeter. Cold air from behind the trim means the rough opening, not the window.
In Enterprise, where summer afternoons push past 105°F and winter mornings drop into the 20s, this temperature swing works the frame and the weatherstrip through real expansion and contraction twice a year. That movement exposes installation shortcuts that would sit quietly in a milder climate. When we look at a window problem in Enterprise, we start by asking which season the symptom appeared. A draft that shows up in January and disappears by April usually has a different cause than one you feel year-round.
Drafts: Four Possible Causes and How to Isolate Each
A draft at a window or door has four common causes, and each one requires a different repair with a different price. Isolating the cause is a candle test or smoke pencil exercise, done with the unit closed and the house fan running, so you can see exactly where the air moves. Find the line, and you’ve found the cause.
Cause 1: A gap in the rough opening. The cavity between the window frame and the wall framing is supposed to be filled with expanding foam or packed insulation and covered by the trim. If it was skipped, or the foam pulled away, the draft comes from behind the trim, not from the window itself. Every window in a poorly insulated wall will feel this way. This is an installation failure. The manufacturer won’t cover it.
Cause 2: A missing or failed interior stop. The stop is the small trim piece that holds the sash against the frame. If it is loose, missing, or shimmed too short, air passes around the sash. Look for a gap between the sash and the stop when the window is latched. Reattaching or replacing the stop is a finish-carpentry job, often an hour of work.
Cause 3: Weatherstrip compression failure. The weatherstrip is the gasket that meets when the window closes. When it flattens, hardens, or tears, the seal fails even though the window is closed. The dollar-bill test isolates this one: close the window on a dollar bill at several points along the meeting line, then pull. If the bill slides out with no drag, the weatherstrip isn’t compressing. Test in at least four places because the failure is typically local, not uniform.
Cause 4: A sash that isn’t latching. If the lock doesn’t pull the sashes tight, the weatherstrip never compresses and the window doesn’t seal. This is a hardware adjustment, and it’s the least expensive fix on the list.
For a more thorough look at how a window assembly comes apart in the first place, our Rowan Construction Group Enterprise home lays out how we approach a residential construction project, window to foundation.
Condensation: Failed Glass vs. a Humidity Problem
The location of the moisture tells you which problem you have. Condensation between the panes means the sealed IG unit has lost its seal and moisture has entered the cavity – the glass assembly has failed, and that is generally a product defect that warranty may cover. Condensation on the interior surface of the glass means the surface is below the dew point of your indoor air, and the cause is humidity in your house, not the window.
That second case confuses people because it feels like a window failure. It isn’t. Every window – double-pane, triple-pane, argon-filled – condenses when the indoor air is humid enough and the glass is cold enough. The fix is ventilation and moisture control, not glass replacement. In our experience, the interior-surface cases we see in Enterprise show up after the monsoon season in July and August, when outdoor humidity spikes and the AC runs hard, pulling moisture toward the coldest surfaces in the room.
Run the pattern analysis before you call anyone:
- Between the panes: fog, haze, or water droplets trapped in the cavity. Wipe the inside and outside surfaces; if the moisture stays, the IG unit has failed.
- On the glass at the edge, spreading inward: this is a thermal differential, typical of a single-pane window or a perimeter where cold air is getting past the frame. It’s an insulation story, not a glazing failure.
- At the bottom of the glass only: the pattern of a cold sill and high indoor humidity, often made worse by a sill that wasn’t insulated during install. This is an install condition worth photographing.
- All over the interior surface in the morning: a whole-house humidity issue. Run the bathroom and kitchen fans longer and check the HVAC humidity control before blaming the windows.
Documentation matters here. When you’re deciding between a warranty claim and a repair, photograph the pattern before you clean it off. The photo is the evidence the manufacturer or the installer will ask for.
Sticking Windows and Doors: Frame Racking, Hardware, or Paint
A window or door that sticks has one of three problems, and they are separated by a simple test: open the unit slowly and watch where it binds. If the binding is at the top and bottom of the sash together, the frame is racking – the opening is out of square, which is a building movement or framing issue, not a window issue. If the binding is concentrated at the latch, strike plate, or hinge, it’s hardware wear. If the sash drags all around the perimeter, it’s paint or finish buildup in the track.
Frame racking is the least obvious and the most consequential. In a slab-on-grade house it usually comes from the framing settling and taking the window frame out of square; in a door, a sagging header shows up as a latch that won’t catch and a door that swings on its own. Use a four-foot level against the jamb and a tape measure on the diagonal corners of the opening, because a properly installed door frame measures within an eighth of an inch on both diagonals. A difference much larger than that is a framing story, and the fix is rarely a new window.
Hardware wear is the ordinary case: a latch that no longer aligns, a roller that won’t track on a sliding door, a hinge that’s worn through its plate. It’s a parts-and-adjustment job, and most of it can be quoted in advance once we’ve identified the specific hardware.
Paint or finish buildup in a track or around a sash is the cheapest fix on the list. A razor scraper and a light sanding, done carefully so you don’t cut into the frame, frees a sash that’s been painted shut. If the buildup is severe enough to require disassembly, have it done after the unit is checked for water infiltration first, because a sash that’s been painted shut may have hidden moisture inside the frame.
When the door is part of a larger opening – a slider, a patio door, a pocket door – the framing is worth an honest second look. Our Home Additions & ADU in Enterprise team sees a lot of door trouble that traces back to an opening that was framed by someone in a hurry.
Water Infiltration: Flashing Failure vs. Glazing Seal Failure
Water showing up at a window or door has two possible entry points, and separating them means tracing the water to the source. Flashing failure is at the exterior perimeter – the sill flashing, the head flashing, or the side flashing around the opening. Glazing seal failure is at the glass itself – the perimeter sealant that holds the IG unit into the sash has failed and water is passing into the frame cavity.
Perform this trace before you patch anything:
- Look up. Water at the head of a window usually runs down from the flashing above, from a roof-wall intersection, or from a blocked gutter. Follow the stain upward, not downward.
- Check the sill. A sill that wasn’t flashed with a proper slope, or whose flashing is stepped incorrectly, holds water against the frame. Look for standing water in the sill pan and staining on the interior trim.
- Check the exposed sealant lines. Cracks in the perimeter sealant at the glass, uneven or gapped sealant under the sash, or open joints at the meeting rail allow water into the cavity.
- Test with a hose, not a garden hose on full pressure. A controlled trickle at the sill and then at the head reveals which end of the opening is failing. Stop as soon as water appears inside so you can trace the exact line.
In Enterprise, the monsoon wind-driven rain is the test case: stormwater that hits with a side force finds flashing failures that a straight-down rain never touches. If a window leaks only during a hard wind-blown storm, the flashing at one corner is the more likely suspect than the glass itself. Where water has entered the wall cavity, the repair scope grows – the drywall and sheathing need to be opened and dried, and we photograph the wall cavity before it’s closed so the record exists. For openings where water damage has reached the framing, our Fence Installation in Enterprise and Driveway & Pavers in Enterprise crews often spot the same moisture patterns at grade when they’re building the exterior side of the property.
Is It Still Under Warranty? What Manufacturers Require
Whether a failed window is still under warranty depends on the product line, the original installation date, and the paperwork. Andersen, Pella, and Marvin each publish warranty terms on their own websites, and those terms vary by product line and by which party – the manufacturer or the installer – the warranty covers. The first step is pulling the original window order and the installer’s paperwork, not guessing. If you don’t have the original paperwork, the date of the home’s construction or the window’s manufacture is on a label on the frame or in the sash jamb.
Most claims fail for documentation reasons, not merit. Here’s what manufacturers typically ask for:
- Proof of purchase and the original invoice showing the product line and quantity.
- The installation date and the installing contractor’s information.
- Photos of the failure – a clear photo of condensation between panes, a labeled photo of the window location, and a wide shot showing which unit it is.
- The window’s identification label, which carries the product line and manufacturing code. This label is on the frame and it’s the first thing to find before you call.
- A description of the failure and when it started – the season, the weather condition, and how long the unit has behaved this way.
What voids coverage is worth naming plainly: physical damage from impact, installation by someone other than the manufacturer’s certified installer, ladders leaned against the glass, paint or solvent damage to the seal, damage from a pressure washer aimed at the unit, and alterations to the frame. A failed unit that’s been altered mechanically usually ends up as a labor-and-materials repair rather than a warranty claim, and we always price that before the claim is filed so the owner can compare the two.
If you’re holding a written estimate from another contractor, Rowan Construction Group Enterprise will review it line by line at no charge, and that includes a second opinion on whether an issue is a product defect or an installation failure.
Door-Specific Troubleshooting: Latches, Weatherstrip, and Thresholds
Doors fail differently than windows because a door is a moving part that carries load at the hinges and at the latch. Three door problems account for most of what we’re called to look at in Enterprise, and each one has a distinct cause.
Latch misalignment. A door that won’t latch usually has a strike plate that no longer lines up with the latch bolt. The cause is either hardware wear – the plate has moved a sixteenth of an inch – or settling. Settling is more common than hardware wear in an older house, and it shows as a latch that won’t catch plus a door that drags at the top of the strike side. The test is a visual deflection check: sight down the strike side of the door frame with the door closed, and look for a bow in the header or a gap that changes season to season. A header that has deflected is a framing problem and the repair is more than a strike plate adjustment. Our Home Additions & ADU in Enterprise crew sees header deflection most often when an older opening has been widened without a proper header, and that’s a structural conversation.
Weatherstrip compression failure. The dollar-bill test again: close the door on a bill at the top, middle, and bottom of the latch side. If any spot lets the bill slide freely, the weatherstrip behind that area is compressed or the door is out of adjust. In our experience, the bottom of the door is the first place a weatherstrip fails because it takes the most abuse and the most sun, and the top is the last place a homeowner checks.
Threshold gaps that change seasonally. A gap that opens in dry season and closes in monsoon season is wood movement – the door has absorbed or lost moisture. A gap that is present year-round and doesn’t change is either a threshold that was installed too high or a foundation movement. The seasonal test is simple: measure the gap at the bottom of the door in January and again in July, and compare. In Enterprise, the seasonal swing is real, because indoor humidity in July can run forty points higher than in January. The seasonal cases are usually fixed with a sweep or an adjustable threshold, and the year-round cases need the framing checked first.
Repair or Replace? The Cost-Per-Year Calculation
The financial question is not “is it broken” but “is the repair money well spent.” A repair can be a band-aid when the unit is near the end of its service life and the replacement money is better spent now. The math is a cost-per-year comparison: take the repair cost, divide by the remaining useful years, and compare that number against the cost of the replacement spread over its full life. If the repair’s cost-per-year is higher than the replacement’s, the repair is the wrong call.
Here is the comparison in plain numbers. A failed IG unit in a mid-range window typically runs a few hundred dollars to replace the glass, and the surrounding frame may have another decade of life. If the frame and hardware are sound, the repair is usually the right call. If the frame is twenty years old, out of square, and letting water past the sill, the repair money is better applied to a replacement unit with a written warranty. Set a dollar figure on the energy loss too – a failed IG unit lets conditioned air work harder in summer, and in Enterprise that shows on the July and August bills. A failed seal plus a decade of remaining life is usually a repair; a failed seal plus three years of remaining life is usually a replacement.
Run the calculation honestly and with a contractor’s estimate in hand, not a guess. When we put a number in writing, it’s a flat price with a written scope and a written warranty, and it’s the number you’ll be held to – the discipline that’s kept our projects within a few percent of the agreed price across thousands of jobs. The Driveway & Pavers in Enterprise team will tell you the same about a patio: the number written down is the number you pay, or there’s no job.
Common Mistakes to Avoid
- Replacing the window before finding the draft source. If the draft comes from the rough opening or a missing interior stop, a new window still drafts, and the install cost is spent twice. Perform the candle test first.
- Treating interior condensation as a window defect. A humidity problem needs a ventilation fix, and a glazing claim on an interior-surface symptom will be denied once the manufacturer asks where the moisture is.
- Filing a warranty claim without the frame label and original invoice. These are the two documents that decide a claim, and without them the unit is treated as out of warranty. Find both before you call.
- Patching flashing with sealant. A caulk line over a failed sill flashing hides the leak for a season and rots the sheathing behind it. The flashing is replaced, not patched.
- Assuming a sticking door is a hardware problem. A sagging header is a framing issue, and a strike plate adjustment won’t fix it. Do the deflection check before you buy hinges.
- Replacing a failed IG unit on a frame that’s out of square. The new glass fails at the same rate because the cause is the frame, not the glass. Repair the frame first.
- Using a pressure washer on the window perimeter. It drives water behind the flashing and into the wall, and it can void the manufacturer’s warranty at the same time. Use a hose on low flow and let it run.
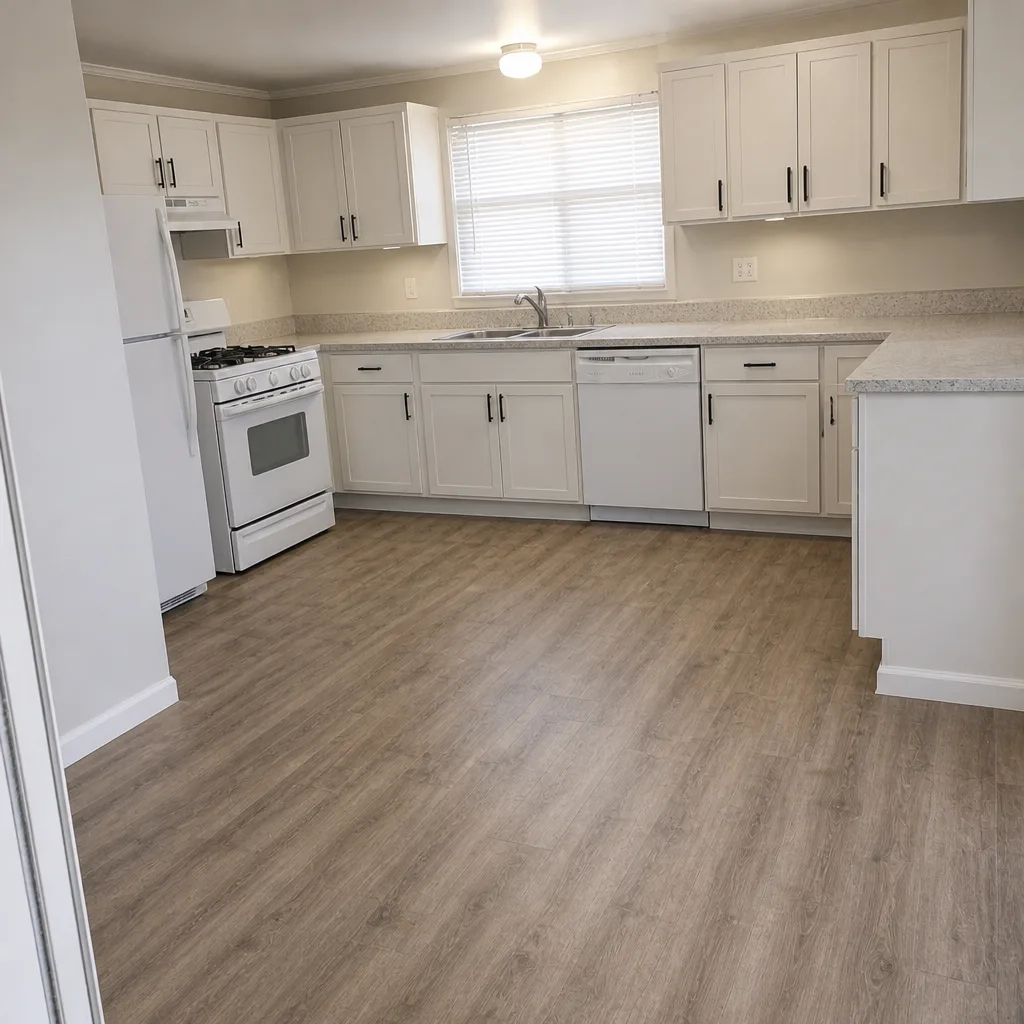
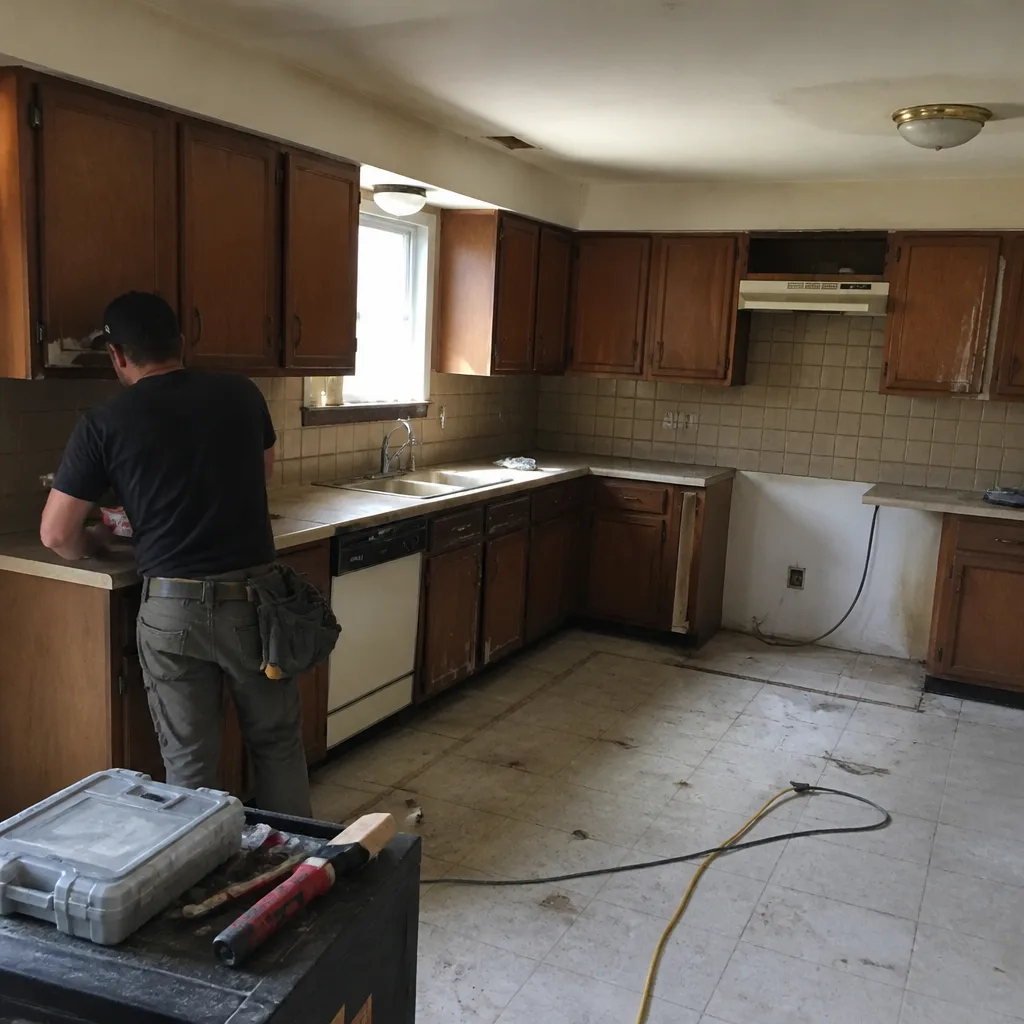
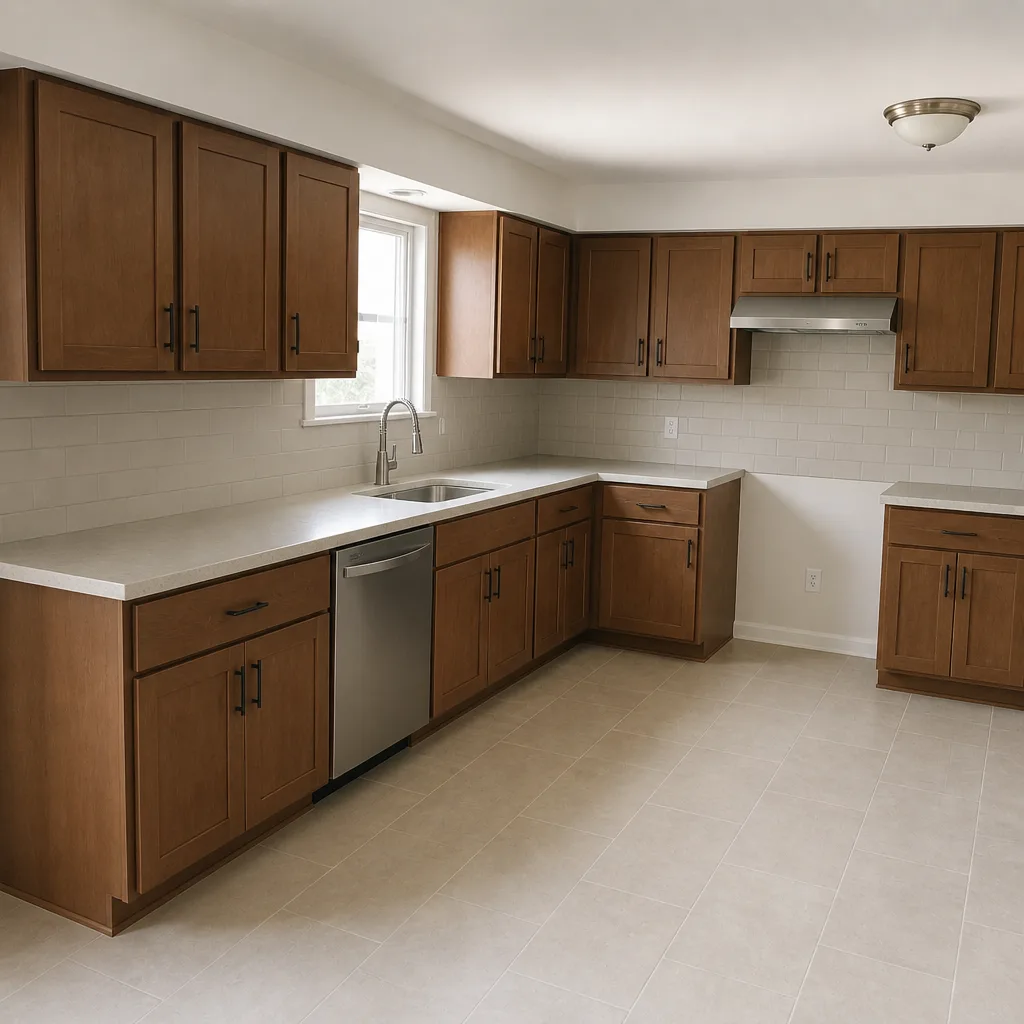
See the difference
 Before
 After
 Before
 After
 Before
 After
When to Call a Professional
Call a professional when the symptom points to the rough opening, the flashing, or the framing – anything behind the finished surface. Diagnosed correctly, water infiltration almost always turns into a wall-cavity job, and a wall-cavity job needs the drywall opened, the sheathing dried, and the repair documented with photos before it’s closed. Call us when you’ve isolated the cause but not the scope. Call us when you’re holding a written estimate from someone else and want a second look before you sign. Call us when the failing unit is one of several in the same house, because a pattern across units usually points to a single install decision rather than multiple product failures. Rowan Construction Group Enterprise offers free estimates in Enterprise – call (833) 630-4077 to schedule yours, and take the frame label and any photos you’ve collected. The crew is background-checked and uniformed, the visit is documented with a photo record, and the price is in writing before any work starts.
Frequently Asked Questions

Check the location of the failure. Condensation between the panes is a failed IG unit and generally a product defect. A draft from behind the interior trim, a sill that holds water, or a window that’s out of square points to the installation. Installation failures are not covered by the manufacturer’s warranty, which is why the diagnosis is the first financial decision in the repair. Call (833) 630-4077 for an exact scope and written price – estimates are free.
Close the window or door on a dollar bill at several points along the meeting line, then pull. If the bill slides out with no drag, the weatherstrip isn’t compressing at that spot and needs replacement. Test at least four points, because the failure is usually local. If the bill pulls with resistance at every point, the weatherstrip is fine and you should test the frame and the rough opening instead.
Summer in Enterprise brings monsoon humidity and a hard-running air conditioner, which makes indoor surfaces cold enough for moisture to condense. The moisture appears on the interior surface of the glass, not between the panes, and that means it’s a humidity problem rather than a failed window. Run the bathroom and kitchen exhaust fans longer and have the HVAC humidity control checked before filing any glazing claim.
Usually yes, with a razor scraper and light sanding, done carefully so the frame isn’t cut. If the sash is stuck because the frame is racked, a scraper won’t help and the frame needs to be checked first. Keep the unit closed and don’t force it, since a sash that shatters under pressure is a much larger repair. If the paint covers a water stain, trace the leak before you free the sash.
Andersen, Pella, and Marvin typically require the original invoice, the installation date and installer information, photos of the failure, the window identification label from the frame, and a written description of the failure and when it started. Claims fail on documentation more often than on merit, so gather those items before you call. If the failure is impact damage, an alteration to the frame, or pressure-washer damage, the claim will likely be denied.
Not with us. The price is written before any work begins, and no change proceeds until a change order is signed. That’s the discipline behind the 365-Day Done Right Promise and the reason our projects finish within a few percent of the agreed cost. Call (833) 630-4077 to schedule a free estimate and get the number in writing first – and if you have a competitor’s quote, we’ll review it line by line at no charge.
The Bottom Line
The first job in any window or door repair is separating the product from the installation, because that separation decides who pays. Drafts isolate with a candle or smoke pencil at the exact line; condensation isolates by location, between panes versus interior surface; sticking operation isolates by where the binding appears; water infiltration isolates by tracing upward, not downward. Document each finding with a photo before you clean or patch anything. Then run the cost-per-year math before you spend money on a repair that outlives the unit. If you’ve isolated the symptom and want the scope in writing, Rowan Construction Group Enterprise is a phone call away in Enterprise, and the estimate is free.
Call (833) 630-4077 to schedule your free estimate in Enterprise.
Written by the team at Rowan Construction Group Enterprise.