Last updated November 18, 2026
Free written scope consultation - allowances, timeline, and change-order rules on paper before a single trade is scheduled
DIY vs Professional Windows & Doors: What’s Safe to Do Yourself
A replacement window installed without proper sill pan flashing will pass a visual inspection on day one and fail – typically with water damage to the rough opening framing – somewhere between month six and year three. It will look fine until it doesn’t. That gap between “looks finished” and “is finished” is the whole story of DIY window and door work: the parts you can see are easy, and the parts you can’t see are where the money goes. In Enterprise, where summer monsoon rain hits hard and winter nights drop below freezing, that gap shows up faster than most homeowners expect. This guide explains exactly which window and door work is genuinely safe for a careful homeowner, and which steps you should hand to a licensed installer.
Quick Answer
Replacing a like-for-like window in an existing opening is the one window job a careful DIYer can usually handle without a permit in Clark County – but only if the flashing sequence, air sealing, and shimming are done correctly, and those steps are where DIY failures happen. Bay windows, egress windows, any window that changes rough opening dimensions in a load-bearing wall, and most exterior door replacements in Enterprise should go to a licensed professional, because the mistakes are invisible at installation and expensive at the first monsoon or the first inspection. If the work triggers a permit or the project value climbs past a few thousand dollars, Nevada contractor licensing law also comes into play.
Styles & brands we work with
- Kitchen remodeling
- Bathroom remodeling
- Home additions & ADU
- Roofing
- Windows & doors
- Driveway & pavers
- Fence
Table of Contents
- What Nevada Contractor Law Requires for Window and Door Work
- The Flashing Sequence That Separates Success From Callbacks
- Which Window Jobs Are Safe to DIY
- Three Window Types Where DIY Success Rates Drop Sharply
- Door Installation Variables That Decide the Job
- DIY vs Professional Windows: The Honest Cost Math
- Common Mistakes to Avoid
- When to Call a Professional
What Nevada Contractor Law Requires for Window and Door Work
Nevada is a licensing state, and the rules land specifically on window and door work. Under Nevada Revised Statutes, any construction work valued at $1,000 or more in combined labor and materials requires a licensed contractor – and that threshold is the one most homeowners miss, because a single replacement window installed professionally typically runs $550 to $1,200 on a standard-size unit, so a five-window job clears the threshold without anyone thinking about it. Hiring an unlicensed installer above that dollar figure is illegal for the contractor and leaves the homeowner with zero recourse through the Nevada State Contractors Board if the job goes wrong.
Permits are a separate question. Clark County’s building department treats replacement windows as a permit item in these situations:
- Any window that changes the rough opening dimensions
- Any new window opening cut into an exterior wall
- Egress window replacements where the opening size must meet IRC minimums
- Any replacement in a load-bearing exterior wall where structural work is involved
What “like-for-like replacement” means under code: you pull the old unit and drop the new one into the same rough opening, same dimensions, same location, same header and framing. That’s typically permit-exempt in Enterprise and the rest of unincorporated Clark County. Change the dimensions by even a few inches, or convert a fixed window into an operable one that changes the egress requirements, and the permit comes back into play. Our technicians have up to 19 years of experience pulling permits in Enterprise, and we’ve seen the pattern: the DIY homeowner who starts with a “simple window swap,” discovers the rough opening is rotted, and suddenly needs a permit and a licensed contractor on a Tuesday afternoon. Under Clause 1 of the Haven Standard, we write the price down before anyone touches the wall – and that price includes the permit cost, which is exactly the number a DIY quote tends to leave off.
If the project grows into structural work or an exterior wall change, it’s worth looking at how we handle Home Additions & ADU in Enterprise – the same permit and inspection discipline applies, just at a bigger scale.
The Flashing Sequence That Separates Success From Callbacks
Water intrusion around windows follows the same path every time: it enters at the sill, gets trapped behind the jamb, and wicks into the rough opening framing. The flashing sequence exists to stop that in three layers, and the order matters more than the product. Skipping a layer or installing out of sequence creates a channel where water runs backward into the wall – invisible at installation, expensive by year two.
Here’s the correct sequence, explained step by step:
- Sill pan first. A sill pan flashing (a shaped piece or a field-built pan from self-adhesive membrane) is installed at the bottom of the rough opening, with the ends turned up at least 2 inches and folded over the exterior face. This is the layer that catches any water that slips past the window’s own sill. Skip it and the first monsoon in Enterprise finds the framing.
- Jamb flashing next. Self-adhesive membrane runs up each side of the rough opening, overlapping the sill pan at the bottom corners. The critical failure: installing jamb pieces over the sill pan instead of under it creates a lap that runs water behind the pan.
- Head flashing last. The head piece goes on top, lapping over the top of the jamb pieces so water sheds down and out. Install the head first and you’ve built a shunt that funnels water into the jamb cavity.
- Window set and shimmed. The window goes in, check plumb and level, and shim only where the manufacturer’s installation instructions specify – typically at the sill corners and near the hinge points.
- Air seal. Low-expansion foam or caulk seals the gap between the window frame and the rough opening on the interior side. Wrong product here causes its own problems – covered in the doors section below.
Every layer in that sequence has a specific failure mode. The sill pan fails by wicking water into the bottom plate. The jamb flashing fails by trapping water behind the membrane. The head flashing fails by diverting water into the side cavity. None of these show up on a walkthrough.
Which Window Jobs Are Safe to DIY
The honest answer: a narrow slice of window work is genuinely within reach of a careful homeowner with the right tools, and it’s the slice most DIY guides oversell. Here’s where the line sits.
Safe to DIY, with caveats:
- Like-for-like replacement of a single-hung or slider window in a non-load-bearing wall, with the flashing sequence above followed exactly
- Replacing interior trim and casing after a professional install or repair
- Reglazing a single broken pane on a wood-frame window (older units, typically)
- Replacing a window screen or a weather seal
Not safe to DIY:
- Any window in a load-bearing wall where the rough opening changes
- Bay windows, egress windows, and any window that requires a header change
- Any installation on a second story or above where a fall is a real risk
- Any job that requires a permit, which is most jobs above the like-for-like threshold
The physical lifting and setting of a standard replacement window is the easy part. The flashing, air sealing, and leveling are the parts that separate a job that lasts 20 years from a job that lasts two. If you’re comfortable with a level, a caulk gun, and self-adhesive membrane, a like-for-like single-window swap is achievable. If you’re not, the savings disappear the first time you call someone back to fix the water damage. We handle the full range of trades under one written price, and window work is one of them – the quote comes with the flashing sequence spelled out, not assumed.
Three Window Types Where DIY Success Rates Drop Sharply
These three are where the DIY community’s success rate falls off a cliff, for structural and code reasons rather than skill.
1. Bay windows. A bay window is cantilevered out from the exterior wall, which means the framing above it has to carry the weight of the projecting unit plus the wall load. That requires a structural header sized by an engineer or a licensed contractor – not a homeowner judgment call. Get the header wrong and the wall sags over 18 to 36 months. In Enterprise, where many homes built in the 1990s and 2000s used engineered lumber for their original bay openings, a replacement bay that doesn’t match the original header spec is a structural problem, not a cosmetic one. We’ve pulled more than one DIY bay window where the homeowner had cut the original header back to “make it fit.”
2. Egress windows. An egress window in a basement or sleeping room has to meet IRC opening size minimums: at least 5.7 square feet of clear opening, at least 20 inches wide, at least 24 inches high, and no more than 44 inches from the floor to the sill. Those numbers are verified by inspection, and a DIY installation that looks fine will fail on the tape measure. If the inspection requires cutting a bigger rough opening in a foundation wall, you’re past what a homeowner should attempt.
3. Any window that changes rough opening dimensions in a load-bearing wall. This is the quiet one. Widening a window by 8 inches feels like a small job; it involves a header replacement, temporary shoring of the wall above, and a permit. The failure mode is not dramatic – it’s a hairline crack above the window and a door that starts sticking two years later. If the job requires changing the opening, it requires a licensed contractor and an inspection.
For a comparison of what a professional install covers, see how we handle the same documentation discipline in Fence Installation in Enterprise – every step photographed and signed off, which is exactly what a window installation in an exterior wall demands.
Door Installation Variables That Decide the Job
Exterior door installation reads as simpler than a window, and it’s not. Three variables decide whether your door closes cleanly for 20 years or starts dragging by year two.
Plumb and level in the rough opening, within 1/8 inch per 8 feet. That’s the tolerance. A door frame that’s out of plumb by a quarter inch over 8 feet is a door that binds at the top corner and opens on its own. Most DIYers check level on the head jamb and skip the plumb check on the hinge side – which is the one that matters. Check both sides of the frame, at both faces, with a 4-foot or 6-foot level before you screw anything in.
Shim at hinge and latch locations only, not mid-span. Shimming mid-span on the hinge side bows the frame inward and creates a tight spot in the middle of the door’s swing. The manufacturer’s installation instructions specify shim locations, and they exist for a reason. Put shims at each hinge point and at the latch point, plus the bottom corners. Nothing in between.
Non-expanding, low-pressure foam sealant – not standard expanding foam. This is the most common DIY door mistake we see in Enterprise. Standard expanding polyurethane foam expands with enough force to bow a door frame by a quarter inch on each side, which throws off both the level and the swing. A non-expanding low-pressure window-and-door foam fills the gap without pushing the frame. It’s more expensive per can and worth it every time.
Exterior door replacement in Enterprise also runs into the flashing sequence again: the door threshold has to be flashed like a window sill, and the wall above has to be weather-barriered correctly, or you get water behind the frame. On top of that, many exterior door replacements involve a permit when the wall opening changes, and patio door replacements often trigger structural header questions. This is one of the areas where the line between a DIY job and a professional job moves with the specific door – and where the wrong call is a $250 fix at year two or an $1,800 frame replacement at year five.
DIY vs Professional Windows: The Honest Cost Math
The “DIY saves you half” claim is true on paper and shakier in practice. Here’s the line-item comparison for a 10-window house in Enterprise, mid-grade vinyl double-hung units. All numbers are typical metro Enterprise pricing as of the current market, and professional numbers include the permit where required.
| Line item | DIY | Professional |
|---|---|---|
| Window units (10, mid-grade vinyl) | $3,200-$4,800 | $3,200-$4,800 |
| Flashing and sealant materials | $150-$300 | included |
| Tool rental (lift, levels, foam gun) | $300-$500 | included |
| Disposal of old windows | $120-$200 | included |
| Permit (if required) | $100-$300 | included |
| Labor | your time | $2,800-$4,500 |
| Warranty on labor | none | 365-Day Done Right Promise |
| Typical total | $3,870-$6,100 | $6,000-$9,300 |
That’s a real savings of roughly $2,100 to $3,200 on the DIY side – meaningfully less than the “50% off” the DIY aisle advertises, once you account for the tool rental, disposal, and permit. And there’s a number not on that table: what happens if a window leaks and the rough opening framing needs replacement. We see that job in Enterprise two to three times a year, and the repair is $1,800 to $3,800 per window when it involves the framing and the interior wall. One leak on a $3,000 DIY job wipes out the entire savings. The labor warranty is the number most DIYers leave out of the math, and it’s the number that matters most – because the warranty from a professional install is a real promise in writing, not a handshake. We deliver a written price before any work starts, and the written warranty comes with it.
Common Mistakes to Avoid
- Skipping the sill pan because “the window has its own sill.” The window’s sill is a primary defense, not the only one. Water that gets behind the window sill – from capillary action, from wind-driven rain, from any gap – needs somewhere to go, and without a sill pan it goes into your framing.
- Installing head flashing before jamb flashing. It’s the most common order error we see. Head flashing installed first creates a shunt that channels water behind the jamb membrane instead of over it – the exact failure the sequence exists to prevent.
- Using standard expanding foam around exterior doors. It bows the frame by a quarter inch and throws off the swing. The cost difference between standard foam and door-and-window foam is under $15 per can – and the frame replacement is $1,800.
- Assuming the job is permit-exempt because it’s “just a replacement.” In Clark County, the exemption is for like-for-like replacements – same rough opening, same size. A few inches of change and the permit is back in play, along with the inspection and the licensed-contractor requirement.
- Not checking the rough opening before ordering. We see this on Enterprise homes built before 1998, where the nominal rough opening and the actual framing have drifted apart by a half inch or more. Order the wrong size and you’ve either got a window that won’t seat or a gap too big for the flashing sequence to bridge.
- Shimming mid-span on the hinge side. Bows the frame and tightens the swing. Shim at the hinge points and latch point only, per the manufacturer’s instructions.
- DIY window swap on a second story without fall protection. A ladder work platform, a fall-arrest harness, or a full lift is not optional on second-story work. The cost of renting one is $200 to $400; the cost of a fall is not a number.
For an idea of the documentation standard we bring to every install, see the size-comparison and layout rigor we apply in Driveway & Pavers in Enterprise – different trade, same discipline: measure, write it down, install to the written spec, photograph the result.
When to Call a Professional
Call a licensed window and door contractor in Enterprise when the work involves any of the following: a bay window, an egress window, any window or door that changes the rough opening in a load-bearing wall, any job above the like-for-like replacement threshold, any second-story installation where fall protection matters, or any project where the combined labor and materials exceed $1,000 (which is most multi-window jobs in Nevada). Call a professional, also, if you’ve had a previous DIY install fail and you’re now looking at water damage in the framing – the fix is not more caulk.
Rowan Construction Group Enterprise offers free estimates in Enterprise – call (833) 630-4077. We deliver a written price before any work starts, we pull the permits and pass the inspections, and if the work isn’t done right within 365 days, we make it right under the 365-Day Done Right Promise. We also offer a free second opinion on any written estimate – bring a competitor’s quote and we’ll review it line by line at no charge.
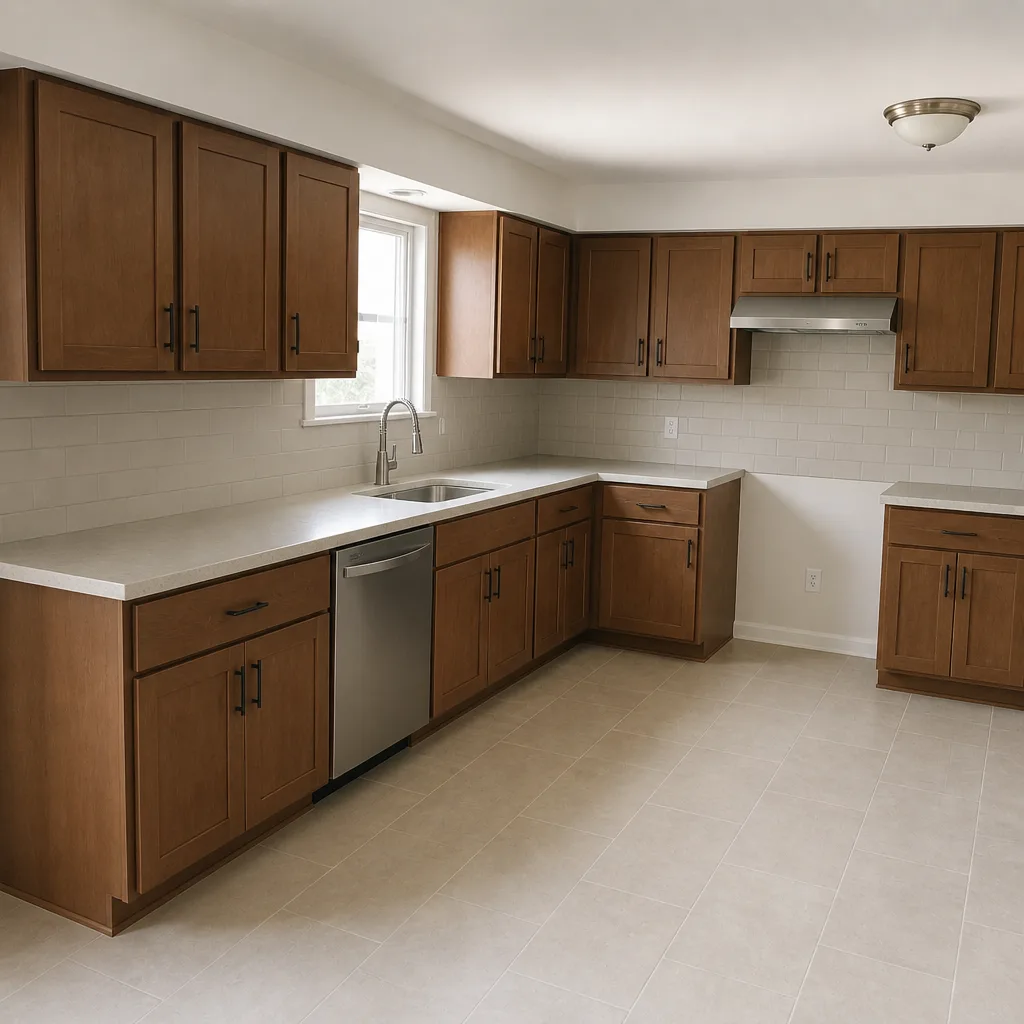
See the difference
 Before
 After
 Before
 After
 Before
 After
Frequently Asked Questions
Yes, for like-for-like replacement in your own primary residence, and there is no legal barrier to a homeowner doing their own work – the licensing requirement applies to the contractor, not the homeowner. But the moment the combined labor and materials exceed $1,000 in Nevada, an unlicensed contractor can’t legally be paid to do the work, and most multi-window jobs clear that threshold. If you’re doing your own labor, that threshold doesn’t apply to you; if you’re hiring someone, it does. Call (833) 630-4077 for a free estimate with a written price that includes the permit where required.
A like-for-like replacement – same rough opening, same size, same location – is typically permit-exempt in unincorporated Clark County, including Enterprise. Any change to the rough opening dimensions, any new opening cut into an exterior wall, any egress window replacement, and any installation in a load-bearing wall where structural work is involved triggers the permit requirement. The safe rule: if you’re changing the size or the location, you need a permit. Call (833) 630-4077 and we’ll tell you exactly which category your project falls into.
Sill pan first, then jamb flashing up the sides, then head flashing last on top, with each layer lapping over the one below so water sheds down and out. The window installs after flashing is complete, then gets shimmed at the manufacturer’s specified points, then air sealed with low-expansion foam. Install the head flashing first, or run the jamb pieces over the sill pan, and you’ve built a channel that funnels water behind the membrane into the rough opening framing – which fails months or years later, not on day one. Call (833) 630-4077 for a written quote that spells out the sequence.
Standard expanding polyurethane foam expands with enough force to bow a door frame by a quarter inch per side, which throws the door out of plumb and causes binding and swing problems. You need non-expanding, low-pressure door-and-window foam, which fills the gap without pushing the frame – and the price difference is small enough that there’s no reason to skip it. The frame replacement if it does bow runs $1,200 to $1,800 in Enterprise. Call (833) 630-4077 for a free estimate on a professional install.
No – not on our work. We deliver a flat, written price before any work starts, with a written scope and a written warranty, and no change proceeds without a signed change order. That’s the discipline that has kept our projects within a few percent of the agreed cost across 4,000-plus jobs, and it’s why the number you agree to is the number you pay. Call (833) 630-4077 for a free written estimate before you commit to anything.
A 10-window like-for-like replacement typically runs two to three working days with a professional crew, not including any permit time if your job requires one – which can add three to ten business days for the inspection cycle in Clark County. The pace is driven by flashing, air sealing, and finish work, not the lifting and setting of the window itself. Call (833) 630-4077 for a written schedule with your quote, so you know what to expect before anyone arrives.
The Bottom Line
The narrow gap between “safe to DIY” and “call a pro” is not the lifting and setting of the window – it’s the flashing, air sealing, shimming, and permit work that determine whether the job lasts two years or twenty. Like-for-like single-window replacement is within reach of a careful homeowner. Bay windows, egress windows, any rough opening change in a load-bearing wall, most exterior door replacements, and any job above the $1,000 Nevada threshold should go to a licensed contractor. The DIY savings are real – roughly $2,100 to $3,200 on a 10-window house – but they disappear the first time a leak reaches the framing. If the job matters, the written price matters more than the discount. Pick up the phone and get the number in writing.
Rowan Construction Group Enterprise writes the price before anyone picks up a tool – across all seven residential construction trades, from window replacement to full home additions. Call (833) 630-4077 to schedule your free estimate, ask for the free second opinion on any competitor’s written quote, and get the photo record of what we found before we leave.
Written by the team at Rowan Construction Group Enterprise.