Last updated November 18, 2026




Free written scope consultation - allowances, timeline, and change-order rules on paper before a single trade is scheduled
Windows & Doors Maintenance Schedule: What to Do and When
Andersen’s published maintenance guide calls for hardware lubrication every 12 months with a silicone-based lubricant. Not WD-40. Most homeowners reach for WD-40 if they lubricate at all, and that’s the problem: WD-40’s solvent carrier degrades neoprene seals and flushes out the factory grease that’s supposed to stay inside a casement operator or a sliding-door roller. The hardware doesn’t fail all at once. It stiffens, then grinds, then one day the crank won’t move. In Enterprise, where UV and summer heat push materials harder than the national guides assume, that timeline runs faster. This guide lays out a product-specific calendar, the weatherstrip replacement intervals by material, and the documentation that protects you later.
Quick Answer
Lubricate window and door hardware once a year with a silicone-based lubricant, inspect weatherstrip and caulk every six months, and replace weatherstrip on a schedule that depends on material: foam tape every 1 – 2 years, fin seal 3 – 5 years, bulb seal 5 – 7 years, magnetic seal 5 – 8 years. In Enterprise, run your exterior caulk inspection in October or November, before heating season, because high UV here degrades silicone caulk faster than in temperate climates. The whole annual pass takes about two hours and prevents the $300 – $800 hardware replacements that happen when wear is ignored.
Styles & brands we work with
- Kitchen remodeling
- Bathroom remodeling
- Home additions & ADU
- Roofing
- Windows & doors
- Driveway & pavers
- Fence
Table of Contents
- Why Window and Door Hardware Fails on a Schedule
- The Product-Specific Maintenance Calendar by Window Type
- Weatherstrip Replacement Intervals by Material
- Exterior Caulk Inspection in Enterprise’s Climate
- Door-Specific Maintenance: Hinges, Thresholds, Closers
- What to Document During Every Maintenance Pass
- Common Mistakes to Avoid
- When to Call a Professional
Why Window and Door Hardware Fails on a Schedule
Hardware wears on a predictable curve, and the curve is set by how the mechanism moves, not by how old the window is. A casement operator converts a rotary crank into a linear push through a gear arm. A double-hung window carries sash weight on a balance system of springs or cords. A sliding door rolls on nylon or steel wheels in an aluminum track. Each of these mechanisms has a contact surface that loses lubricant, collects grit, and begins to abrade itself.
The failure is gradual, which is exactly why it gets ignored. A crank that takes slightly more effort in year three doesn’t announce itself. By year six it may strip a gear tooth, and at that point you’re not lubricating a mechanism – you’re replacing an operator assembly. The same logic applies to hinge screws on doors: a screw that has backed out a quarter turn lets the door sag a fraction of an inch, which throws the latch out of alignment with the strike plate. You can tighten that screw in thirty seconds. Realigning a sagging door frame is a different job.
The numbers matter. A tube of silicone-based lubricant costs roughly $12 – $18, and one tube services every window and door in a typical house for two seasons. A replacement casement operator runs $45 – $140 in parts alone, and a full sliding-door roller replacement can run $300 – $800 depending on the door. The annual two-hour pass is the cheapest work you’ll ever do on your home’s envelope.
The other half of the failure curve is environmental. Enterprise sits in a high-desert climate with intense solar exposure and wide daily temperature swings. Sealant and weatherstrip expand and contract through those swings year after year, and UV breaks down the polymer chains in caulk and foam. A schedule written for a mild coastal climate underestimates the work here.
The Product-Specific Maintenance Calendar by Window Type
This is where generic guides go wrong. “Check your windows annually” tells you nothing you can act on. Different window types have different mechanisms, and each mechanism needs a specific action. Here’s the calendar, broken out by type, with the interval each task actually requires.
Casement and Awning Windows
- Clean the operator mechanism and the hinge track with a dry brush every 12 months, removing grit before it abrades the gear arm.
- Apply a silicone-based lubricant to the operator’s threaded arm and the hinge pivot points every 12 months. Not WD-40 – the solvent carrier attacks neoprene seals and strips the factory grease.
- Test the crank for smooth resistance through its full travel. A crank that binds mid-travel signals a bent arm or a worn gear.
- Inspect the hinge for corrosion, especially on the bottom hinge where water collects.
Double-Hung Windows
- Test the balance system every 12 months. Raise the lower sash halfway and release it – it should hold position or drift slowly. A sash that drops fast indicates a failing spring or cord balance.
- Test the tilt latches every 6 months. They should release and re-engage cleanly. A latch that won’t catch lets the sash fall out of the frame during cleaning.
- Clean the balance channels with a dry cloth; lubricate the sash guide with a light silicone spray.
- Check the sash for racking – a sash that binds on one side is usually a balance problem, not a frame problem.
Sliding Windows and Doors
- Vacuum or brush the track every 3 – 6 months. Grit in the track is the single most common cause of roller failure.
- Inspect the rollers every 12 months by lifting the panel slightly; a roller that wobbles on its axle or has a flat spot needs replacement.
- Lubricate the roller axle and the track with a silicone spray, never a sticky grease that collects dust.
- Check the panel for square – a panel that drags at one corner usually means the roller height needs adjustment on that side.
Fixed Windows
Fixed units have no mechanism to maintain, so the schedule is short: inspect the exterior glazing seal every 12 months and the perimeter caulk joint every 6 months. A failed glazing seal shows as a milky haze or water tracking behind the glass. That’s a reseal job while the seal is intact and a glazing replacement once it isn’t.
Weatherstrip Replacement Intervals by Material
Weatherstrip is the part of your window or door that actually stops air and water, and it’s the part most homeowners never look at. It comes in four common materials, each with its own lifespan and its own failure signature. If you’re replacing exterior doors, Rowan Construction Group’s enterprise home page lays out how material selection affects long-term weather performance.
- Foam tape (replace every 1 – 2 years). Foam compresses permanently and takes a set. Worn-out foam looks flat, cracked, or crumbly at the edges; serviceable foam springs back when you press it. Check the rims of exterior doors first – that’s where it fails fastest.
- Fin seal (replace every 3 – 5 years). A fin seal is the flexible flap that presses against the frame. Worn-out fin seal curls away from the frame or has a permanent bend at one spot. Serviceable fin seal stands straight and contacts the frame along its full length.
- Magnetic seal (replace every 5 – 8 years). Found mostly on older sliding units. Check with a thin steel object – if it doesn’t pull toward the strip, the magnetic strip has lost strength. A serviceable magnetic seal pulls firmly and evenly.
- Bulb seal (replace every 5 – 7 years). A bulb seal is a hollow tube that compresses against the frame. Worn-out bulb seal is flattened, split, or hardened; serviceable bulb seal compresses and recovers when you squeeze it between two fingers.
One test covers all four: close the window or door on a dollar bill and pull. If the bill slides out with no resistance, the weatherstrip at that spot isn’t sealing. Walk the full perimeter – the corners are where seal failure starts.
Exterior Caulk Inspection in Enterprise’s Climate
National maintenance guides tell you to inspect exterior caulk in spring. In Enterprise, the annual inspection window runs October through November, before heating season, because the failure mode here is UV exposure rather than freeze-thaw. High-altitude desert sun breaks down the polymer chains in silicone caulk faster than in temperate climates, and the wide daily temperature swing – hot afternoons, cool nights – works the joint continuously. Caulk that would last eight years in a mild coastal climate may need attention at five or six here.
What to look for during the inspection:
- Cracks perpendicular to the joint line, which signal the caulk has lost elasticity.
- Caulk pulling away from the frame on one side, leaving a visible gap that opens and closes with temperature.
- Chalky residue on the surface when you run a finger along it – that’s the polymer breaking down.
- Dark staining or mildew behind the bead, which means water is already getting past the surface seal.
When you do recaulk, use a 100% silicone exterior sealant rather than a paintable acrylic. Acrylic caulk is easier to work with but breaks down faster under Enterprise’s UV load. Check the seal every six months and plan on a full recaulk cycle for the sun-exposed elevations every five to seven years. Roofing companies observe the same UV-driven materials degradation – manufacturers like CertainTeed and Owens Corning publish UV-exposure guidance that tracks with what we see on exterior wood and sealant in Enterprise.
Door-Specific Maintenance: Hinges, Thresholds, Closers
Doors fail differently from windows, and the failure is more often a security concern than an efficiency one. Here’s the sequence we recommend, and it’s worth running twice a year as temperatures change.
Hinge screws. Loose hinge screws are the leading cause of latch misalignment in exterior doors. The top hinge carries less weight than the bottom, but it’s the one that backs out first, and a door that has dropped a few millimeters hits the strike plate on the latch instead of passing cleanly through. Tighten hinge screws every six months. If a screw spins freely, the hole has stripped – the standard fix is a longer screw or a hardwood dowel plug, both of which restore the holding surface.
Adjustable thresholds. Most modern exterior doors have a threshold with adjustment screws set into the sill. If the door drags at the bottom or daylight shows under the sweep, turn the threshold screws clockwise (raising the threshold) in quarter-turn increments, testing the door after each adjustment. A threshold that’s too high blocks the door; too low lets air through. Run the setting in fall and again in spring, because the door and frame move with temperature.
Storm door closers. Closer tension needs adjustment twice a year as temperatures change. In summer, the gas inside a closer expands and the door closes faster; in winter it contracts and the door may not latch under its own force. Turn the adjustment screw at the end of the closer body a quarter turn at a time and test the close. This is a two-minute job that prevents a door slamming and a glass panel cracking. For new exterior door provisions and storm door installation, Home Additions & ADU in Enterprise covers how rough openings and door specs are handled during larger projects.
What to Document During Every Maintenance Pass
This is the step almost everyone skips, and it’s the one that pays off years later. A dated maintenance log with photos creates a defensible record if you ever file a warranty claim or face a resale inspection question.
Here’s what to capture on each pass:
- Date and the weather conditions – note the outdoor temperature and whether the inspection was done before or after the seasonal change.
- Photos of every weatherstrip run in the house, close enough to show the seal’s condition. These are the photos a warranty claim will ask for.
- Photos of each caulk joint, especially the sun-exposed elevations. Include a plain-language note on condition (“cracked 1/8 inch at the north-facing bedroom window”).
- Any hardware observed as binding, corroded, or loose, with the location noted by room and window type.
- A note on any lubricant or sealant applied, with the product name.
If you’ve had work done by a contractor, ask whether they provide a documented photo record on every visit. At Rowan Construction Group, we include a documented photo record as a standard deliverable, not an upgrade – so the homeowner has evidence of what was found and what was done. When your own maintenance log pairs with a contractor’s photo record, you have the kind of file that answers a warranty question in a single email. For related exterior-envelope maintenance, Fence Installation in Enterprise covers the same UV and temperature stress on outdoor wood and hardware.
Common Mistakes to Avoid
- Using WD-40 on window hardware. It’s a solvent-based lubricant, not a long-term one. It strips the factory grease and its carrier degrades neoprene seals, which accelerates the weatherstrip failure it’s supposed to prevent.
- Skipping the track. A sliding door with a dirty track and healthy rollers still fails. Vacuum the track every few months before you lubricate anything.
- Ignoring a slightly stiff crank. In Enterprise, a stiff casement crank in summer is a warning. Heat expands the frame and tightens the fit; by the time the crank feels fine again in fall, the gear wear is already there.
- Replacing weatherstrip with the same material that failed. If foam tape lasted one year, don’t put foam tape back. Upgrade to a bulb seal or fin seal where the gap allows – the lifespan more than doubles.
- Applying caulk over a failed joint. New caulk on top of chalky old caulk bonds to the old surface, not the substrate, and pulls off within a season. Remove the failed bead first.
- Setting threshold screws all the way up. A threshold adjusted too high drags the door and wears the sweep. Adjust in quarter turns, testing after each.
- Running the spring inspection on the national schedule. In Enterprise, move the exterior caulk inspection to October – November. The national guides assume a temperate climate; the desert sun does not.
When to Call a Professional
Most of this guide is work a careful homeowner can do in an afternoon. The line sits where the mechanism fails, not where it needs lubrication. If a balance spring has broken inside a double-hung sash, if a sliding-door roller has seized and the panel won’t lift out of the track, if a casement crank has stripped its gear, or if a caulk joint has let water into the wall cavity, that’s a job for a crew with the right parts and the documentation standards. A worn hinge screw is homeowner work. A sagging frame that has warped from water intrusion is not. For exterior window and door replacement, Driveway & Pavers in Enterprise often runs in the same season, since water management across the exterior envelope is one project.
Rowan Construction Group Enterprise offers free estimates in Enterprise – call (833) 630-4077. We deliver a written price before any work starts, under Clause 1 of The Haven Standard, and no change proceeds without a signed change order. If you’re bringing a competitor’s quote, we’ll review it line by line at no charge.
See the difference
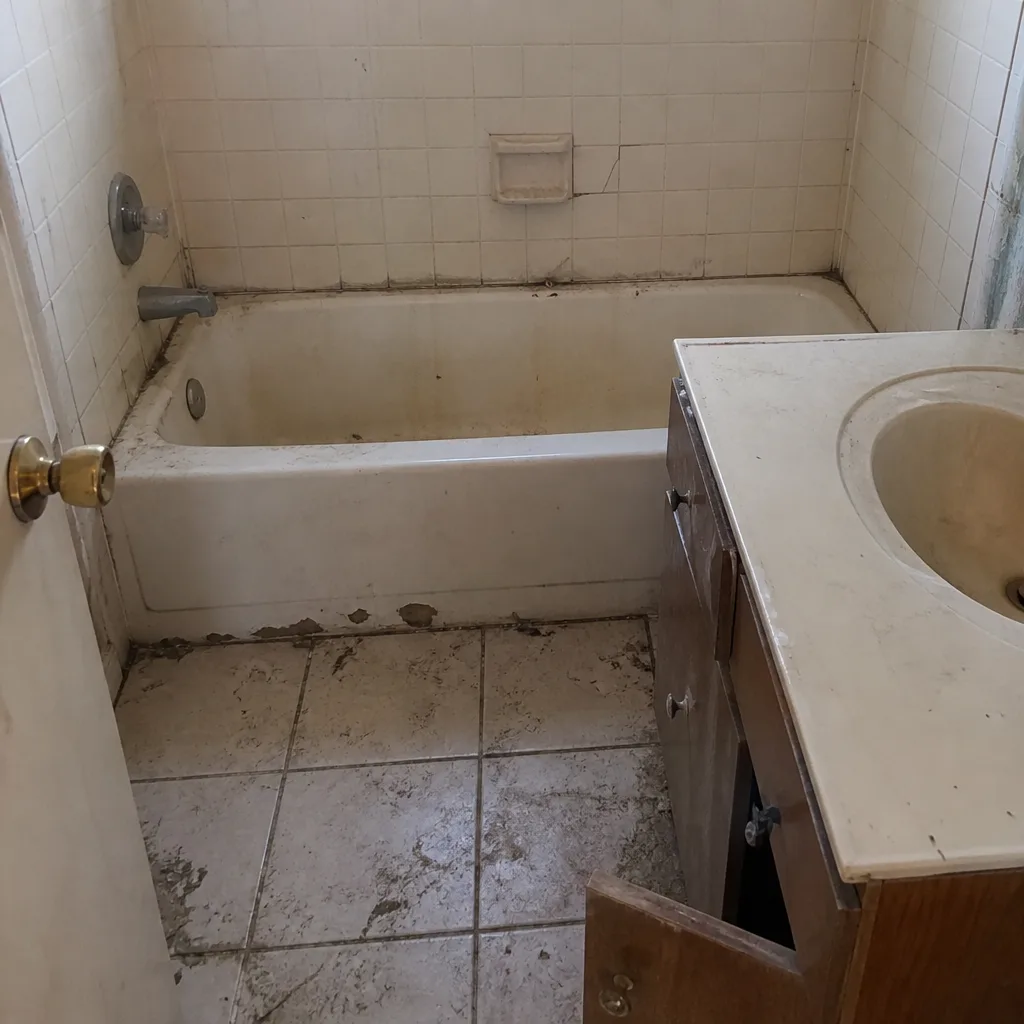 Before
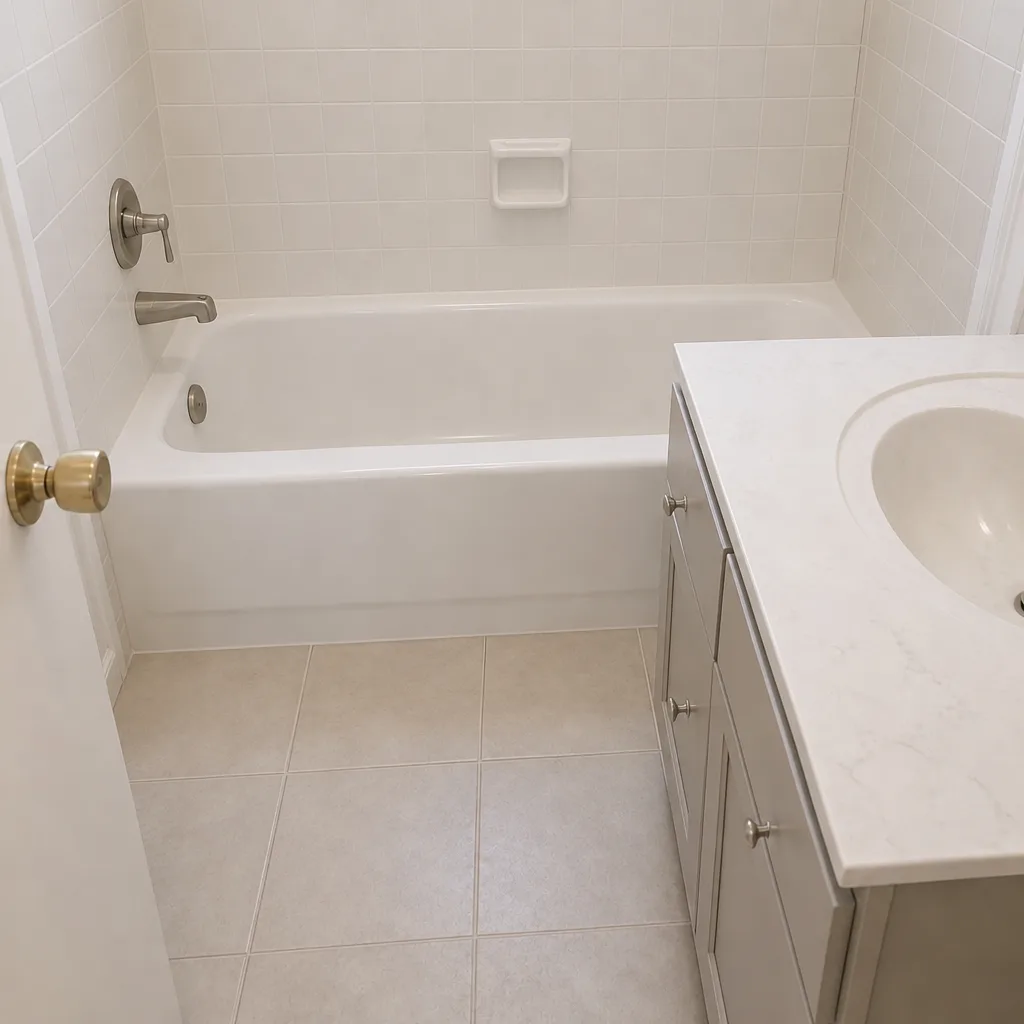 After
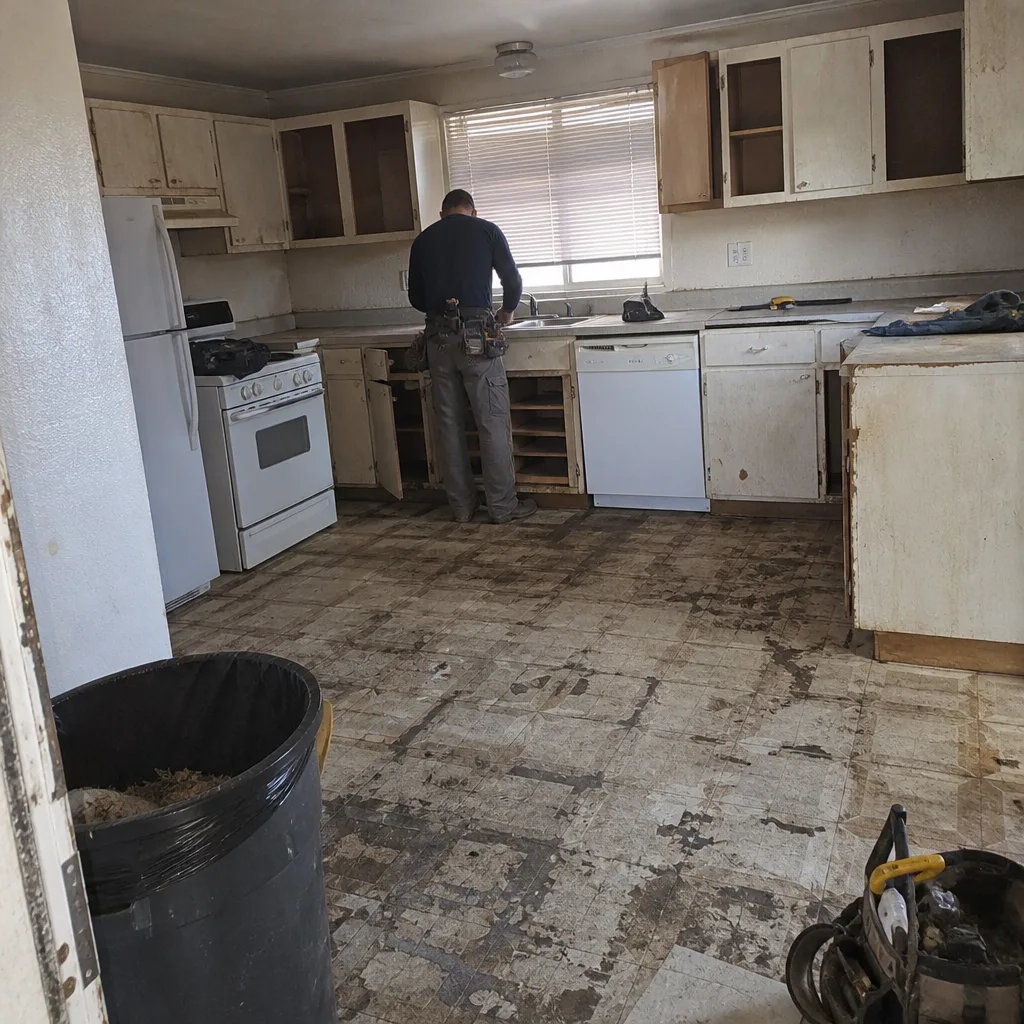 Before
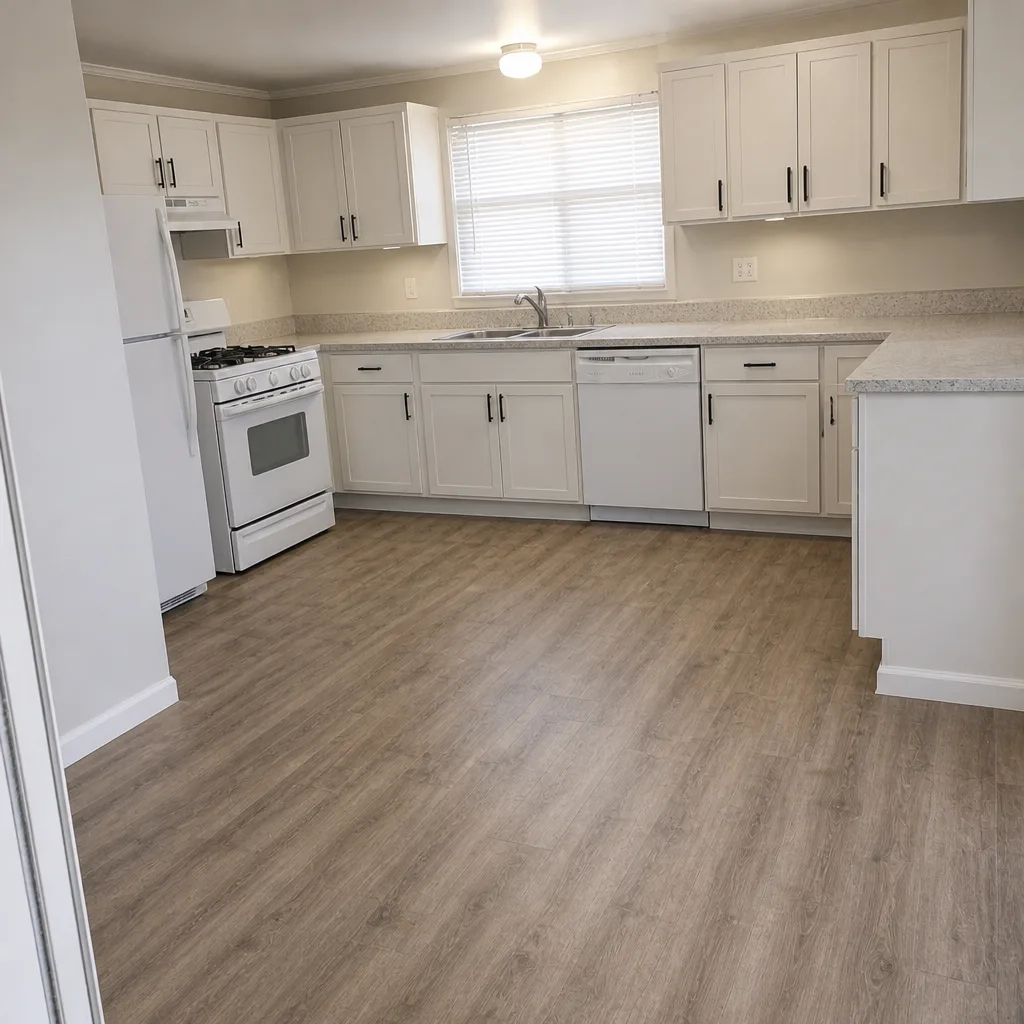 After
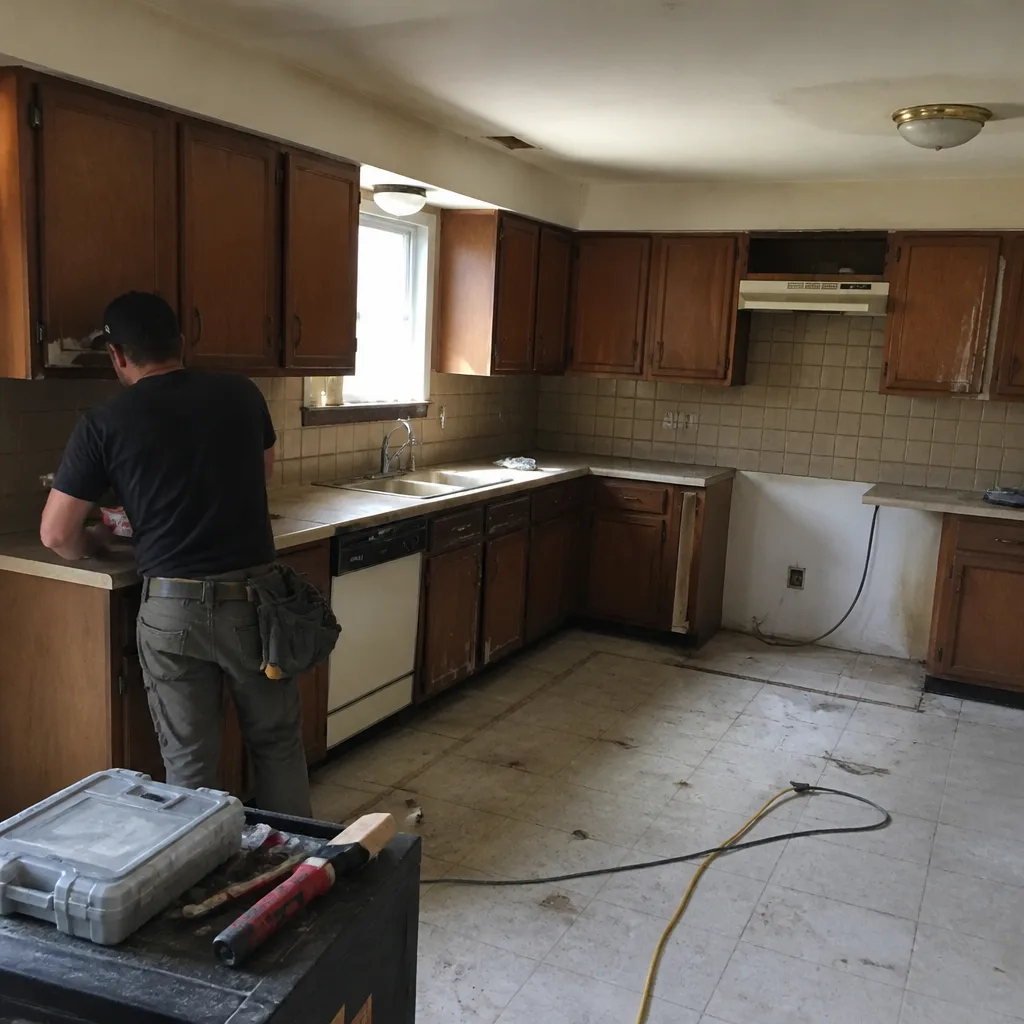 Before
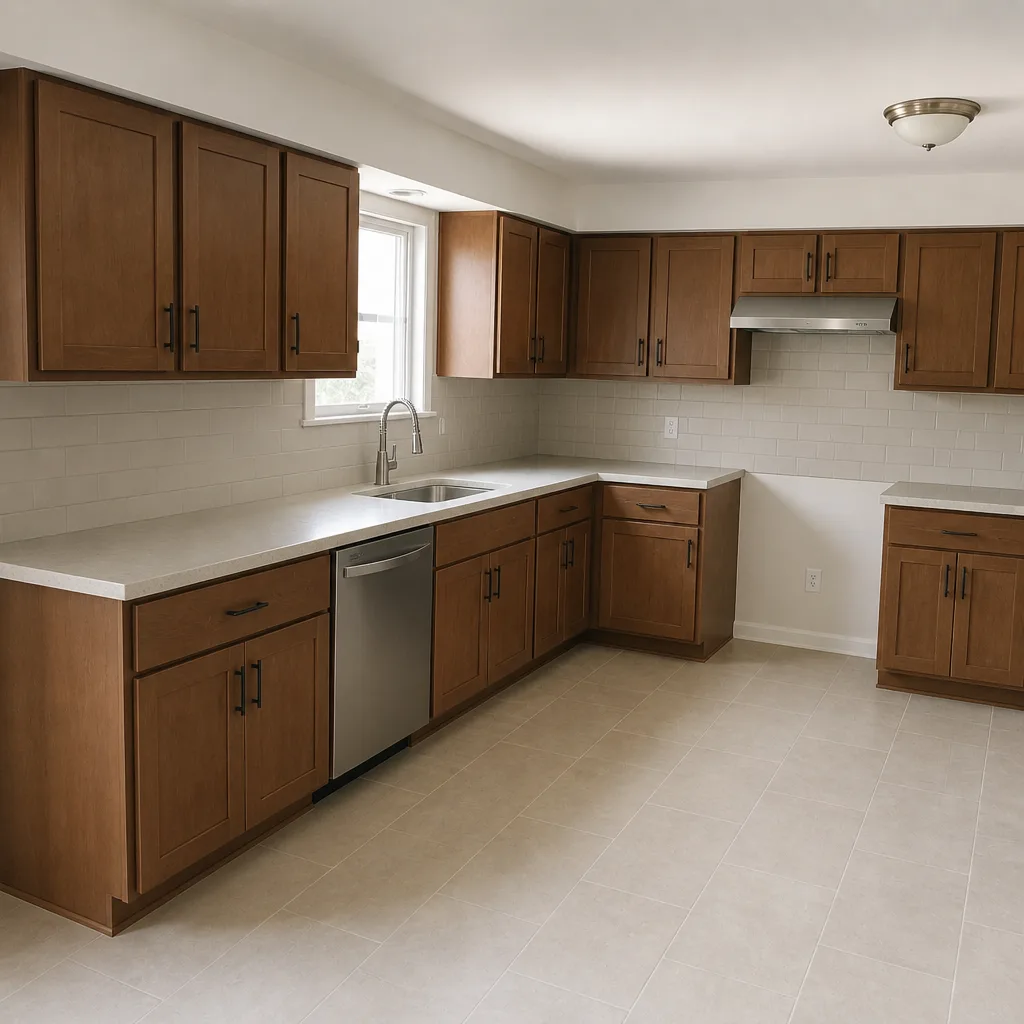 After
Frequently Asked Questions

Once every 12 months with a silicone-based lubricant, not WD-40. Andersen’s own maintenance guide calls for annual silicone lubrication, and in Enterprise’s heat, skipping a year is what turns a $15 tube of lubricant into a $45 – $140 operator replacement.
Run the dollar-bill test: close the window or door on a bill and pull. If it slides out with no resistance, the seal at that point has failed. Worn foam looks flat and crumbly; worn fin seal curls away from the frame; a dead magnetic strip won’t pull a steel object. Replacement intervals run 1 – 2 years for foam tape, 3 – 5 for fin seal, and 5 – 8 for magnetic.
October through November, before heating season. Enterprise’s high-desert UV load breaks down silicone caulk faster than in temperate climates, and the wide daily temperature swing works the joints continuously. The national spring-inspection advice doesn’t match the local failure pattern.
Stripped or loosened hinge screws, in most cases. Loose screws let the door drop a fraction of an inch, and the latch no longer clears the strike plate. Tighten every hinge screw and check the alignment; if a screw spins freely, the hole needs a longer screw or a dowel plug.
Yes, as temperatures change. The gas inside the closer expands in summer and contracts in winter, so the closing force drifts. Turn the adjustment screw a quarter turn at a time and test the close.
Lubrication, weatherstrip inspection, hinge tightening, and threshold adjustment are homeowner work. Structural failure – a broken balance spring, a seized roller, water intrusion into the wall cavity – is not. Call (833) 630-4077 for a free Enterprise estimate if you’re looking at a repair rather than a lubrication pass.
The Bottom Line
Window and door hardware fails gradually, on a schedule, and the schedule is set by mechanism type and by climate. Lubricate every 12 months with silicone, never WD-40. Inspect weatherstrip and caulk every six months. Replace weatherstrip on the material cycle: foam every 1 – 2 years, fin seal every 3 – 5, bulb every 5 – 7, magnetic every 5 – 8. Run the caulk inspection in October – November in Enterprise, where UV does the damage faster. Document every pass with dated photos. The whole routine takes two hours a year and prevents the $300 – $800 replacements that happen when wear is ignored. When a mechanism fails rather than needs service, call (833) 630-4077 for a free estimate – written price before any work starts, 365-Day Done Right Promise behind it.
Written by the team at Rowan Construction Group Enterprise.