Last updated November 18, 2026

Free written scope consultation - allowances, timeline, and change-order rules on paper before a single trade is scheduled
DIY vs Professional Driveway & Pavers: What’s Safe to Do Yourself
A homeowner who hand-tamps a paver base instead of plate-compacting it in 2-inch lifts will reach roughly 70% of the required compaction density. Nothing looks wrong on day one. By year three, the driveway has rutted where the tires run, pavers have dipped at the apron, and the repair costs more than the compaction equipment would have. The choice between DIY and a professional paver driveway in Enterprise is less about confidence with a level than about which machines the job actually requires and what it costs to rent them. This guide maps each task to its tool, prices tool rental against contractor labor, and shows which jobs are safe to self-perform and which are not.
Quick Answer
The only genuinely safe DIY tasks on a paver driveway are pattern layout, setting pavers onto a base that a professional has already prepared and compacted, and applying polymeric joint sand. Everything below grade – excavation, sub-base, compaction to 95% Proctor density, slope, and edge restraint – needs a plate compactor, a laser level, and a crew, and much of it triggers Clark County permits that assume a licensed contractor. Full DIY saved against materials alone often nets under $1,000 on a 600-square-foot driveway, and a badly compacted base wipes that out in the first repair.
Styles & brands we work with
- Kitchen remodeling
- Bathroom remodeling
- Home additions & ADU
- Roofing
- Windows & doors
- Driveway & pavers
- Fence
Table of Contents
- Which tasks need which equipment (and what rental costs)
- What base preparation really means: 95% Proctor density
- The three DIY tasks that are genuinely viable
- Tasks with no safe manual substitute
- Clark County permits and why a licensed contractor is required
- Side-by-side cost: full DIY vs hybrid vs professional in Enterprise
- How Enterprise’s desert climate changes the base equation
- Common mistakes to avoid
- When to call a professional
Which Tasks Need Which Equipment (and What Rental Costs)
Every task on a paver driveway falls into one of two groups: work a person can do with hand tools, and work that requires a machine to hit a measurable specification. The second group is where the DIY-versus-professional decision is actually made, because the equipment is available to rent in the Las Vegas Valley – the question is whether renting it, learning it, and running it yourself still nets a saving.
- Plate compactor – needed for sub-base and bedding sand. Rental runs roughly $80 to $120 per day at valley equipment yards. A 4,000 lbf forward-plate compactor hits densities a hand tamper cannot approach.
- Wet saw with a 14-inch diamond blade – for cutting pavers at the perimeter and around curves. $60 to $90 per day. Score-and-snap is not usable on 60mm or 80mm pavers.
- Laser level or rotary laser with receiver – for setting grade and checking slope over a long driveway. $40 to $60 per day. String lines get you close; they do not measure a 1 to 2 percent fall reliably over 30 feet.
- Mini skid-steer or walk-behind loader – for excavation and moving 20-plus tons of base and pavers. $250 to $400 per day, and the operator training matters more than the machine.
A 600-square-foot paver driveway in Enterprise is unlikely to finish in a single weekend, so rental costs multiply. Three days of compactor and saw rental alone lands near $500. That number is the baseline any DIY comparison has to beat.
What Base Preparation Really Means: 95% Proctor Density
Base preparation is the largest line item on any paver job, and it is the single task homeowners most often underestimate. In specification, it means compacting the sub-base and base aggregate to 95% Proctor density per ASTM D698 – a standard lab test that establishes how dense a given soil or aggregate can be packed under a controlled drop hammer. Ninety-five percent of that maximum is the threshold at which the base stops settling under load. A hand tamper reaches somewhere near 70%.
The difference matters because the failure is not immediate. Paver driveways fail from below – the pavers stay flat until the base consolidates under them, then the whole assembly ruts. What base preparation actually involves:
- Excavate to depth: roughly 8 to 10 inches of total profile for a residential driveway – 4 to 6 inches of compacted base, 1 inch of bedding sand, and the paver thickness.
- Grade the subgrade to correct slope – a fall of about 1 to 2 percent away from the garage, per typical Clark County standards for drainage.
- Lay base aggregate in 2-inch lifts, compacting each lift fully before adding the next. Lifts thicker than 3 inches cannot be compacted to spec no matter what machine is used.
- Wet the base lightly between passes to reach optimum moisture content – dry gravel does not compact.
- Density-test or proof-roll to confirm compaction before the bedding sand goes down.
None of these steps require certification to perform, but the compaction step needs a machine and the discipline to run it in lifts. That part cannot be rushed.
The Three DIY Tasks That Are Genuinely Viable
If the base has been professionally excavated, graded, compacted, and edged, the job becomes accessible to a careful homeowner. Three tasks fall into this category, and each one has a real dollar value worth measuring against a contractor’s labor line.
1. Pattern layout. Choosing a herringbone, running bond, or basketweave pattern and mapping it to the driveway footprint is a drafting exercise, not a construction one. Expect to save roughly $0.50 to $1.00 per square foot against contractor layout – $300 to $600 on a typical 600-square-foot driveway. Use graph paper or layout software and account for cuts at the edges, which run 10 to 15 percent of the total paver count.
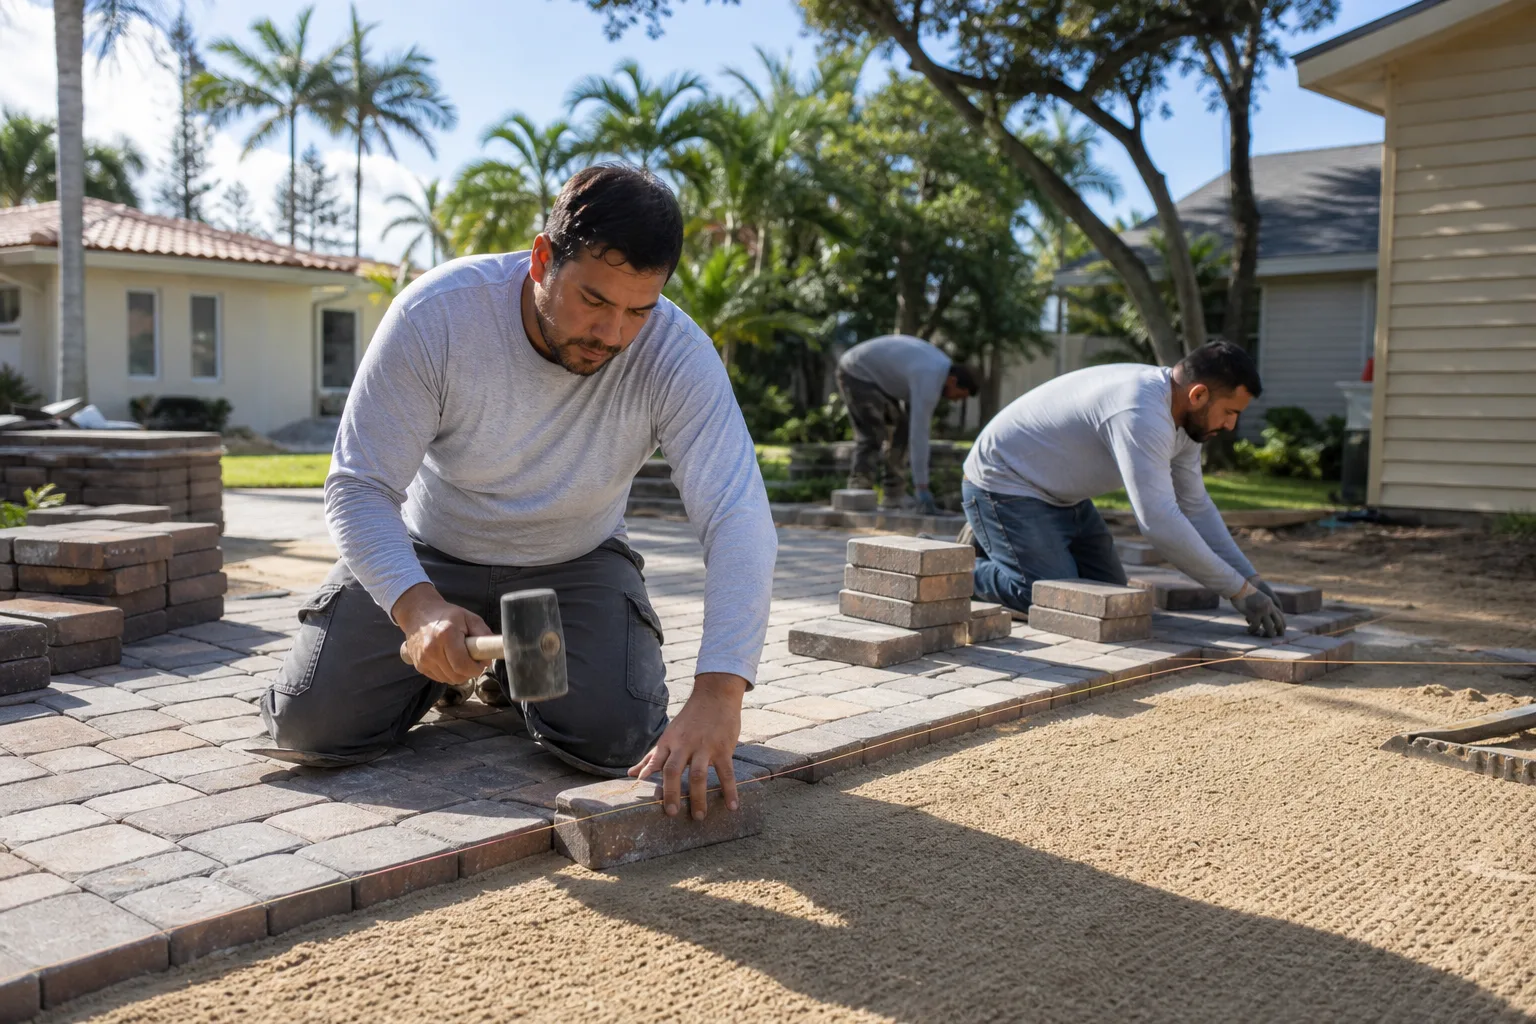
2. Setting pavers on a prepared base. Once the bedding sand is screeded and the edge restraint is installed, setting pavers is lifting and placing. It is slow work – a homeowner team might set 100 to 150 square feet in a long day, where a two-person crew with experience sets 400-plus. Labor savings run $3 to $5 per square foot on a job where the base is already done.
3. Polymeric joint sand application. Sweeping and vibrating polymeric sand into joints is a finishing task. Savings are modest – $0.50 to $1.00 per square foot – because the material cost dominates. Follow the product’s cure instructions exactly, particularly on the activation step with water, or the sand will wash out in the first monsoon rain.
Each of these tasks assumes the base is already done. On its own, none of them is where a paver driveway succeeds or fails.
Tasks With No Safe Manual Substitute
Some tasks are not just difficult by hand – they cannot be done to spec without equipment. Doing them anyway is the reason so many paver driveways in Enterprise look correct in year one and are lifting at the edges by year four.
- Excavation and spoil removal. A 600-square-foot driveway at 10 inches of depth generates roughly 18 cubic yards of soil and old base material – over 20 tons. Doing that by wheelbarrow is not a safety issue so much as a schedule one; it is 15 to 20 hours of moving dirt for a crew that does it in a morning.
- Compaction of base aggregate. Not achievable by hand at specification. See the Proctor density discussion above.
- Cutting pavers at edges and curves. Wet-saw cuts are clean and true. Score-and-snap produces rough edges, and on 60mm block pavers snap tools are prone to cracking rather than cutting, which wastes material.
- Edge restraint installation. Edge restraint – the concealed curb that keeps pavers from spreading at the driveway perimeter – must be spiked into the base and must be set plumb. A poorly set edge means the pavers spread outward over time, opening joints and letting sand and water escape. This is the second most common failure after base compaction.
- Slope verification. Drainage is not a style choice. A driveway that sheds water toward the garage instead of the street produces the kind of water intrusion that ruins drywall and undermines the slab. Laser levels and a running check of fall are the only reliable way to confirm grade over a long driveway.
For any of these, the honest answer is that a trained crew with the right equipment is not a shortcut – it is the spec.
Clark County Permits and Why a Licensed Contractor Is Required
Homeowners who do their own work on a driveway are usually surprised by which permits and inspections they trigger. Clark County requires permits and inspection for several paver-related conditions, and critically, the contractor-of-record requirement applies to most of them regardless of whether the homeowner swings a hammer.
- Driveway approach work – where the driveway meets the sidewalk and street, the apron or approach is typically right-of-way modification and requires a permit with a licensed contractor of record.
- Driveway widening or new driveway cuts – adding or moving a driveway entrance changes the street cut and is permitted through Clark County Public Works.
- Grading and drainage work – exceeding certain thresholds of dirt moved may trigger grading permits, and any drainage redirect toward a neighboring property is a code question.
- Any work in the public right-of-way – requires a licensed and insured contractor with the right endorsements.
- Stormwater and dust control – Clark County enforces dust-control and stormwater requirements on grading and excavation jobs, which is doubly true in a desert with high winds.
Homeowners can generally perform work on their own residential property – but where permits and inspections are involved, the process expects documentation a contractor can provide. When the permit names a licensed contractor of record, the homeowner cannot be the signer-and-builder of that same work.
Rowan Construction Group Enterprise pulls permits and passes inspections on every paver driveway project in Enterprise, and the inspection record is part of the documented photo record you receive at the end of the job.
Side-by-Side Cost: Full DIY vs Hybrid vs Professional in Enterprise
Paver driveway pricing in Enterprise depends on paver type, base depth, and site access, but the ranges below reflect what a residential driveway actually costs to complete from bare ground. Materials for a paver driveway run $8 to $14 per square foot depending on paver brand and thickness – Belgard and Techo-Bloc pavers generally sit in the middle of that range, with thinner or value-line block at the bottom and heavy 80mm driveway-grade pavers at the top.
- Full DIY: $13 to $24 per square foot. Materials $8 to $14, rental equipment $2 to $3 (if rented once), permit and inspection support $1 to $2, and an allowance for waste, rework, and the probability that some of it gets done twice. On 600 square feet, that is $7,800 to $14,400 – plus your weekends, plus the risk that the base was not compacted to spec, which no inspector will confirm unless you know how to check.
- Hybrid (professional base, DIY setting): $16 to $26 per square foot. The contractor handles excavation, base, compaction, edge restraint, and permit. The homeowner sets the pavers over a weekend with a helper and calls the contractor back to cut the perimeter and apply joint sand. This preserves most of the labor savings on setting ($3 to $5 per square foot) without taking the compaction risk. On 600 square feet: $9,600 to $15,600.
- Full professional: $22 to $35 per square foot in Enterprise. Materials, labor, equipment, compaction to spec, permits, inspections, edge restraint, cutting, and joint sand – all documented with a flat written price up front. On 600 square feet: $13,200 to $21,000.
Run the numbers on your own driveway and the conclusion is often that the DIY saving is $5 to $8 per square foot on the best day, and heavily eroded by rental costs, waste, and the compaction risk on the worst. For a smaller project on a low-traffic path or courtyard, DIY is genuinely competitive. For a driveway taking vehicle loads, hybrid or professional is usually the right call for the base and edges.
Driveway and paver projects that tie into fence, apron, landing, and hardscape work often start with a Driveway & Pavers in Enterprise plan and get scoped alongside a Fence Installation in Enterprise project when the driveway ties into fence line and yard grading. See the full picture on the Rowan Construction Group Enterprise home page when you want the trades coordinated under one written scope.
How Enterprise’s Desert Climate Changes the Base Equation
Enterprise sits on desert soil – a mix of caliche, decomposed granite, and in many neighborhoods imported fill from the subdivision grading. That geology changes the base specification in ways that matter for a paver driveway, and any homeowner considering DIY should understand them.
Caliche – the calcium-carbonate-cemented layer common in Clark County soils – does not drain. Water reaching it pools and moves laterally, and where that water pools under a paver base, it can either freeze-dry-cycle the surrounding soil or simply mobilize the fines in the base material, which causes the base to lose density over time. Excavation to spec must either break through the caliche or account for its depth. Homeowners rarely know how deep it sits on their lot until they dig.
The desert also produces the second problem: intense summer heat and brief, high-volume monsoon rain in July and August. Paver joints that are not fully filled with polymeric sand and properly activated will erode in a single season. Paver sealant, correctly applied, prolongs the joint sand’s life and reduces the sun-fading that plagues lower-grade pavers in full Las Vegas Valley sun. If joint sand is on your DIY list, buy a quality polymeric product and follow activation instructions to the letter – not the closest interpretation.
In our experience, the Enterprise neighborhoods where paver driveways hold up best over a decade are the ones where the base was cut out to the correct depth and compacted in named lifts – the record shows it. See what a full base-and-paver scope looks like at the Enterprise paver page.
Common Mistakes to Avoid
- Hand-tamping the base. You will hit around 70% of Proctor density, which looks flat on the surface but settles over three years. Rent the compactor or hire out the base – not both, and never neither.
- Compacting in thick lifts. Laying 6 inches of base at once and compacting it does not compact the lower few inches. The spec is 2-inch lifts, and there is no shortcut that reaches density in a single pass.
- Skipping edge restraint or setting it poorly. Pavers without a properly spiked edge restraint spread outward every time a car rolls over them. In Enterprise, this failure shows up first at the apron, where the driveway meets the street.
- Getting the slope wrong toward the garage. A driveway sloped toward the house instead of the street routes water under the slab. In this climate the monsoon delivers a year’s worth of moisture in a few hours, and one bad grade call can flood a garage.
- Using polymeric sand on wet joints or without activating. Polymeric sand needs dry joints and a light water activation to cure. Skip either step and the joints erode within a season.
- Buying pavers to the square footage and not to the layout. Cuts at edges and curves consume 10 to 15 percent more material than the flat area suggests. Running out mid-lay and getting a different dye lot is a visible scar.
- Permitting afterward. Pulling the permit after the driveway is built means the inspection record either does not exist or requires exposing work that was already covered. In Enterprise, that becomes a disclosure item at resale.
When to Call a Professional
Call a professional when the job includes any of the following: excavation of more than 4 inches of depth, any driveway approach or apron in the public right-of-way, any driveway widening or new street cut, any drainage redirect, or any paver installation that runs under a vehicle. If the driveway will take cars, the base is what will fail first, and that is the part you cannot easily verify as a homeowner without a density test. Call a professional if you plan to sell the home in the next 10 years and want a documented, inspected install on the record. Call a professional if the paver brand or pattern you want requires precision cuts you cannot make with the equipment you have.
Rowan Construction Group Enterprise offers free estimates in Enterprise – written, itemized, flat-priced, and delivered before anyone picks up a tool. Call (833) 630-4077 to schedule yours. If you already have a competitor’s quote, we will review it line by line at no charge through our Free Second Opinion.
See the difference
 Before
 After
 Before
 After
 Before
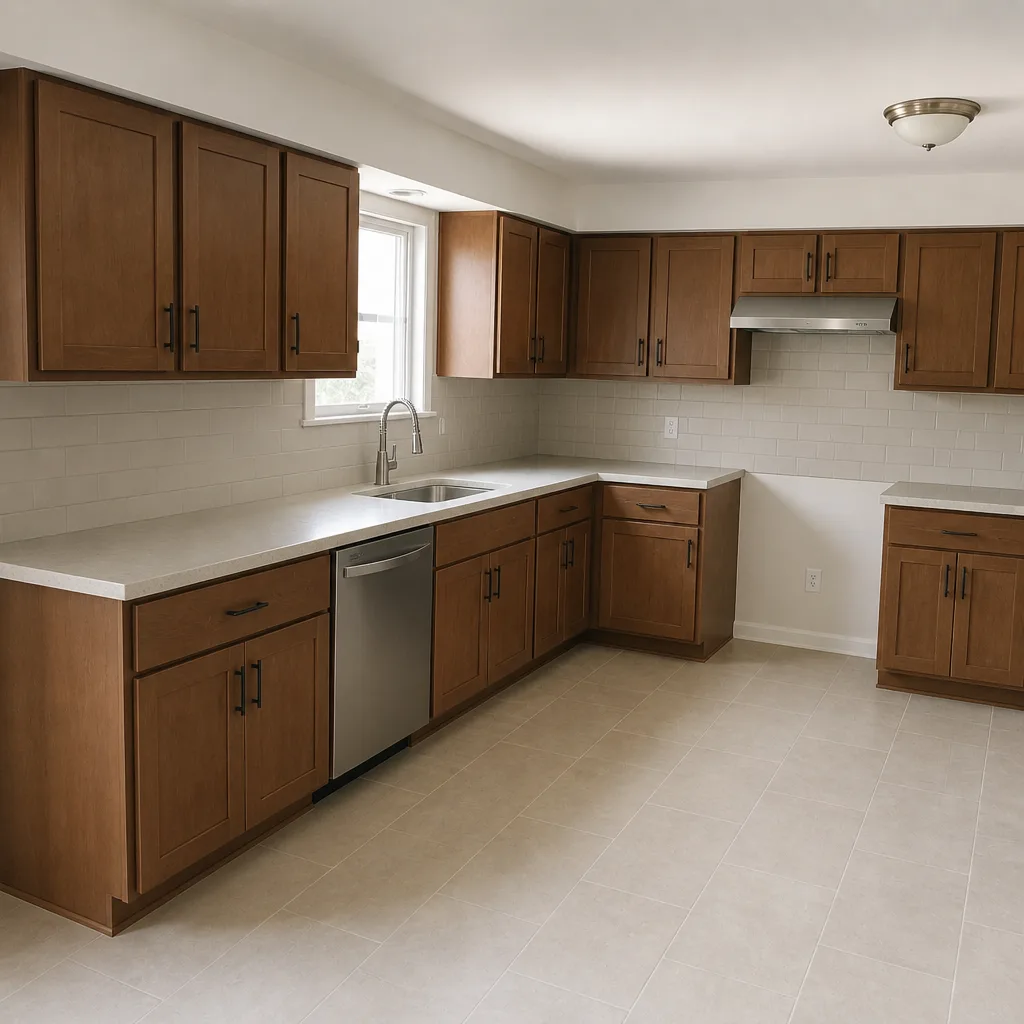 After
Frequently Asked Questions
Yes, with caveats. Setting pavers directly over sound, flat, well-drained concrete is one of the few paver tasks that is fully accessible to DIY – no base excavation and no compaction required. Peel-and-stick paver installations over concrete save $4 to $6 per square foot against full new install. The catch is drainage and joint sand: pavers set over concrete without proper slope still collect water, and the joint sand needs a polymer product to lock in place. Have the concrete checked for cracks and settlement first, because pavers do not fix a compromised slab – they make its failure harder to see.
Professional paver driveways in Enterprise run $22 to $35 per square foot, all-in, for materials to code, compaction to spec, permits, and inspections. A 600-square-foot driveway lands between $13,200 and $21,000 depending on paver brand and base depth. Call (833) 630-4077 for a written quote on your specific driveway – estimates are free.
Often, yes – any paver driveway that touches the public right-of-way (apron, approach, or street cut) requires a permit with a licensed contractor of record, and any driveway widening or drainage change may trigger grading or public works review. Work entirely within your property line and not affecting drainage or the right-of-way may not require a permit, but the county’s requirements are specific to your lot and street. Call (833) 630-4077 and we will scope the permit question at the estimate.
A hand tamper reaches roughly 70% of Proctor density; a forward-plate compactor run in 2-inch lifts reaches the 95% required for a base that holds under vehicle traffic. The gap looks invisible on day one and shows up as ruts and dips in three to five years. Call (833) 630-4077 if you want the compaction done to spec rather than approximated.
On a base that a professional has prepared, DIY setting and joint sand saves roughly $3.50 to $6.00 per square foot – $2,100 to $3,600 on a 600-square-foot driveway. Full DIY from bare ground saves more on paper, but rental equipment, waste, and the risk of an under-compacted base cut that saving down substantially, and often reverse it if any base repair is needed. Call (833) 630-4077 to price out a hybrid approach – we do the base, you set the pavers.
Belgard and Techo-Bloc are the standard driveway-grade paver brands installed across the Las Vegas Valley, with regional block suppliers also supplying value-line options. Brand choice affects material cost by $2 to $6 per square foot and affects long-term resistance to sun-fading and salt-scale damage. Our written quotes name the exact brand and paver line before work starts. Call (833) 630-4077 to price a specific brand-and-pattern combination.
The Bottom Line
Paver driveways succeed or fail under the surface, and the tools that determine that success – plate compactor, laser level, wet saw – are what separate a base that holds from one that shifts. The DIY tasks that are genuinely safe on a paver driveway are pattern layout, setting pavers on a professionally prepared base, and joint sand application. The tasks that require a professional are excavation, compaction, edge restraint, slope verification, and any work in the public right-of-way. In Enterprise, the hybrid approach – contractor base, homeowner sets the pavers – captures most of the savings without taking the compaction risk, and the full professional install is what carries a documented, inspected record. When you are ready to see the number before you commit, Rowan Construction Group Enterprise delivers a written, flat-price quote with a written scope and the 365-Day Done Right Promise on every paver driveway. Home additions and other projects that tie the driveway to a new structure start with Home Additions & ADU in Enterprise – the driveway scope is typically designed alongside the structural job. Call (833) 630-4077 for your free estimate.
Written by the team at Rowan Construction Group Enterprise.